RubyMotion Tutorial for Beginners: Part 2
In this RubyMotion Tutorial for beginners, you’ll learn how to make a simple Pomodoro app for the iPhone. By Gavin Morrice.
Updating the Button
In MainView you specified that timer_button should have a different title if the state is UIControlStateSelected, but you aren't setting that state yet. The button should become selected when the timer starts, and go back to the normal state when the timer is stopped or invalidated for any reason.
Add the following method to main_view_controller.rb:
def timer_button
  view.timer_button
end
This is just a helpful wrapper method that calls timer_button on the view. While it may seem arbitrary to do so, this actually helps the code adhere to The Law Of Demeter.
Replace the pomodoro_timer_did_start and pomodoro_timer_did_invalidate delegate methods with the following:
def pomodoro_timer_did_start(pomodoro_timer)
  NSLog("pomodoro_timer_did_start")
  timer_button.selected = true
end

def pomodoro_timer_did_invalidate(pomodoro_timer)
  NSLog("pomodoro_timer_did_invalidate")
  timer_button.selected = false
end
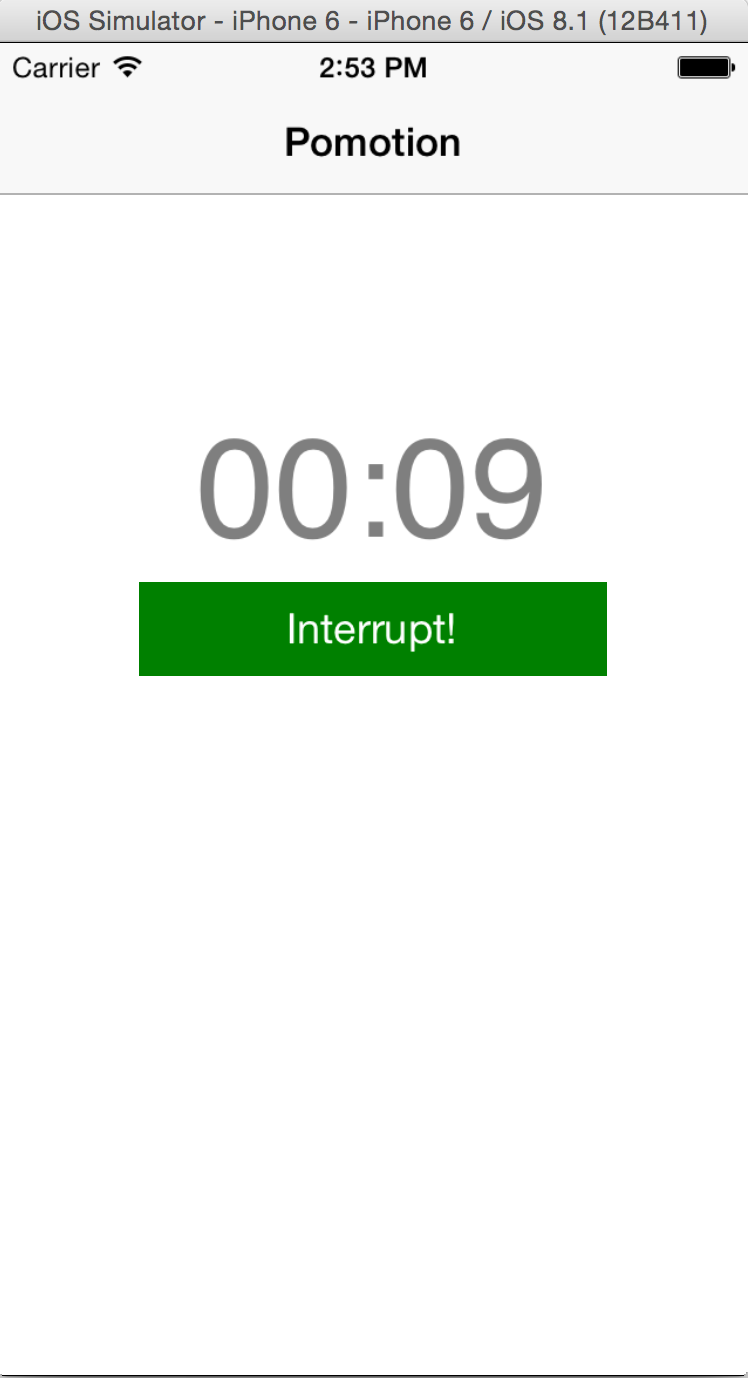
Run rake, then tap Start Timer; you'll see the button's title change as shown below:

Updating the Label
The countdown timer isn't terribly useful at present since the on-screen timer doesn't count down yet. Fortunately, that's your very next task!! :]
Add the following method to app/controllers/main_view_controller.rb:
def timer_label
  view.timer_label
end
This updates timer_label in MainView should be updated with the current count of pomodoro_timer each time the timer decrements.
Still in main_view_controller.rb, modify pomodoro_timer_did_decrement to look like the code below:
def pomodoro_timer_did_decrement(pomodoro_timer)
  mins = pomodoro_timer.count / 60
  secs = pomodoro_timer.count % 60
  timer_label.text = "%02d:%02d" % [mins, secs]
end
Here you take the value of pomodoro_timer.count and break it down into separate minutes and seconds values. You then set the text of timer_label to a formatted string so that the minutes and seconds values will always appear as double digits.
Run rake again and tap Start Timer; you should see the timer count down from 00:10 to 00:00 as shown below:

It looks good, but watch the console carefully and you'll see the timer continues to decrement past zero and pomodoro_timer_did_finish executes multiple times.
(main)> 2014-11-13 13:57:37.038 Pomotion[9408:386412] pomodoro_timer_did_start
2014-11-13 13:57:47.039 Pomotion[9408:386412] pomodoro_timer_did_finish
2014-11-13 13:57:48.038 Pomotion[9408:386412] pomodoro_timer_did_finish
2014-11-13 13:57:49.038 Pomotion[9408:386412] pomodoro_timer_did_finish
Ah — you're not invalidating the timer. To fix this, modify pomodoro_timer_did_finish like so:
def pomodoro_timer_did_finish(pomodoro_timer)
  pomodoro_timer.invalidate
end
Now when the timer reaches zero, you'll invalidate it from within MainViewController.
Run rake and try the above scenario again; verify that the counter stops decrementing at zero and pomodoro_timer_did_finish is called just once.
Another small issue with the timer right now is that timer_label only changes when the timer has counted down from 10 to 9; the user doesn't get to see the initial value of 10 seconds.
To solve that, you'll rewrite a bit of code to set the label as soon as the controller receives pomodoro_timer_did_start.
Still in main_view_controller.rb define a new private method named update_timer_label and move the code from pomodoro_timer_did_decrement into the new method as follows:
def pomodoro_timer_did_decrement(pomodoro_timer)
end

# ...
private

def update_timer_label
  mins = pomodoro_timer.count / 60
  secs = pomodoro_timer.count % 60
  timer_label.text = "%02d:%02d" % [mins, secs]
end
# ...
Now edit pomodoro_timer_did_decrement, pomodoro_timer_did_invalidate, and pomodoro_timer_did_start so they call update_timer_label as shown below:
# ...

def pomodoro_timer_did_start(pomodoro_timer)
  timer_button.selected = true
  update_timer_label
end

def pomodoro_timer_did_invalidate(pomodoro_timer)
  timer_button.selected = false
  update_timer_label
end

def pomodoro_timer_did_decrement(pomodoro_timer)
  update_timer_label
end

# ...
Run rake then tap Start Timer to see that the timer now starts from 00:10:

Making it Look the Part
The timer is working well, but it could do with a bit of dressing up.
Add the following code to app/controllers/main_view_controller.rb, just below loadView:
def viewDidLoad
  super
  self.title = "Pomotion"
end
Run rake and you should see the title appear at the top of the screen:
That adds a bit of life to the app, but the navigation bar could use a face lift.
Add the following CSS to resources/default.css to brighten up the navigation bar:
navigation-bar {
  background-color: #7F0000;
}
navigation-bar title {
  color: white;
}
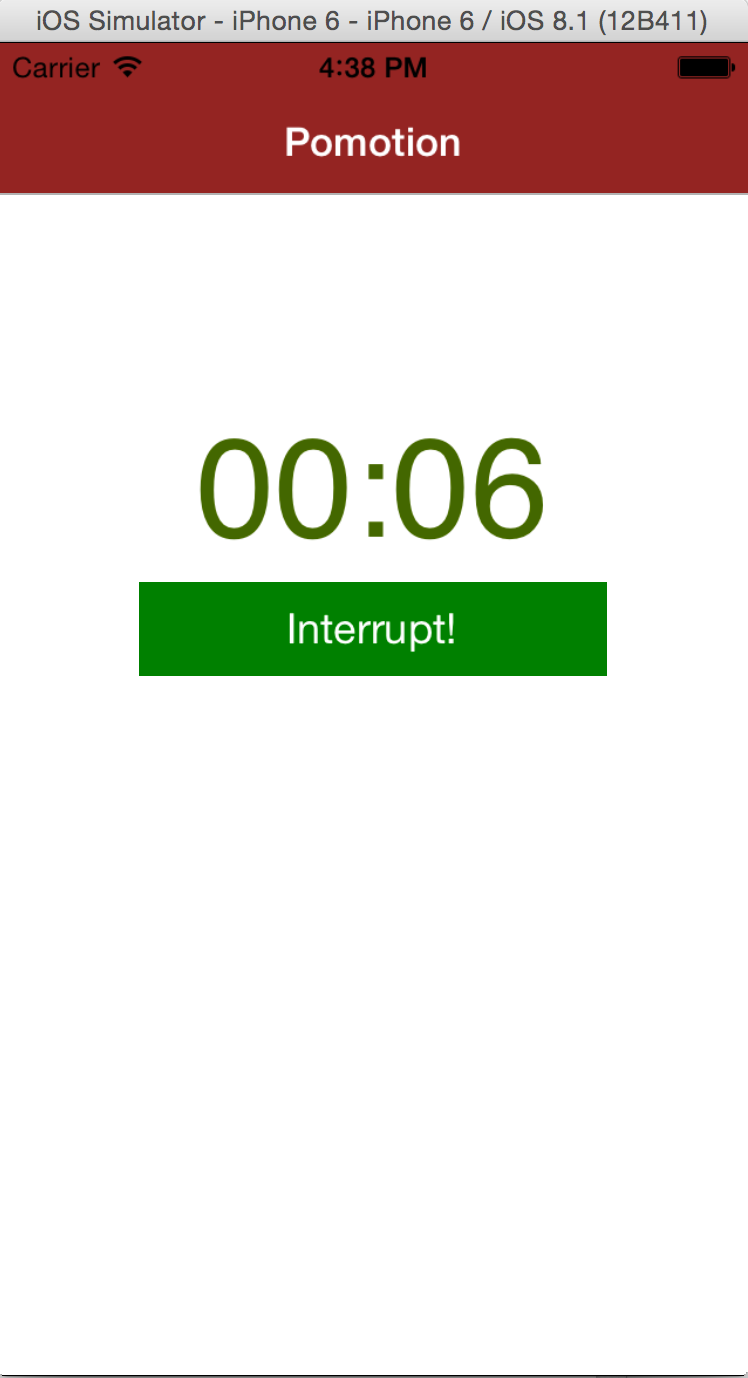
These two CSS values give the navigation bar a red tint,and color the title bar text white.
Run rake to see the results:

Extending Core Classes
You can give your app a professional touch by gradually changing the color of the timer's label from green to red as the timer counts down to 00:00.
To achieve this, you'll need to create a method that will take two colors and mix them based on a specified proportion. Since this behavior is relevant to UIColor, you should add your new method as a class method there. However, this time around you can extend the class the Ruby way! :]
First, create a new directory under app called core_extensions:
mkdir app/core_extensions
This is a sensible place to define all of the extensions you add to the core iOS and Ruby classes.
Create a file in that directory named ui_color.rb:
touch app/core_extensions/ui_color.rb
The basic design of this effect is that timer_label can have one of four color combinations: all red, all green, a red-green mix, or grey (which will be used when the timer is inactive).
Add the following helper class methods to the UIColor class in app/core_extensions/ui_color.rb:
class UIColor

  def self.pomo_grey_color
    @pomo_grey_color ||= UIColor.colorWithRed(0.5, green: 0.5, blue: 0.5, alpha: 1.0)
  end

  def self.pomo_green_color
    @pomo_green_color ||= UIColor.colorWithRed(0.0, green: 0.666, blue: 0.0, alpha: 1.0)
  end

  def self.pomo_red_color
    @pomo_red_color ||= UIColor.colorWithRed(0.666, green: 0.0, blue: 0.0, alpha: 1.0)
  end

end
This makes it easier to reference the custom red, green and grey colors in Pomotion's color scheme.
Now you need to define a class method that will mix red and green proportionally to return a new UIColor value.
First, define the following method below self.pomo_red_color:
def self.new_from_two_colors(color_1, color_2, proportion)
  # 1
  color_1_r = Pointer.new(:float)
  color_1_g = Pointer.new(:float)
  color_1_b = Pointer.new(:float)
  color_1_a = Pointer.new(:float)

  # 2
  color_1.getRed(color_1_r, green: color_1_g, blue: color_1_b, alpha: color_1_a)

  # 3
  color_2_r = Pointer.new(:float)
  color_2_g = Pointer.new(:float)
  color_2_b = Pointer.new(:float)
  color_2_a = Pointer.new(:float)
  color_2.getRed(color_2_r, green: color_2_g, blue: color_2_b, alpha: color_2_a)

  # 4
  new_red   = color_1_r.value + (color_2_r.value - color_1_r.value) * proportion

  # 5
  new_green = color_1_g.value + (color_2_g.value - color_1_g.value) * proportion
  new_blue  = color_1_b.value + (color_2_b.value - color_1_b.value) * proportion
  new_alpha = color_1_a.value + (color_2_a.value - color_1_a.value) * proportion

  # 6
  UIColor.colorWithRed(new_red, green: new_green, blue: new_blue, alpha: new_alpha)
end
Taking each commented section in turn, you'll see the following:
The following calculation determines how much red the new color should contain:
Here's some real numbers to help make sense of the calculation above. If color_1 is bright red (RGBA: 255, 0, 0, 1) and color_2 is pure white (RGBA: 0, 0, 0, 1), then color_1_r and color_2_r will be 255 and 0 respectively. The color that's a 50% blend of color_1 and color_2 will be 255 + (0 - 255) * 0.5 = 127.5.
- First, you initialize four
Pointerobjects. Pointers are handled quite differently in RubyMotion than in Objective-C — in Ruby, everything is an object and pointers are no exception. To create a new Pointer, simply initialize a new instance of the Pointer class and pass in the type as a parameter. The type can be either an Objective-C Runtime Type, or a Ruby symbol with the type name. To access the pointer's value you simply call thevalueproperty. - Next, you call the
UIColormethodgetRed:green:blue:alphato pluck the RGBA values forcolor_1and then assign them to their respective pointers. - Now do the same for
color_2. - The
proportionparameter is a float value between 0 and 1. You can think of this as "What percentage ofcolor_2do we mix intocolor_1?"color_1_r.value + (color_2_r.value - color_1_r.value) * proportion
- Perform the same calculation for the green, blue and alpha values.
- Finally, return a new
UIColorobject with the new, proportional values.
color_1_r.value + (color_2_r.value - color_1_r.value) * proportion
Run rake and test your methods from Terminal as below:
UIColor.pomo_red_color
# => #<UIDeviceRGBColor:0x9099e10>
UIColor.pomo_green_color
# => #<UIDeviceRGBColor:0x97b59c0>
UIColor.pomo_grey_color
# => #<UIDeviceRGBColor:0x94ed360>
That looks good — but what about new_from_two_colors?
UIColor.new_from_two_colors(UIColor.pomo_red_color, UIColor.pomo_green_color, 0.5)
# => #<UIDeviceRGBColor:0x909a510>
If you can stand to do the hexadecimal math yourself, you'll see that the numbers above work out correctly. :]
Back in main_view_controller.rb, add the following lines to the bottom of update_timer_label to change the text color of timer_label as the timer decrements:
if pomodoro_timer.count > 0
  proportion = pomodoro_timer.count / Time.secsIn25Mins.to_f
  color = UIColor.new_from_two_colors(UIColor.pomo_red_color, UIColor.pomo_green_color,
    proportion)
else
  color = UIColor.pomo_grey_color
end
timer_label.textColor = color
To determine the color above, you first check that pomodoro_timer's count is greater than zero; if so, then calculate the color proportion as the result of the time remaining divided by the total starting time.
Then assign color, which is a proportionate mixture of UIColor.pomo_red_color, and UIColor.pomo_green_color, to a new instance ofUIColor.
Finally, set textColor of timer_label to the new color value.
4 / 5 would return 0, while 6 / 5 would return 1. To perform float division instead, simply convert the denominator to a float.Run rake and tap the Start Timer button to see how your effect looks:

Hey — that adds a lot of polish to your app! :] However, update_timer_label is starting to get a little messy and, strictly speaking, it shouldn't be up to the controller to calculate the text color.
You can make this code a lot neater, and more MVC compliant, by extending the behavior of timer_label through defining a subclass of UILabel.
Create a new file in app/views and name it timer_label.rb using Terminal:
touch app/views/timer_label.rb
Open timer_label.rb and declare a new class TimerLabelas a subclass of UILabel:
class TimerLabel < UILabel

end
Your goal is to extract all of the logic from MainViewController that updates the timer_label, and instead place it in a custom method in TimerLabel. This makes the controller code much easier to follow, easier to maintain — and easier to test.
Still in app/views/timer_label.rb, add the following code to the class implementation:
def update_for_count(count)
  update_text_for_count(count)
  update_color_for_count(count)
end


private

def update_text_for_count(count)
  mins = count / 60
  secs = count % 60
  self.text = "%02d:%02d" % [mins, secs]
end

def update_color_for_count(count)
  if count > 0
    proportion = count / Time.secsIn25Mins.to_f
    color = UIColor.new_from_two_colors(UIColor.pomo_red_color, UIColor.pomo_green_color, proportion)
  else
    color = UIColor.pomo_grey_color
  end
  self.color = color
end
This defines a new public method for timer_label — update_for_count — which takes the count value from a PomodoroTimer object and calls two private methods: update_text_for_count and update_color_for_count.
This is the exact same update_timer_label code from MainViewController; the only difference is that you set the properties on self, instead of on update_timer_label.
This should help you appreciate how much simpler Ruby code can be, when compared to Objective-C.
Modify the implementation of main_view.rb to use your new TimerLabel class instead of UILabel as shown below:
class MainView < UIView
  # ...

  def timer_label
    @timer_label ||= TimerLabel.alloc.initWithFrame(CGRectZero).tap do |label|
      label.styleId = 'timer_label'
      label.text    = '00:00'
    end
  end

  # ...
end
Next, update update_timer_label in main_view_controller.rb to use the update_for_count method you defined above:
def update_timer_label
  timer_label.update_for_count(pomodoro_timer.count)
end
Run rake to build and launch your app; test your app to make sure it works as before. The changes you've made shouldn't have any impact on the appearance or performance of your app, but should make the code easier to maintain in the future!