How to Create an iOS Book Open Animation: Part 2
Learn how to create an iOS book open animation including page flips, with custom collection views layout and transitions. By Vincent Ngo.
Implementing the Pop Helper Methods
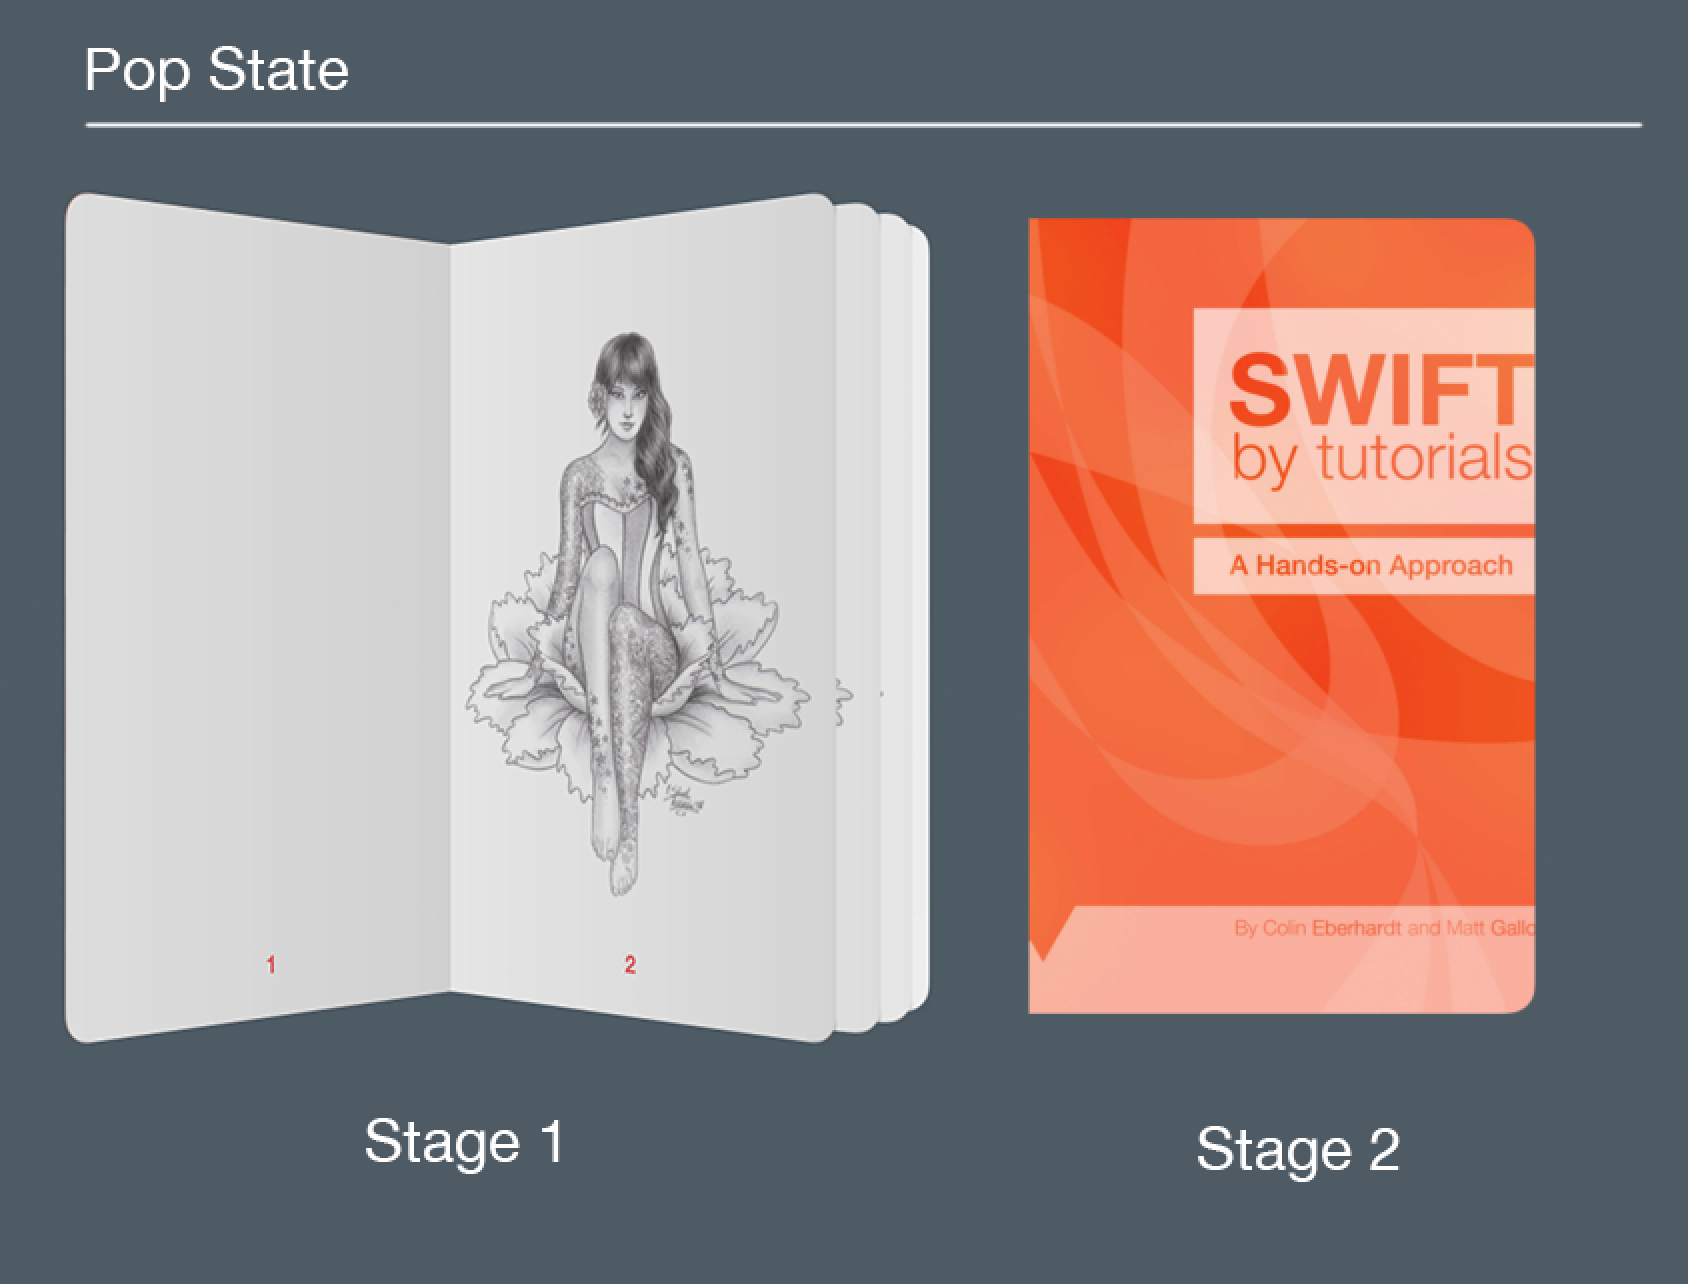
Popping the view controller is pretty much the opposite of a push. Stage 1 is now the open book state, and Stage 2 is now the closed book state:
Open up BookOpeningTransition.swift and add the following code:
// MARK: Pop methods
func setStartPositionForPop(fromVC: BookViewController, toVC: BooksViewController) {
  // Remove background from the pushed view controller
  toViewBackgroundColor = fromVC.collectionView?.backgroundColor
  fromVC.collectionView?.backgroundColor = nil
}
setStartPositionForPop(_:toVC) only stores the background color of BookViewController and removes the background color of BooksViewController‘s collection view. Note that you don’t need to set up any cell transforms, since the book is currently in its opened state.
Next, add the following code for setEndPositionForPop(_:toVC) immediately after the code you just added above:
func setEndPositionForPop(fromVC: BookViewController, toVC: BooksViewController) {
  //1
  let coverCell = toVC.selectedCell()
  //2
  for cell in toVC.collectionView!.visibleCells() as! [BookCoverCell] {
    if cell != coverCell {
      cell.alpha = 1
    }
  }
  //3
  for cell in fromVC.collectionView!.visibleCells() as! [BookPageCell] {
    closePageCell(cell)
  }
}
This method sets up the end state of the pop transition where the book goes from opened to closed:
- Get the selected book cover.
- In the closed book state, loop through all the book covers in BooksViewController and fade them all back in.
- Loop through all the pages of the current book in BookViewController and transform the cells to a closed state.
Now add the following method:
func cleanupPop(fromVC: BookViewController, toVC: BooksViewController) {
  // Add background back to pushed view controller
  fromVC.collectionView?.backgroundColor = self.toViewBackgroundColor
  // Unhide the original book cover
  toVC.selectedCell()?.alpha = 1
}
This method performs some cleanup once the pop transition has finished. The cleanup process sets BooksViewController‘s collection view background to its original state and displays the original book cover.
Now add the following code within the protocol method animateTransition(_:) inside the else block of the code with the //POP comment:
//1
let fromVC = transitionContext.viewControllerForKey(UITransitionContextFromViewControllerKey) as! BookViewController
let toVC = transitionContext.viewControllerForKey(UITransitionContextToViewControllerKey) as! BooksViewController

//2
container.insertSubview(toVC.view, belowSubview: fromVC.view)

//3
setStartPositionForPop(fromVC, toVC: toVC)
UIView.animateWithDuration(self.transitionDuration(transitionContext), animations: {
  //4
  self.setEndPositionForPop(fromVC, toVC: toVC)
}, completion: { finished in
  //5
  self.cleanupPop(fromVC, toVC: toVC)
  //6
  transitionContext.completeTransition(finished)
})
Here’s how the pop transition animation works:
- Grab the view controllers involved in the transition.
fromVCis now BookViewController (the opened book state) andtoVCis now the BooksViewController (closed book state). - Add BooksViewController below BookViewController within the container view.
-
setStartPositionForPop(_:toVC)stores the background color before setting it tonil. - Animate from the opened book state to the closed book state.
- Clean up the view controller once the animation is done by setting the background color back to it’s original color and showing the book cover.
- Notify the transition is complete.
Applying the Pop Transition to the Navigation Controller
Now you need to set up the pop transition just as you did with the push transition.
Open BooksViewController.swift and add the following method right after animationControllerForPresentController(_:):
func animationControllerForDismissController(vc: UIViewController) -> UIViewControllerAnimatedTransitioning? {
  var transition = BookOpeningTransition()
  transition.isPush = false
  self.transition = transition
  return transition
}
This again creates a new BookOpeningTransition, but the only difference is that the transition is now set to be a pop.
Now open CustomNavigationController.swift and replace the pop if statement with the following:
if operation == .Pop {
  if let vc = toVC as? BooksViewController {
    return vc.animationControllerForDismissController(vc)
  }
}
This returns the transition and performs the pop animation to close the book.
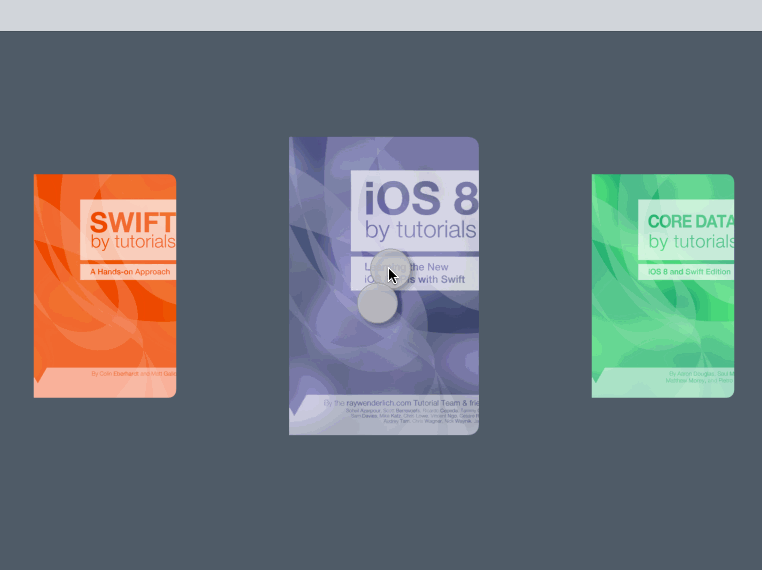
Build and run your app; select a book to see it open and close as shown below:

Creating an Interactive Navigation Controller
The opening and closing transition animations look great — but you can still do better! You can apply intuitive gestures to pinch the book open or closed.
First, open BookOpeningTransition.swift and add the following property:
// MARK: Interaction Controller
var interactionController: UIPercentDrivenInteractiveTransition?
Next open CustomNavigationController.swift and add the following code:
func navigationController(navigationController: UINavigationController, interactionControllerForAnimationController animationController: UIViewControllerAnimatedTransitioning) -> UIViewControllerInteractiveTransitioning? {
  if let animationController = animationController as? BookOpeningTransition {
    return animationController.interactionController
  }
  return nil
}
In the above method, you return the interactive animator object from BookOpeningTransition. This lets the navigation controller keep track of the progress of the animation so the user can interactively pinch a book opened or closed.
Now open BooksViewController.swift and add the following property under the transition variable:
//1
var interactionController: UIPercentDrivenInteractiveTransition?
//2
var recognizer: UIGestureRecognizer? {
  didSet {
    if let recognizer = recognizer {
      collectionView?.addGestureRecognizer(recognizer)
    }
  }
}
Here’s why you added these variables:
interactionController is of class type UIPercentDrivenInteractiveTransition, which manages the custom animation between the view controllers transitioning in and out. The interaction controller also depends on a transition animator, which is a custom object that implements the UIViewControllerAnimatorTransitioning protocol. You’ve created BookOpeningTransition — which does exactly that!
The iteractionController can control the progress between pushing and popping view controllers. To learn more about this class, read up on Apple’s documentation on how this works.
-
recognizeris a UIGestureRecognizer. You’ll use the gesture recognizer to pinch the book in and out.
Now add the following snippet under the transition.isPush = true line of your BooksViewController extension in animationControllerForPresentController(_:):
transition.interactionController = interactionController
This lets your custom navigation controller know which interaction controller to use.
Add the same code to animationControllerForDismissController(_:), under transition.isPush = false:
transition.interactionController = interactionController
Next, add the following code to viewDidLoad():
recognizer = UIPinchGestureRecognizer(target: self, action: "handlePinch:")
This initializes a UIPinchGestureRecognizer, which lets the user perform a pinch gesture with the action method handlePinch(_:).
Implement the action under viewDidLoad() like so:
// MARK: Gesture recognizer action
func handlePinch(recognizer: UIPinchGestureRecognizer) {
  switch recognizer.state {
    case .Began:
      //1
      interactionController = UIPercentDrivenInteractiveTransition()
      //2
      if recognizer.scale >= 1 {
        //3
        if recognizer.view == collectionView {
          //4
          var book = self.selectedCell()?.book
          //5
          self.openBook(book)
        }
      //6
      } else {
        //7
        navigationController?.popViewControllerAnimated(true)
      }
    case .Changed:
      //8
      if transition!.isPush {
        //9
        var progress = min(max(abs((recognizer.scale - 1)) / 5, 0), 1)
        //10
	interactionController?.updateInteractiveTransition(progress)
	//11
      } else {
        //12
	var progress = min(max(abs((1 - recognizer.scale)), 0), 1)
        //13
	interactionController?.updateInteractiveTransition(progress)
      }
    case .Ended:
      //14
      interactionController?.finishInteractiveTransition()
      //15
      interactionController = nil
    default:
      break
  }
}
For the UIPinchGestureRecognizer, you’ll keep track of three different states. The state began lets you know when the pinch has started. The state changed detects changes to the pinch, and ended lets you know when the pinch has ended.
The rundown of your implementation of handlePinch(_:) code is below:
Began State
- Instantiate a UIPercentDrivenInteractiveTransition object.
- Check that the scale, which is dependent on the distance between the pinch points, is greater than or equal to
1. - If so, ensure that the view you involved in the gesture is indeed a collection view.
- Grab the book being pinched.
- Perform a push of BookViewController to show the pages of the book.
- If the scale is less than
1… - …perform a pop of BookViewController to show the book cover again.
Changed State – While Pinching
- Check to see if the current transition is performing a push.
- If you’re pushing to BookViewController, obtain the
progressof the user’s pinch gesture.progressmust be between0and1. You scale the pinch down to one-fifth of its original value; this gives the user more control over the transition. Otherwise pinching a book open would appear to jump to the opened state immediately. - Update the completed percentage of the transition based on the progress you calculated earlier.
- If the current transition is not performing a push, then it must be performing a pop.
- While pinching the book closed, the scale must progress from 1 to 0.
- Finally, update the progress of the transition.
End State – Stop Pinching
- Notify the system that the user interaction of the transition is complete.
- Set the interaction controller to
nil.
Finally, you need to implement the pinch-to-closed state. Therefore you have to pass the gesture recognizer to BookViewController so it can pop itself.
Open up BookViewController.swift, and add the following property under the book variable:
var recognizer: UIGestureRecognizer? {
  didSet {
    if let recognizer = recognizer {
      collectionView?.addGestureRecognizer(recognizer)
    }
  }
}
Whenever you set the gesture recognizer in BookViewController, the gesture will be added immediately to the collection view so you can track the pinch gesture as the user closes the book.
Next you need to pass the gesture recognizer between the BooksViewController and BookViewController.
Open up BookOpeningTransition.swift. Add the following lines to cleanUpPush(_:toVC) after the point where you set the background color:
// Pass the gesture recognizer
toVC.recognizer = fromVC.recognizer
Once you’ve pushed from BooksViewController to the BookViewController, you pass the pinch gesture to BookViewController. This automatically adds the pinch gesture to the collection view.
When you pop from BookViewController to BooksViewController, you have to pass the pinch gesture back.
Add the following line to cleanUpPop(_:toVC), just after the line where you set the background color:
// Pass the gesture recognizer
toVC.recognizer = fromVC.recognizer
Build and run your app; select any book and use a pinch gesture to open and close the book:
The pinch gesture is a natural mechanism to open and close a book; it is also an opportunity to clean up your interface. You don’t need that Back button in the navigation bar anymore — time to get rid of it.
Open Main.storyboard, select Custom Navigation View Controller, open the Attributes Inspector and uncheck Bar Visibility under the Navigation Controller section, like so:

Build and run your app again:

Much cleaner! :]