Espresso Testing and Screen Robots: Getting Started
In this Espresso testing tutorial you’ll learn how to create UI tests with Espresso and how to leverage Screen Robots to make them clear and maintainable. By Victoria Gonda.
Verifying an Item on Screen
Now that you know how to launch an Activity in a test, you can start adding verifications for what’s on screen.
There are three classes you need to know about to follow along:
- ViewMatchers contains methods that Espresso uses to find the view on your screen with which it needs to interact.
-
ViewActions contains methods that tell Espresso how to automate your UI. For example, it contains methods like
click()that you can use to tell Espresso to click on a button. - ViewAssertions contains methods used to check if a view matches a certain set of conditions.
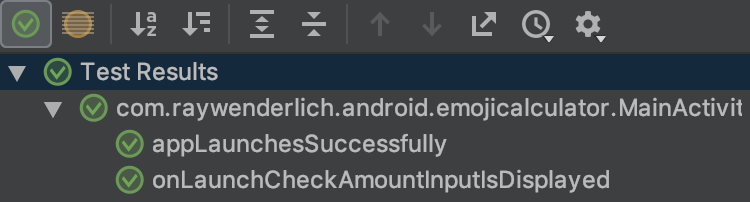
Add the following test to verify that when the screen is opened there is a field for the check amount:
@Test
fun onLaunchCheckAmountInputIsDisplayed() {
  // 1
  ActivityScenario.launch(MainActivity::class.java)

  // 2
  onView(withId(R.id.inputAmount))
      // 3
      .check(matches(isDisplayed()))
}
Here you:
- Launch the activity, same as before.
- Add a matcher for a view with the ID
inputAmount. - Verify that the matched view is displayed on screen.
All of these methods are a part of the androidx.test.espresso.* package, so make sure you add appropriate imports.
This is a pattern you’ll see over and over again in Espresso tests: matching views and performing checks on them.
Build and run your tests.
Matching Views Using Text
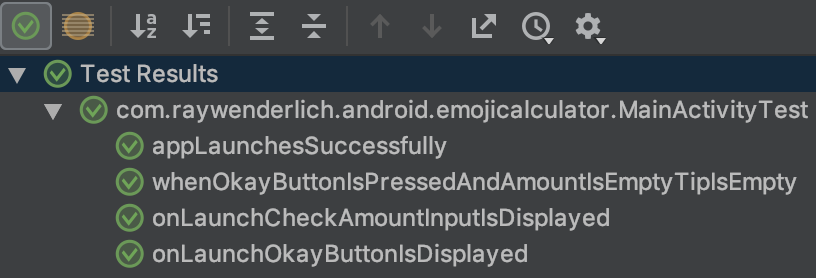
You can match views by many things other than their ID, such as text. Try this out while testing for the Okay button. Add the following test to your test class:
@Test
fun onLaunchOkayButtonIsDisplayed() {
  ActivityScenario.launch(MainActivity::class.java)

  onView(withText(R.string.okay))
      .check(matches(isDisplayed()))
}
The main difference here is that you use withText() instead of withId(). You can pass both references to String resources like you did above or String literals to this function.
Build and run your tests.

Deciding Which Matcher to Use
If you typed out the above, you may have noticed many autocomplete options after you typed the “with” of withText() or withId(). With so many options, how do you know which to choose?
First, you must watch for accuracy and brittleness. Then, make sure what you’re matching could only match the one view you want to test.
This could tempt you to be very specific, but you also want to make sure your tests aren’t breaking with any little change to the UI. For example, what if you’re matching with the String literal Okay and it’s later changed to OK and then changed again to Got it? You’d have to update the test every time.
This is why matching using IDs is very common. Once you have an ID set, it’s likely the only view on screen with that ID, unless it’s a collection, and unlikely to frequently change.
Here’s Google’s handy Espresso Cheat Sheet for possible Matchers, Actions and Assertions.
However, the result is brittle, hard-to-read tests. It can be useful for setting up the starting boilerplate or learning how to match something you’re unsure of. Otherwise, stay away from it.
Performing an Action
Your users do more than just open the app. They tap and interact with the items on screen. When they perform an action, they expect the right to happen and you should test to make sure it always does!
In this app, if you select one of the buttons without entering a check total first, the result is empty. Add a test that when you click the 👍 (Okay) button the tip result is empty:
@Test
fun whenOkayButtonIsPressedAndAmountIsEmptyTipIsEmpty() {
  ActivityScenario.launch(MainActivity::class.java)

  // 1
  onView(withId(R.id.buttonOkay))
      .perform(click())

  // 2
  onView(allOf(withId(R.id.textTip), withText("")))
      .check(matches(isDisplayed()))
}
There are two new things, here:
Use the org.hamcrest.Matchers.allOf package when prompted to import allOf(). This says you want the view with the ID textTip and with an empty string as the text. If all these conditions aren’t met by a view on the screen, the test will fail.
- After matching the button by ID as you learned with the other views, you call
.perform(click())on it. You can combine matchers with.perform()to do a number of different actions on a view. - There’s an extra layer of nesting in this matcher. You can tell Espresso that it needs to match both the conditions on the view using
allOf().
Again, run your tests and see that they pass!
Typing Text
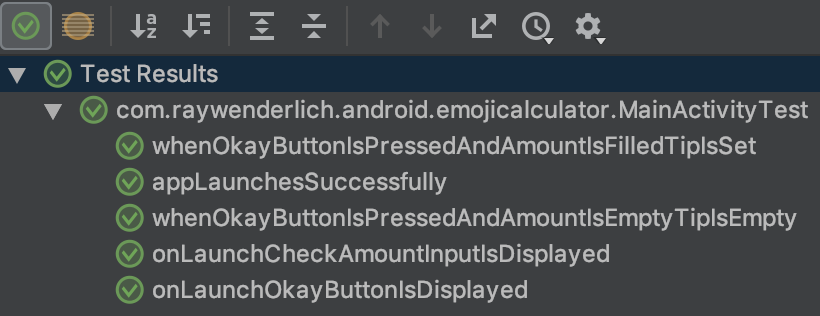
Another action you’re likely to frequently perform is typing in some text. Add a test for when you type in an amount, then press the 👍 (Okay) button, the screen displays the correct tip.
@Test
fun whenOkayButtonIsPressedAndAmountIsFilledTipIsSet() {
  ActivityScenario.launch(MainActivity::class.java)

  // 1
  onView(withId(R.id.inputAmount))
      .perform(typeText("11"))

  onView(withId(R.id.buttonOkay))
      .perform(click())

  // 2
  onView(withId(R.id.textTip))
      .check(matches(withText("1.98")))
}
Most of this is similar to other tests. Here’s what’s new:
- The statement to type in “11” into the input. You use a matcher like you’ve learned, then call
.perform(typeText("11"))to type that text into the field. - You check that the view with the ID
textTiphas the correct text usingwithText()instead of combiningallOf()andisDisplayed(). This is an alternate way to perform this check.
Run it and add it to your collection of green tests!
Writing Single Responsibility Tests
Each of your tests should only test
To continue having one responsibility for each test, write another one that checks the tip value when you have the Round up to nearest dollar switch turned on:
@Test
fun whenOkayButtonIsPressedAndRoundSwitchIsSelectedAmountIsCorrect() {
  ActivityScenario.launch(MainActivity::class.java)

  onView(withId(R.id.switchRound))
      .perform(click())
  onView(withId(R.id.inputAmount))
      .perform(typeText("11"))
  onView(withId(R.id.buttonOkay))
      .perform(click())

  onView(withId(R.id.textTip))
      .check(matches(withText("2.00")))
}
This is almost exactly the same as your previous test, except for adding the statement to click on the switch to turn it on and verify a different amount.
As always, run those tests again. :]
