How to Make a Game Like Can Knockdown
Learn how to make a game like Can Knockdown using SceneKit and Swift. By Ryan Ackermann.
Nowadays, 3D games are pushing the realism factor to a whole new level, giving it that slight visual edge over basic 2D games. Life-like materials and 3D assets, combined with realistic lighting and physics simulation pushes your games to that next level of realism for an immersive gaming experience.
In this tutorial, you’ll learn how easy it is to create your own version of Can Knockdown using SceneKit and Swift.
You’ll learn about the following topics:
- Building a basic 3D scene using the SceneKit editor.
- Loading and presenting a 3D scene programmatically.
- Setting up realistic physics and how to applying forces.
- Interacting with objects in a 3D scene through touch.
- Designing and implementing basic collision detection.
This tutorial assumes you have working knowledge of SceneKit and Swift. If you’re new to the “scene”, be sure to check out our beginner SceneKit tutorials and also our 3D iOS Games by Tutorials book. For a swift introduction to Swift, there’s a beginner Swift tutorial available too.
Getting Started
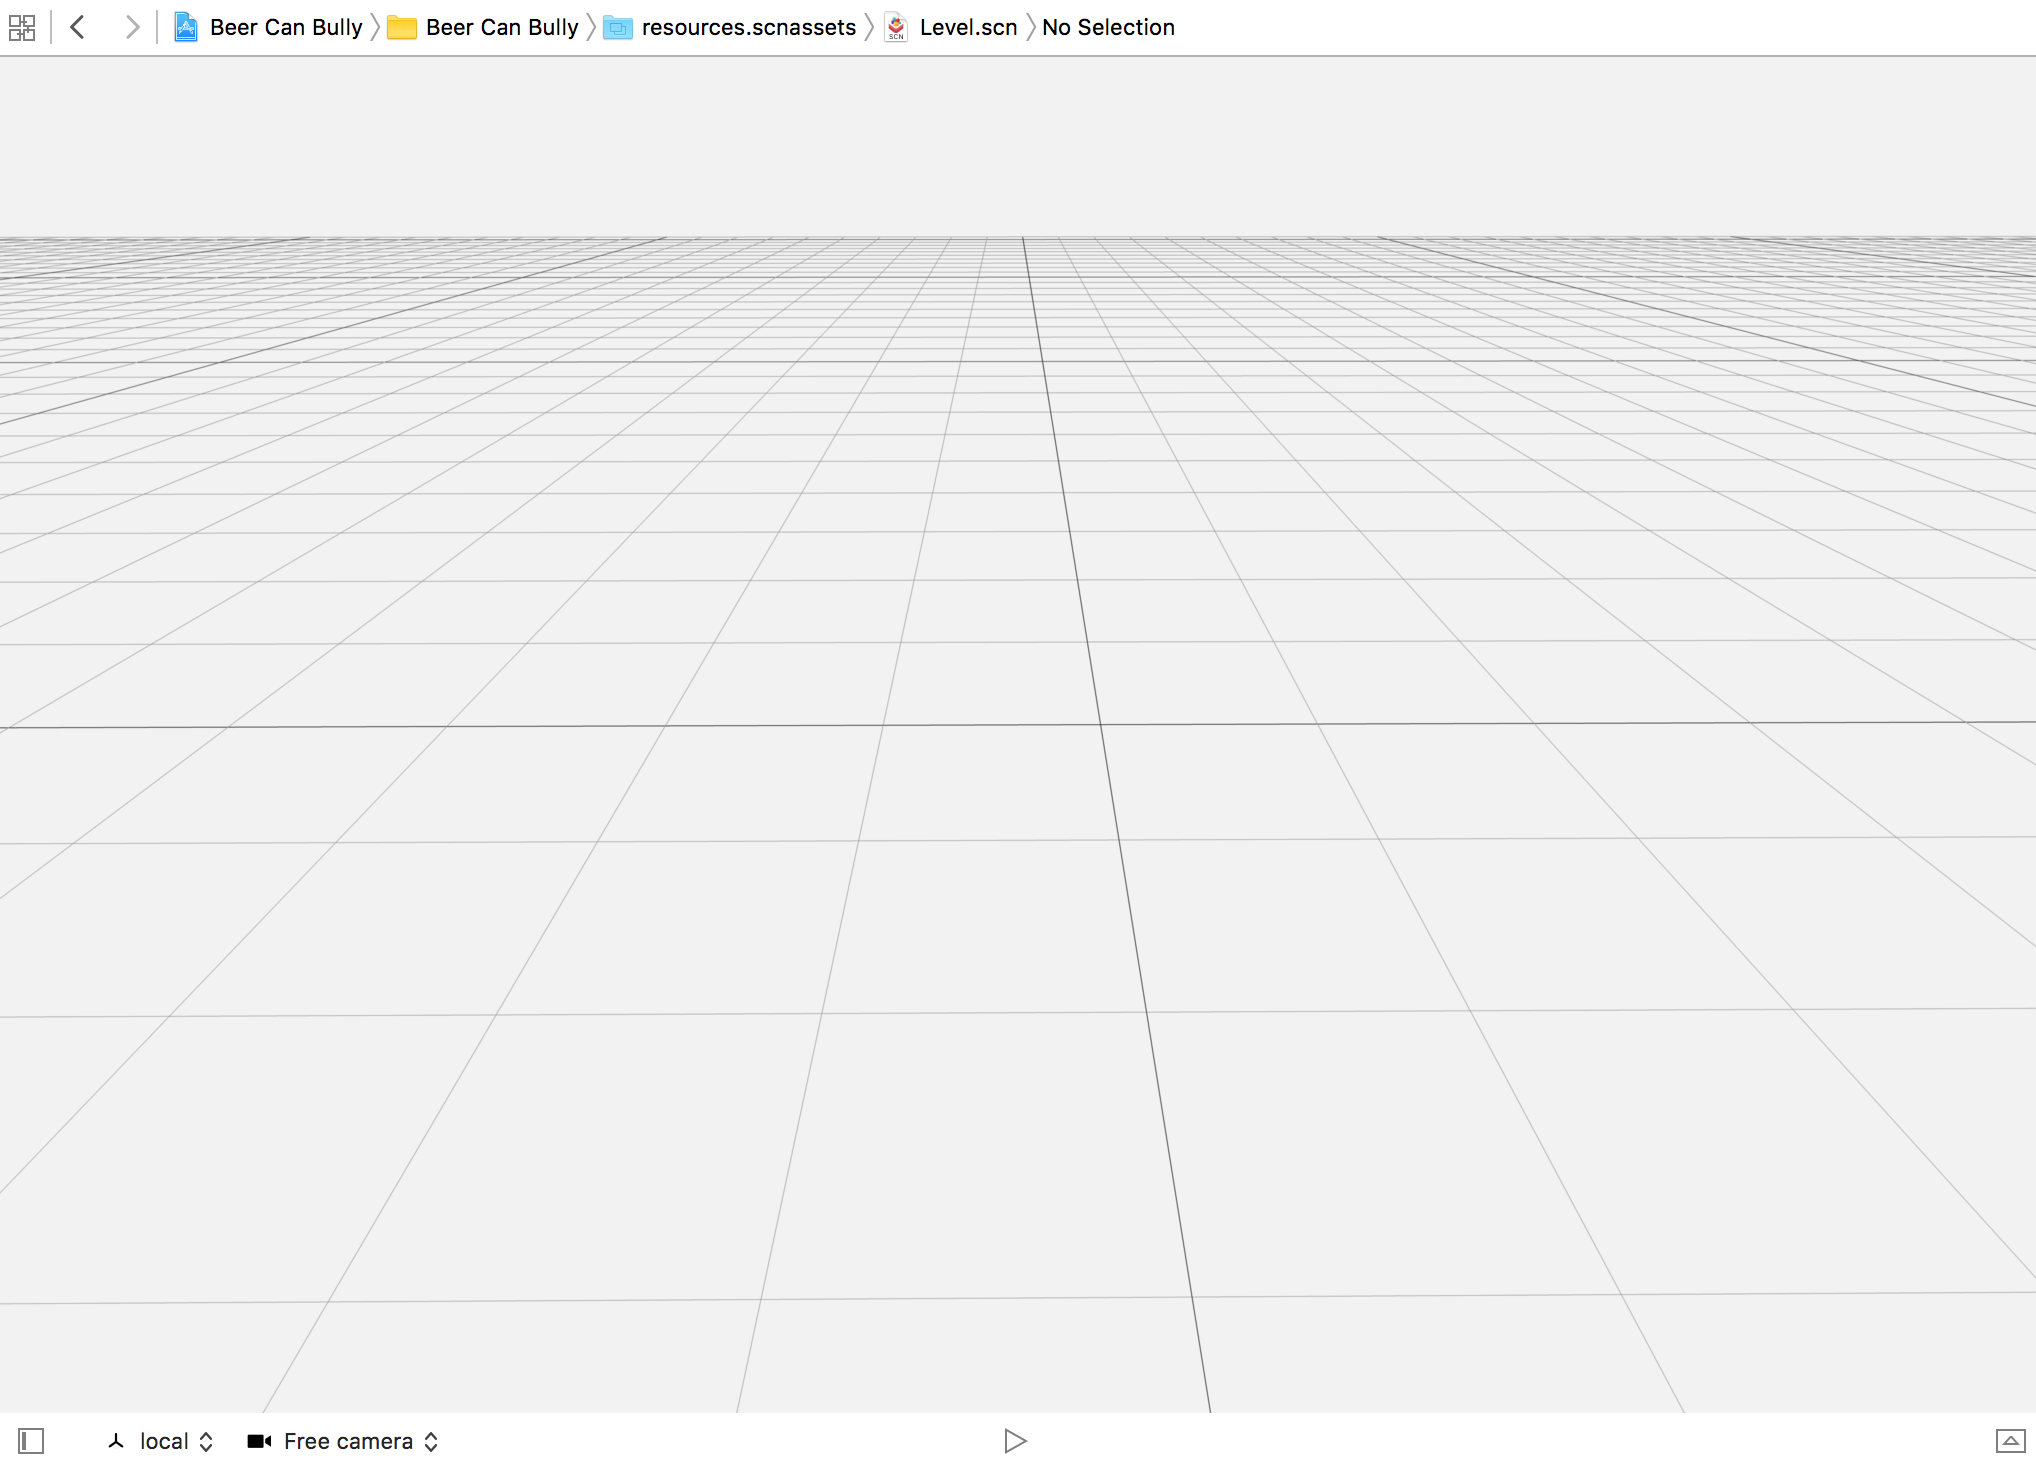
Before you continue, download the starter project first.
Open the project and take a moment to check out what’s included. You’ll find the assets for the ball and can, as well as a GameHelper file that provides you some additional helper functions that you’ll use while creating this game.
Build and run, to see what it looks like:

Stare into the black screen of endless possibilities! :]
Don’t distress, this is merely a clean slate for you to begin with. You’re now ready to get this ball rolling!
Setting Up and Presenting the Menu
Before you can start knocking some cans around, you’ll have to add the menu screen for the game first. Open GameViewController.swift and add a new property to GameViewController:
// Scene properties
var menuScene = SCNScene(named: "resources.scnassets/Menu.scn")!
This loads the menu scene. You will also be able to use menuScene as a reference to jump back and forth between the menu and the level scenes later on.
To present the menu scene, add the following below viewDidLoad():
// MARK: - Helpers
func presentMenu() {
  let hudNode = menuScene.rootNode.childNode(withName: "hud", recursively: true)!
  hudNode.geometry?.materials = [helper.menuHUDMaterial]
  hudNode.rotation = SCNVector4(x: 1, y: 0, z: 0, w: Float(M_PI))

  helper.state = .tapToPlay

  let transition = SKTransition.crossFade(withDuration: 1.0)
  scnView.present(
    menuScene,
    with: transition,
    incomingPointOfView: nil,
    completionHandler: nil
  )
}
This function configures the heads-up-display (HUD) node in the menu scene, and then presents it with a cross-fade transition using present(scene:with:incomingPointOfView:completionHandler:) from SCNView.
Add the call to presentMenu() at the bottom of viewDidLoad():
override func viewDidLoad() {
  super.viewDidLoad()
  presentMenu()
}
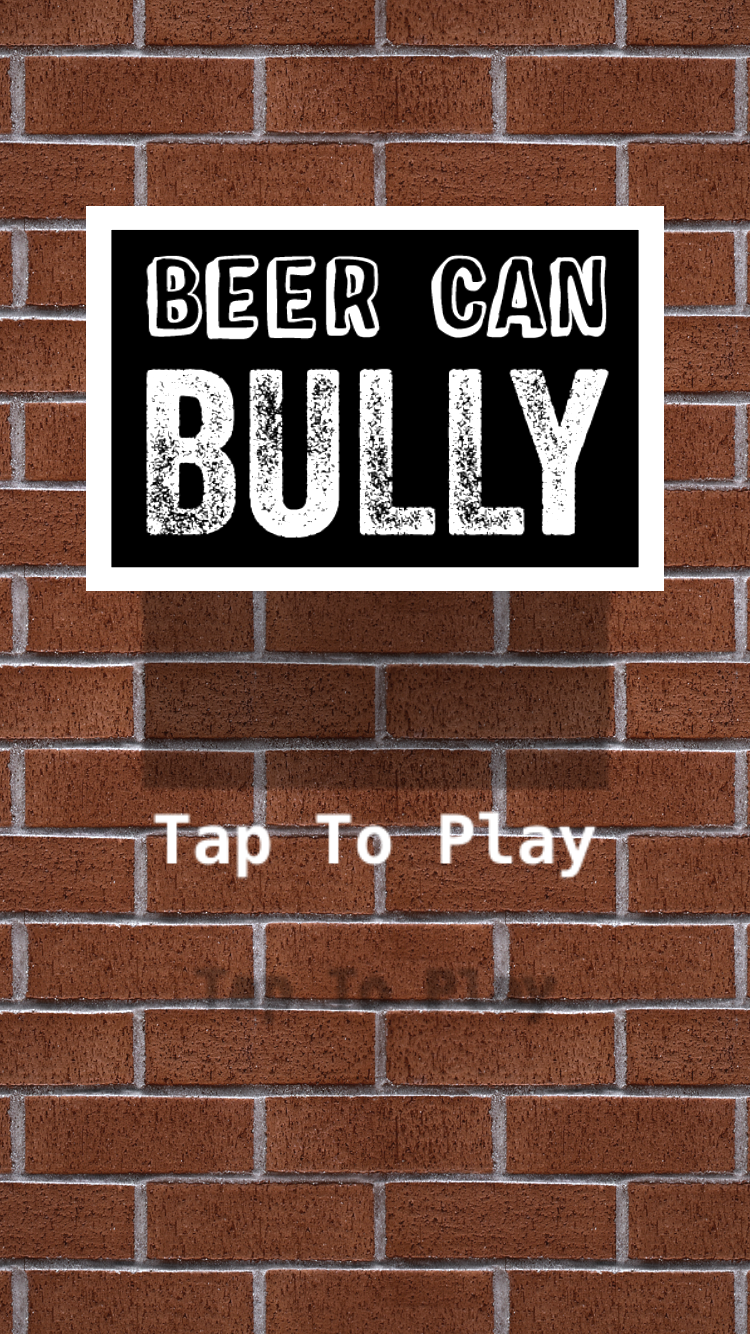
Build and run – you should now see the menu scene:
Building the Level With the SceneKit Editor
Now that the menu is loaded and looking great, it’s time to build the level scene for the game. Open up the empty resources.scnassets/Level.scn scene:
Start by dragging a Floor node from the Object Library into the scene:
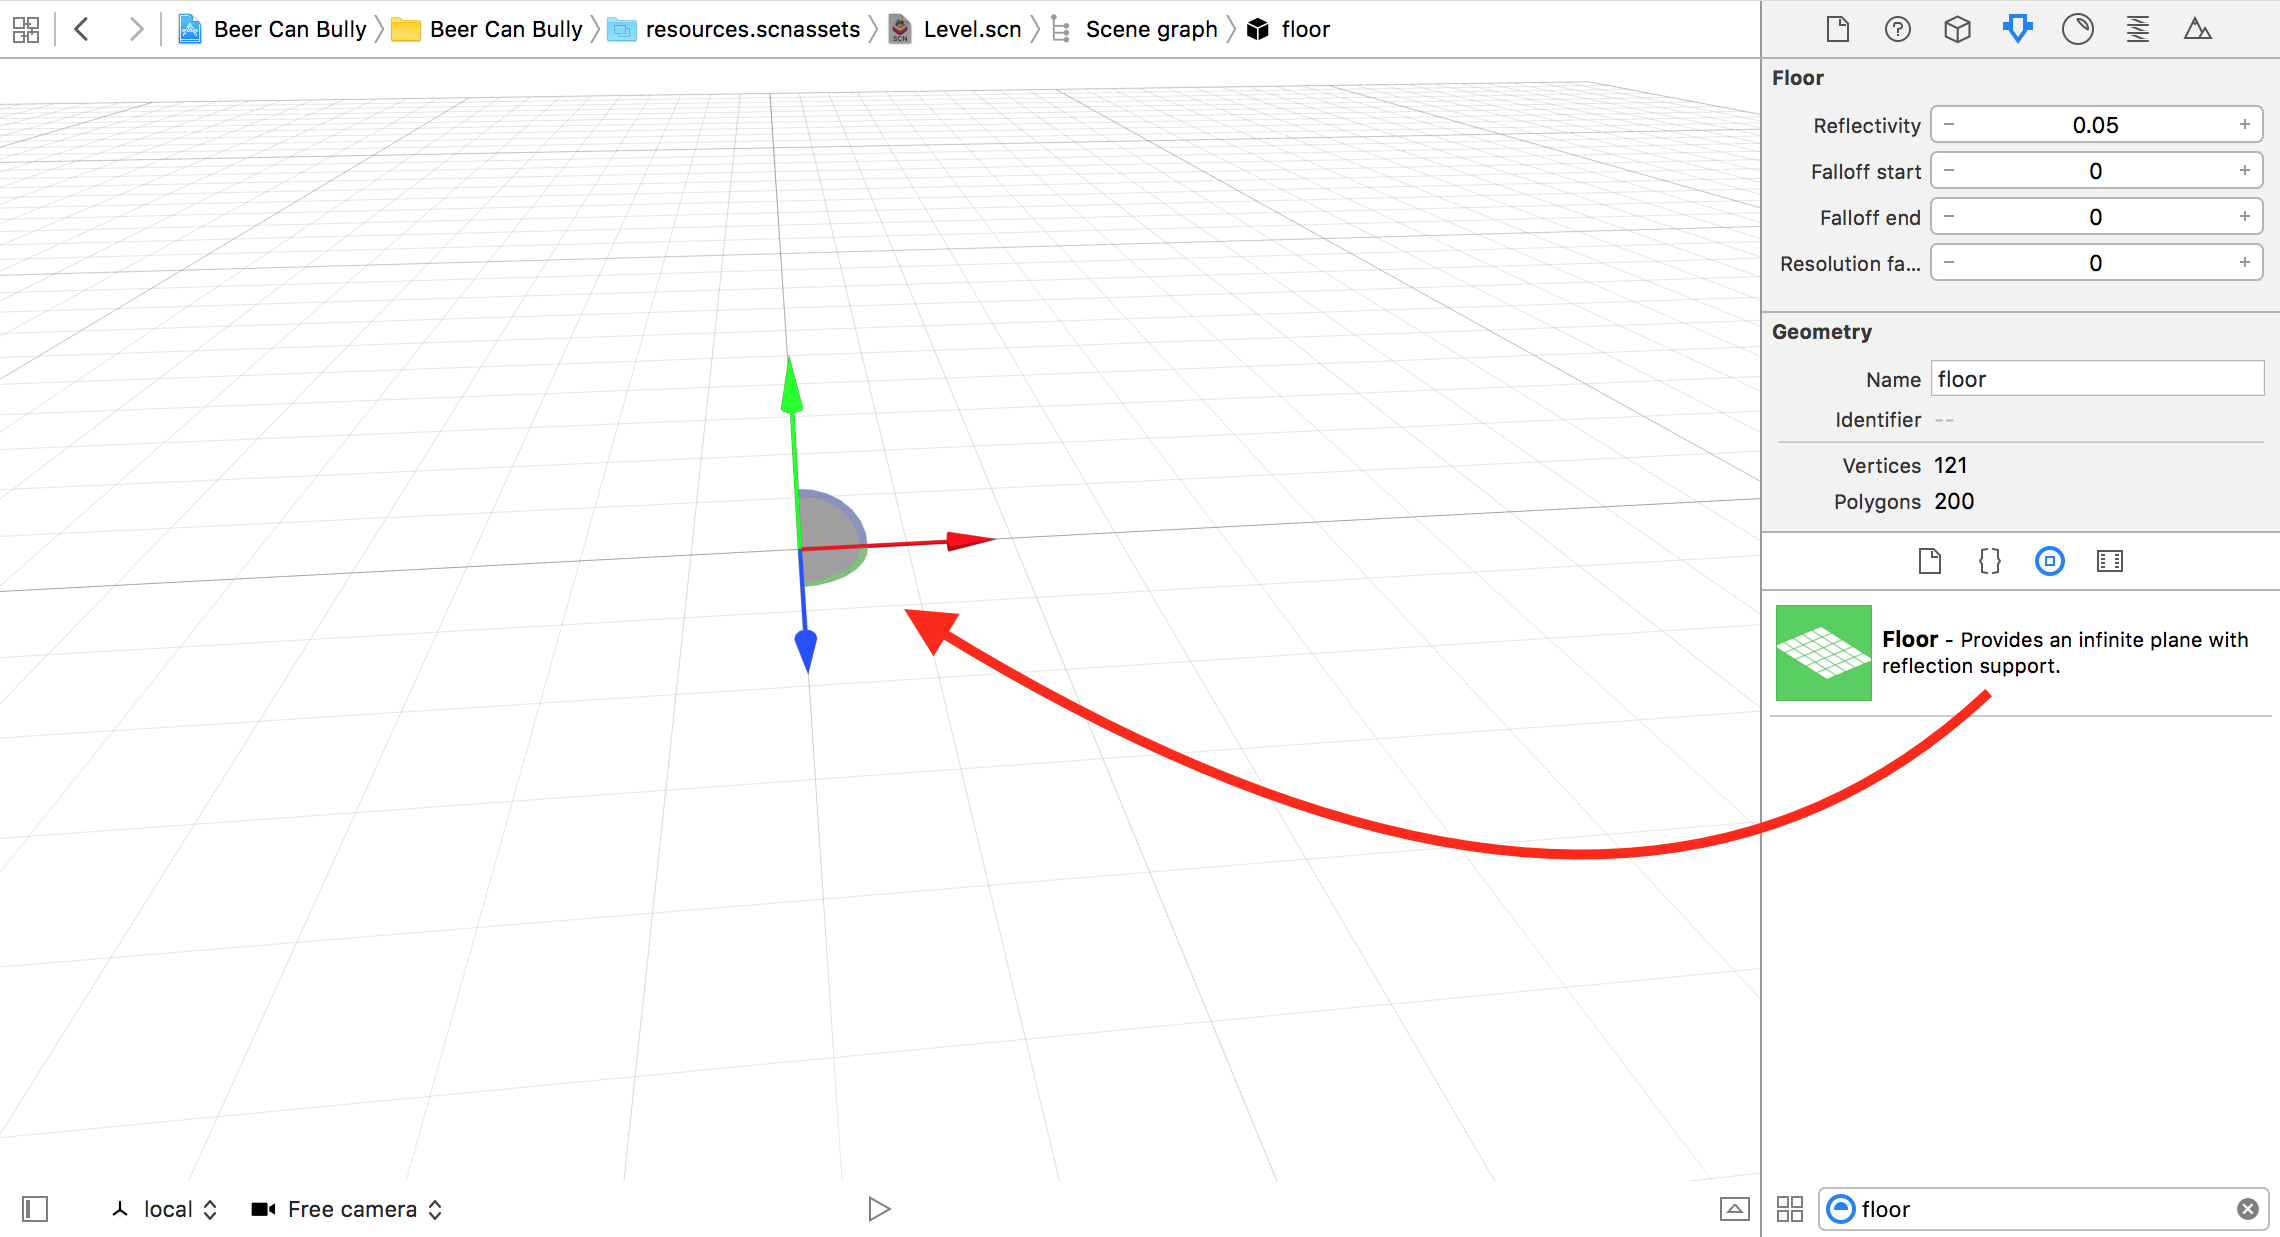
In the Attributes Inspector change Reflectivity to 0.05 so that the floor is slightly reflective.
Select the Material Inspector and set wood-floor.jpg as the Diffuse texture. Expand the Diffuse heading to see additional properties. Set the Offset to (x: 0, y: 0.2) and the Scale to (x: 15, y: 15), this shifts the texture slightly forward and shrinks it down to size. Finally, set the Rotation to 90 degrees:

Now that the floor is in place, you’ll add a brick wall as a background. The wall’s geometry is already configured for you in the Wall.scn scene. To add this wall to the level scene you’ll use it as a Reference Node.
While still inside the Level.scn scene, drag and drop a Wall reference node from the Media Library into the scene.
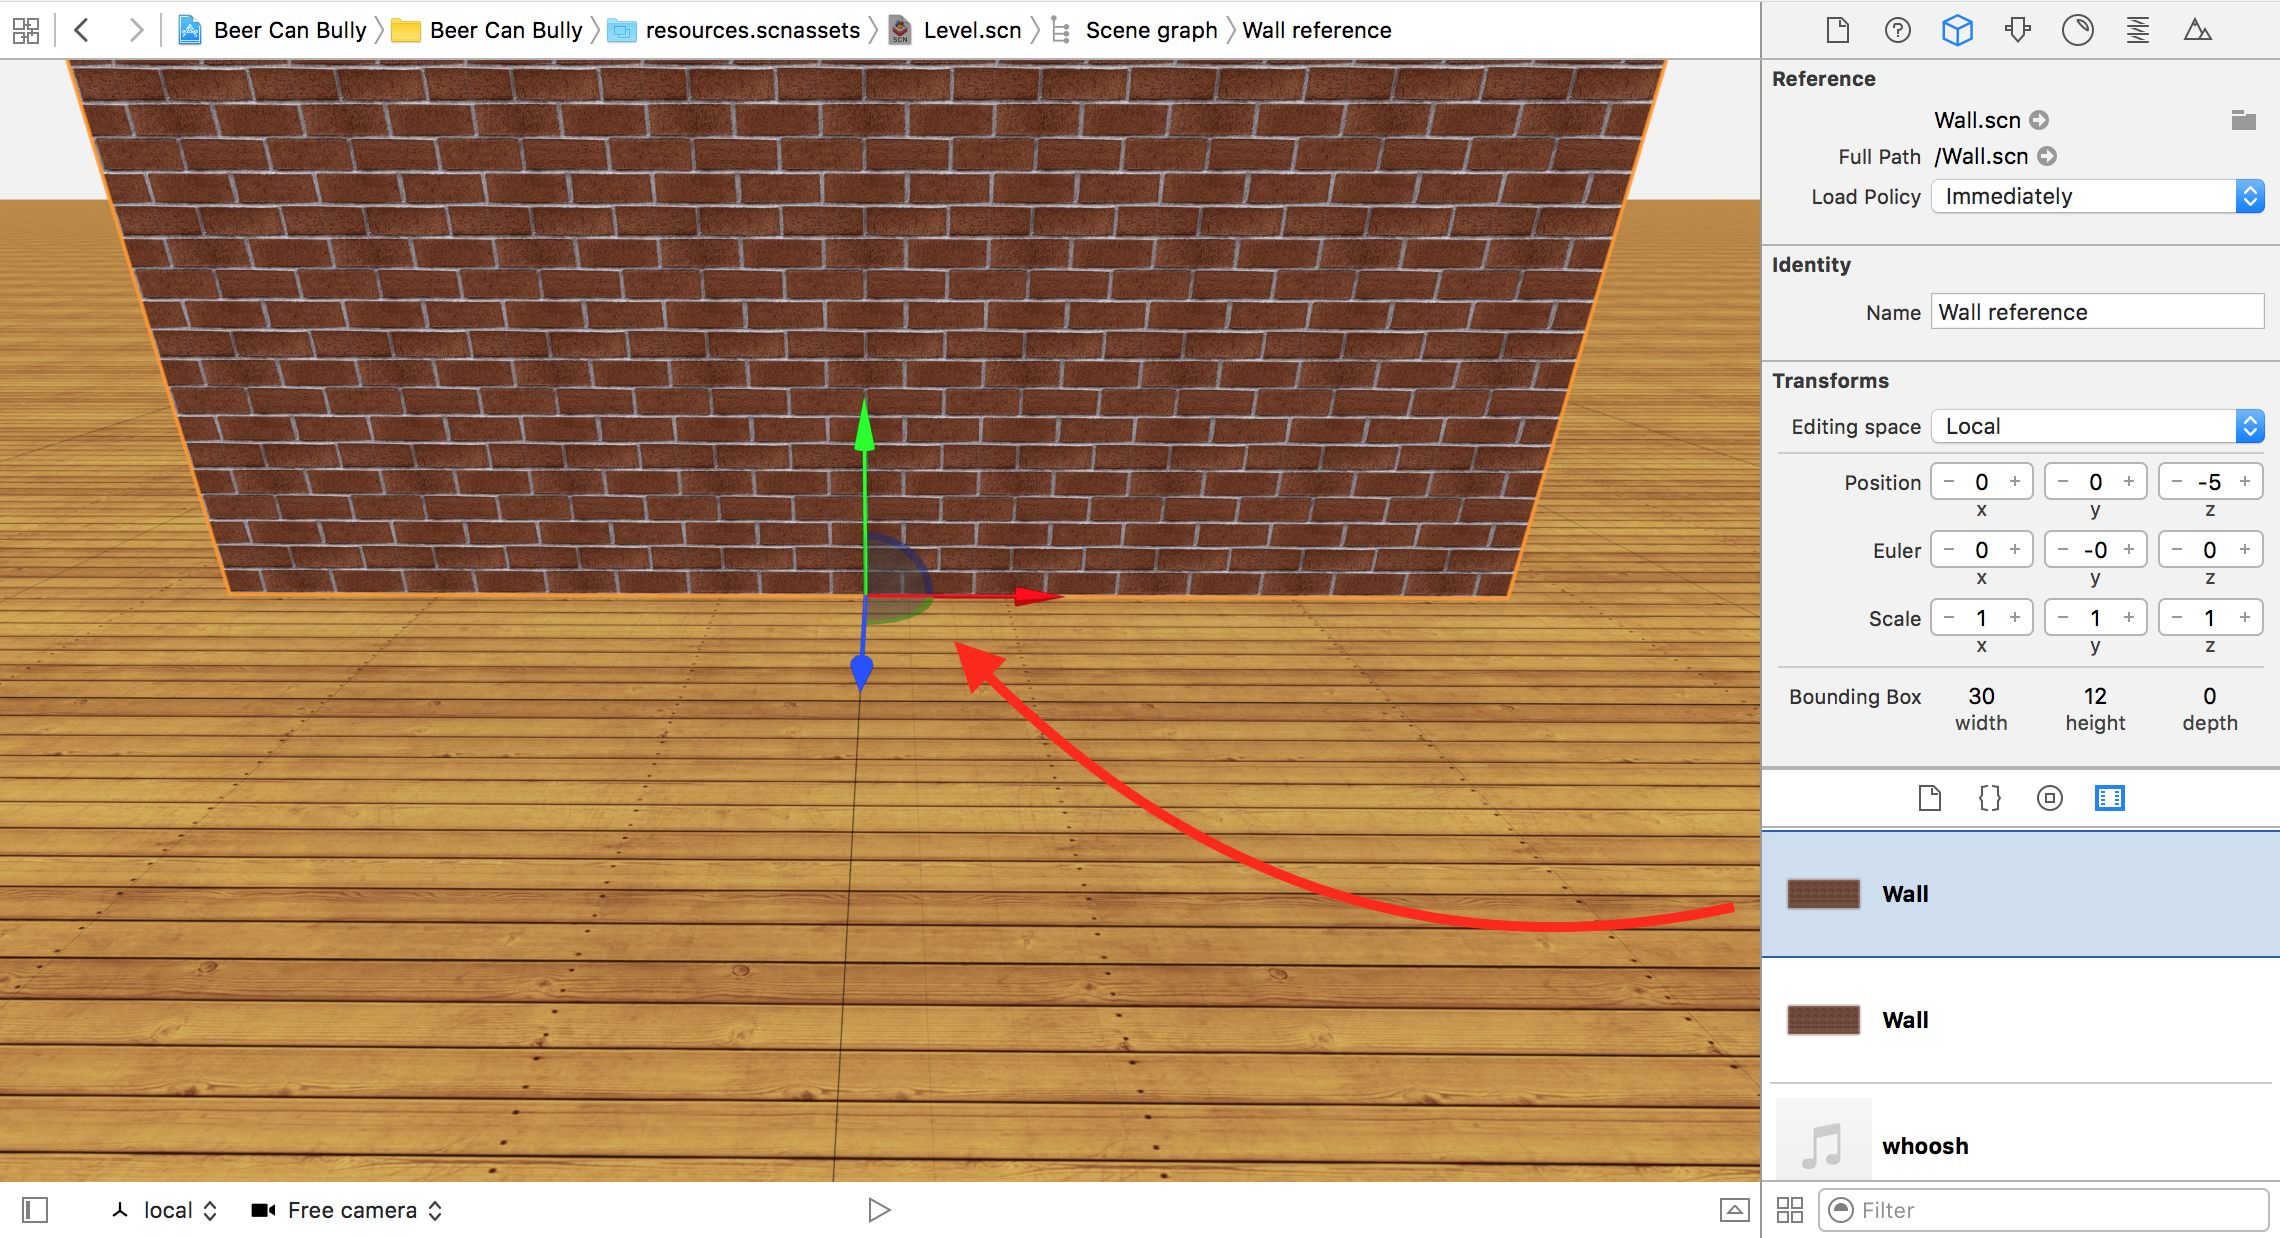
Inside the Node Inspector set the name of the node to wall and its position to (x: 0, y: 0, z: -5).
Next, you’ll need a spot to stack the cans. Drag and drop a Box from the Object Library and name it shelf, then set its position to (x: 0.0, y: 2.25, z: -2.25), placing it slightly in-front of the wall.
In the Attributes Inspector set the Width to 10 and the Height to 0.25. Finally, in the Material Inspector, set the Diffuse to wood-table.png and under additional properties, set both WrapS and WrapT to Repeat, and Scale to (x: 2, y: 2). That will make sure the texture fills the entire box, making it look like a proper shelf.
To complete the level, you just need to add a couple of lights and a camera. Start off by dragging in a Spot light from the Object Library, then set its Position to (x: 8.3, y: 13.5, z: 15.0) and the Euler to (x: -40, y: 28, z: 0). This places the spot light high up in the air, then aims it downwards to highlight the focal point of the game, the shelf, where the cans will be stacked.
In the Attributes Inspector, set Inner Angle to 35 and Outer Angle to 85. This softens the light somehwat and also widens the spot light cone, spreading the light to more parts of the scene.
Finally, under Shadow, set Sample radius to 4 and Sample count to 1 and set the Color to black with 50% opacity. This will allow the spot light to cast a soft shadow:

Just to break those black shadows, add some ambient lighting by dragging and dropping an Ambient light into the scene. The default settings are all that you need.
Last but not least, you need to add a camera to the scene to give the game some perspective. Drag a Camera into the scene. Position it at (x: 0.0, y: 2.5, z: 14.0) with a Rotation of (x: -5, y:0 , z:0). In the Attributes Inspector, change the Y fov to 45.
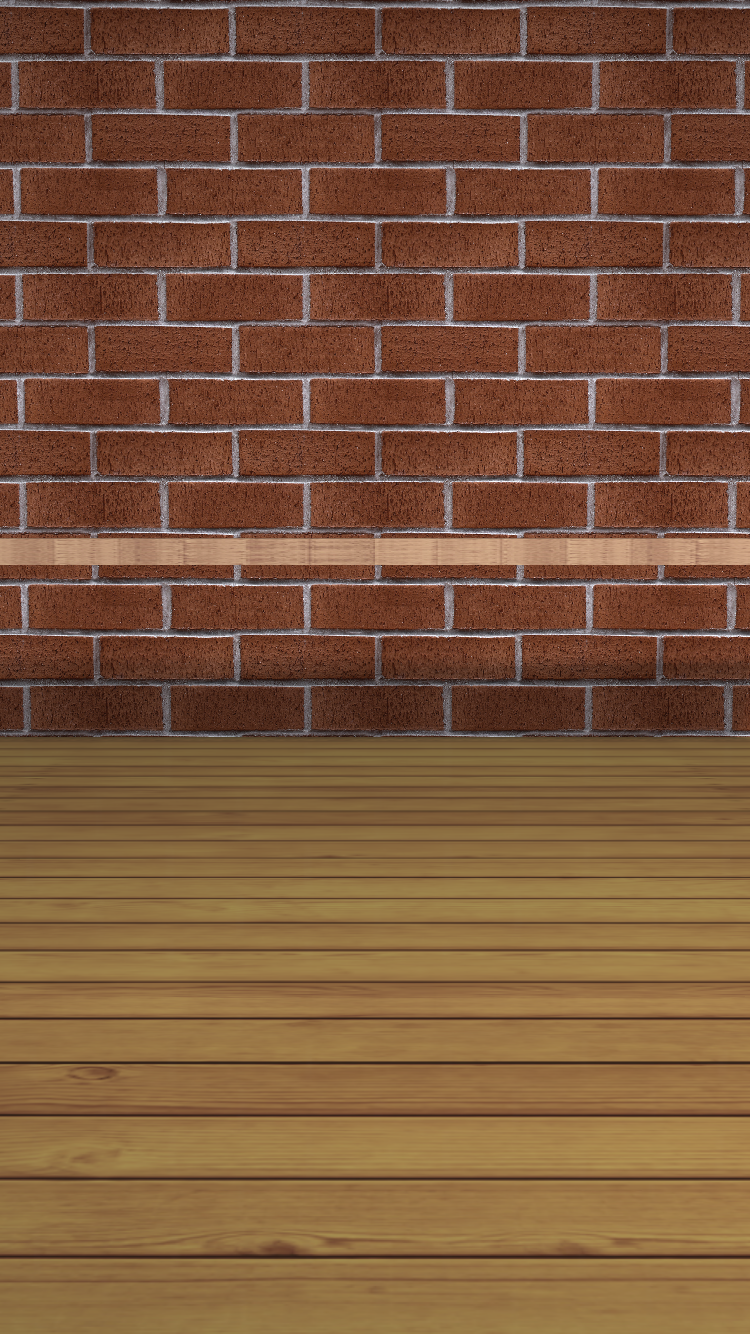
Great job! That completes the design of the level. You should now have a level looking like this:

Loading and Presenting the Level
You have a level for your game set up in Level.scn, but how do you see your creation on your device?
In GameViewController add the following right below the menuScene property:
var levelScene = SCNScene(named: "resources.scnassets/Level.scn")!
This loads the scene, and will also grant you access to all the nodes you just added to the level.
Now to present the level scene, add the following function below presentMenu():
func presentLevel() {
  helper.state = .playing
  let transition = SKTransition.crossFade(withDuration: 1.0)
  scnView.present(
    levelScene,
    with: transition,
    incomingPointOfView: nil,
    completionHandler: nil
  )
}
The function sets the game state to .playing, then presents the level scene with a cross-fade transition effect, pretty much the same way as you did with the menu scene.
Add the following to the bottom of touchesBegan(_:with:):
if helper.state == .tapToPlay {
  presentLevel()
}
This will start the game when you touch the menu scene.
Build and run, then tap on the menu scene to see the level you just designed fade in: