Updated Course: Beginning SpriteKit
Check out our 12-part course where you’ll learn how to make games in iOS using SpriteKit, Apple’s built-in 2D game framework – creating a fun game called Zombie Conga along the way! By Tammy Coron.
In the past few months, we’ve released new or updated courses for subscribers on Swift 3, iOS 10, Server Side Swift, Metal, Concurrency, Collection Views, iOS Unit & UI Testing, and more.
To start the new year off with a bang, we’re happy to announce another course: Beginning SpriteKit is now updated for Swift 3 & iOS 10!
In this 12-part course, you’ll learn how to make games in iOS using SpriteKit, Apple’s built-in 2D game framework.
Along the way, you’ll create a simple game called Zombie Conga, where you take the role of a happy-go-lucky zombie who wants to party!
You’ll learn how to work with sprites, actions, and scenes in SpriteKit, and by the end of the course you’ll have created a complete game that works on the iPhone, the iPad, and even your Apple TV.
Let’s take a look at what’s inside.

Video 1: Introduction. Get an overview of what’s inside the series, including under what situations you might use SpriteKit rather than other options, such as Unity.

Video 2: Sprites. Learn about what sprites are, how to add them to the scene, and how to position and rotate them.

Video 3: Game Loop. SpriteKit comes with a game loop that allows you to plug in your own custom logic into certain areas. Learn how this works and a gotcha to keep an eye out for.
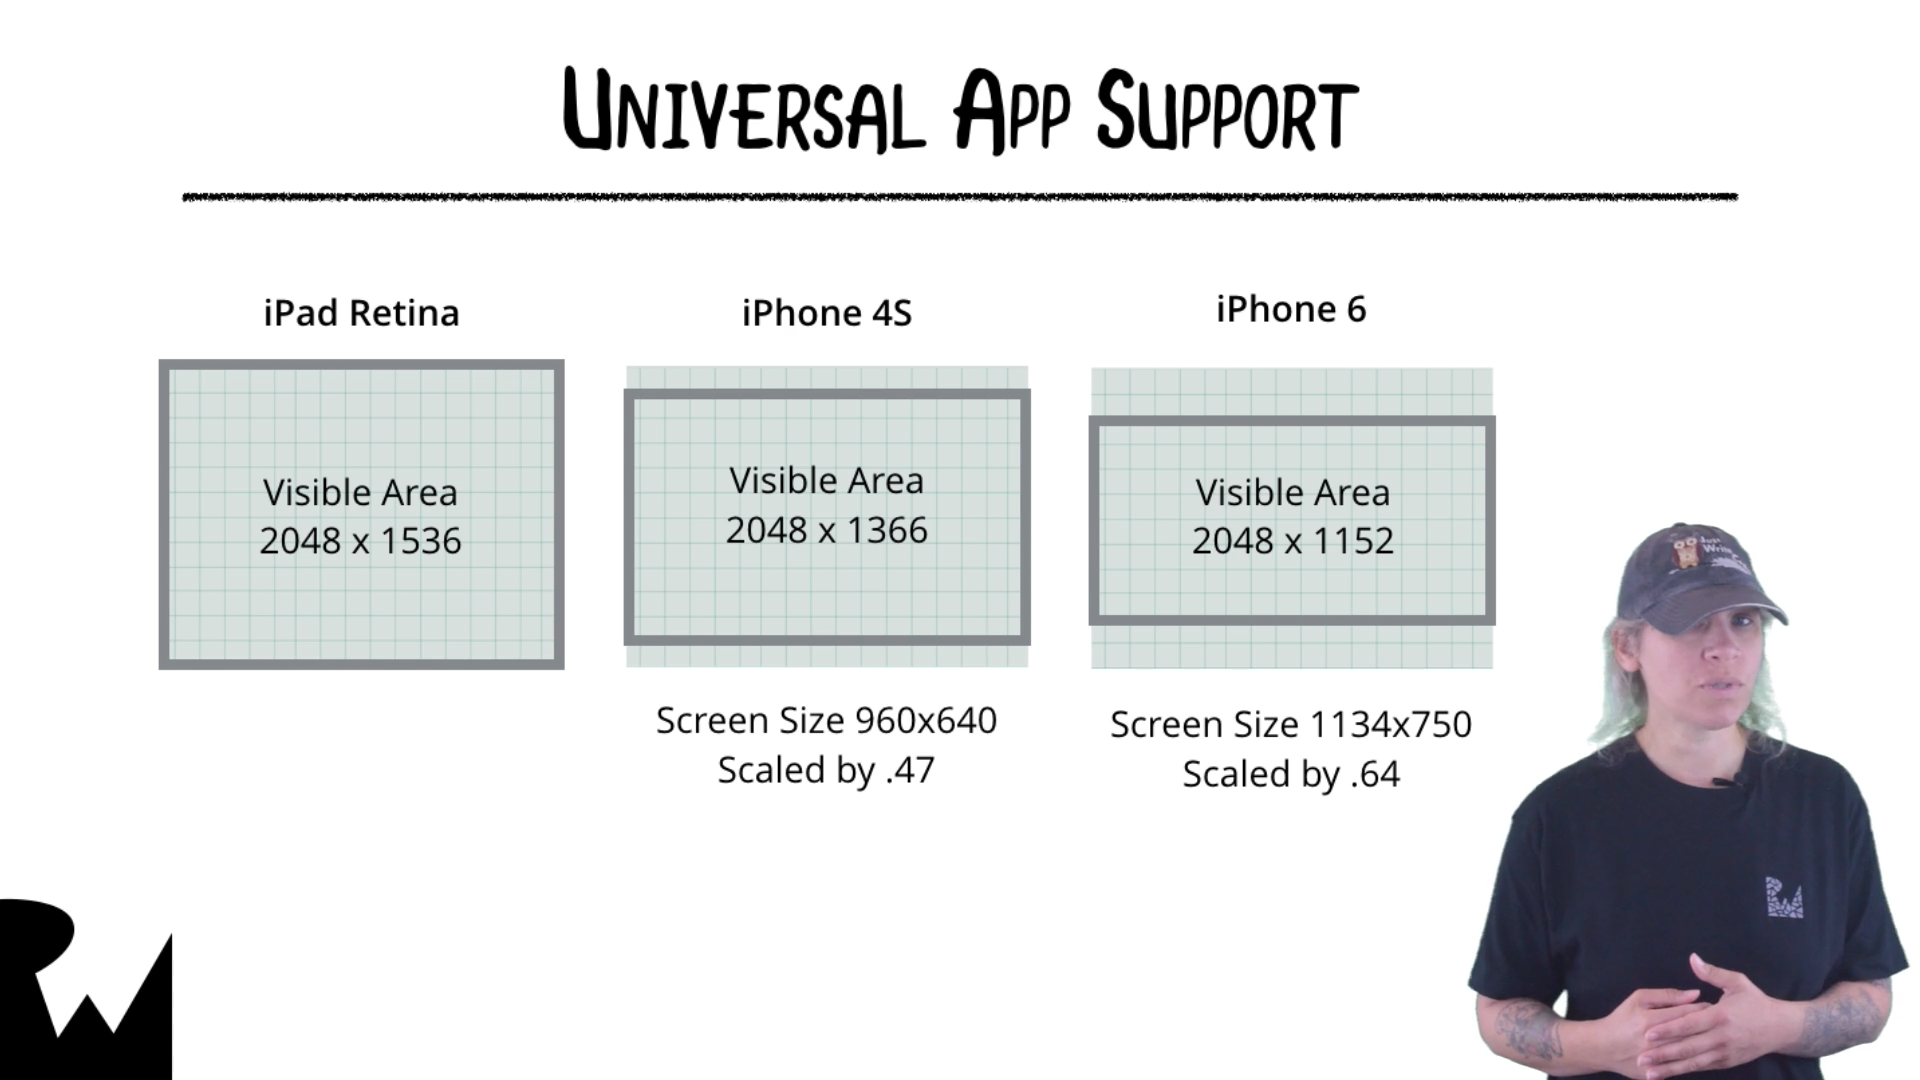
Video 4: Universal App Support. Learn how to make your game work on different devices so you’ll have one universal app supported on different screen sizes.

Video 5: Boundaries and the Playable Area. Since your game supports multiple screen sizes, in Zombie Conga you want to restrict the movement to a playable area guaranteed to be the same on all supported devices. This is easy; learn how!

Video 6: Actions. Learn about SpriteKit actions which allow you to do things like rotate, scale or change a sprite’s position over time.
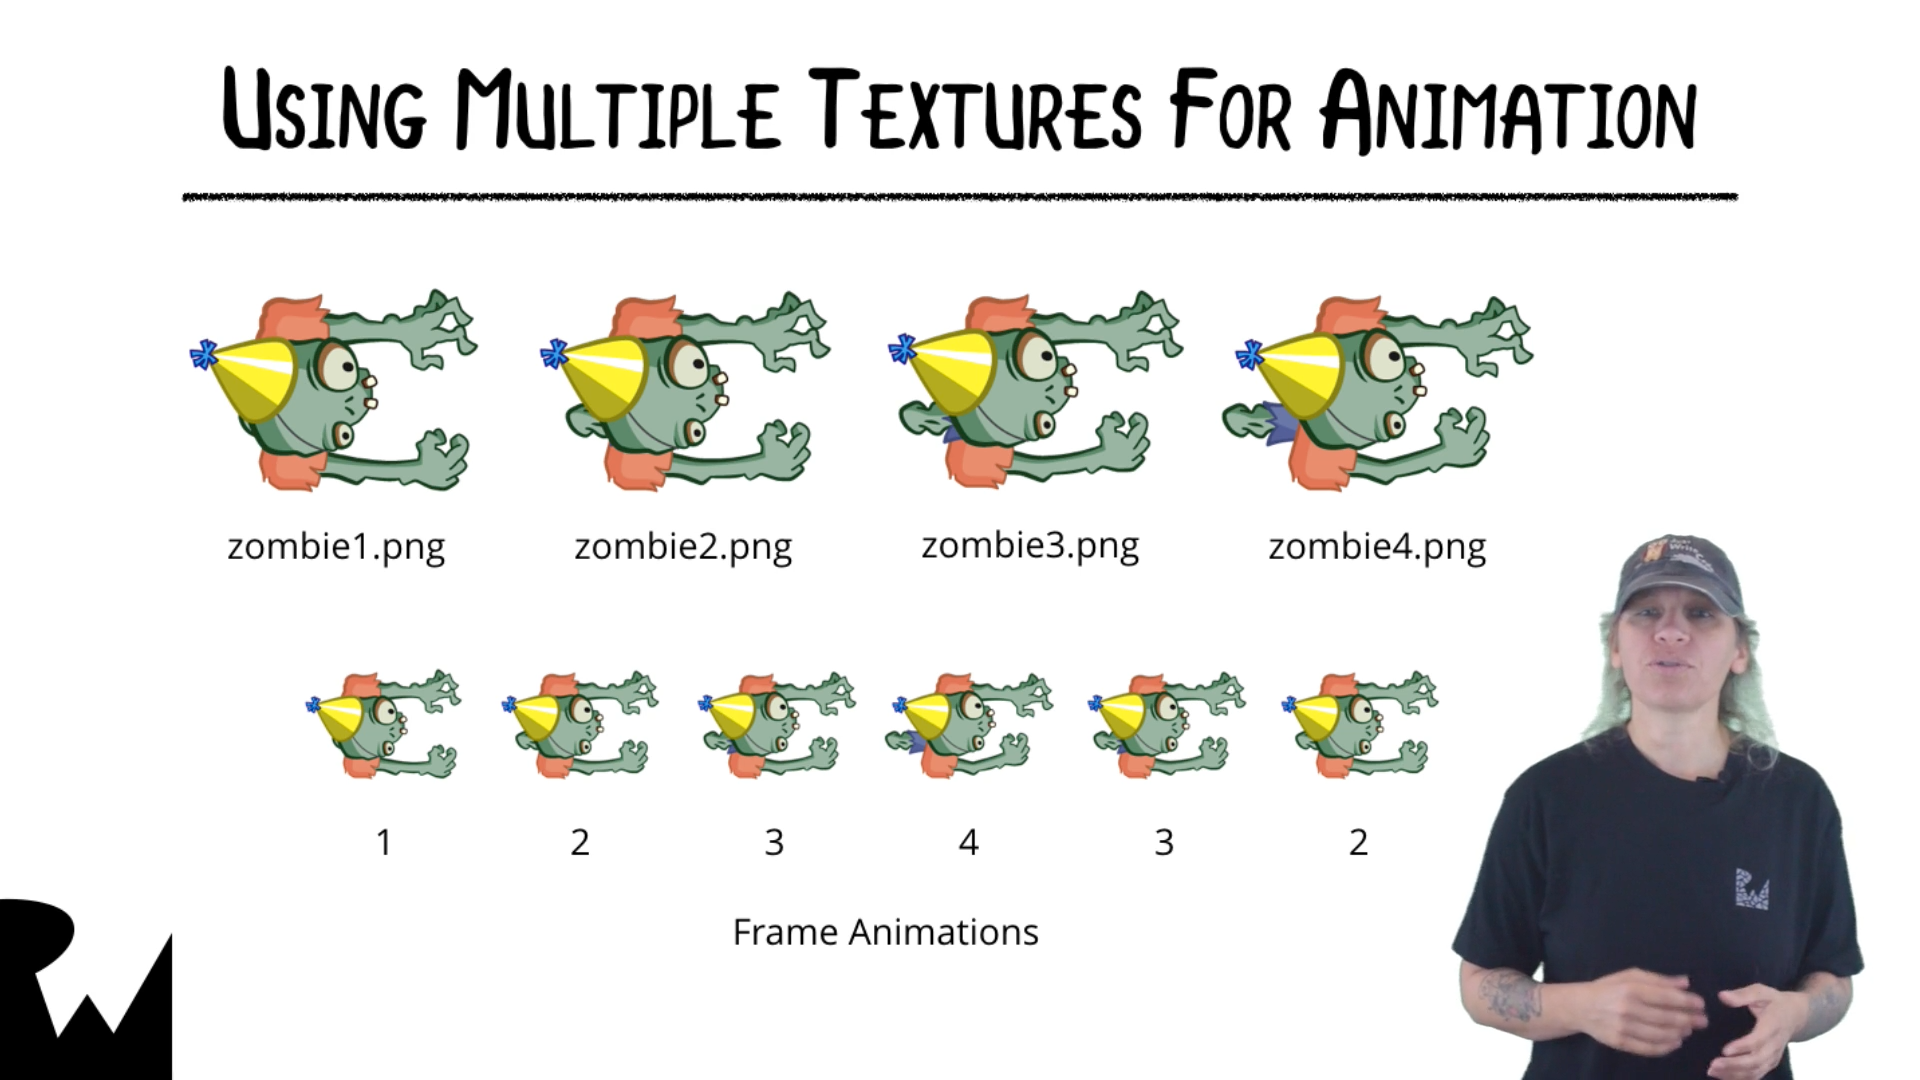
Video 7: Animations. Learn more about SpriteKit actions and how they can be used to animate sprites.

Video 8: Collision Detection. Learn how to detect when objects collide with each other – such as a zombie colliding with a cat!

Video 9: Scenes. Learn how to make your game transition between multiple scenes, such as the main scene and a game over scene.

Video 10: Labels. Learn how to work with labels in SpriteKit, which allow you to display text on the screen.

Video 11: tvOS and the Apple TV. Learn how to port Zombie Conga to the Apple TV so your game shows up on the big screen!

Video 12: Conclusion. Review what you learned in our Beginning SpriteKit course and find out where to learn more.
Where To Go From Here?
Want to check out the course? You can watch the introduction for free!
The rest of the course is for raywenderlich.com subscribers only. Here’s how you can get access:
- If you are a raywenderlich.com subscriber: The entire course is complete and available today You can check out the first part here.
- If you are not a subscriber yet: What are you waiting for? Subscribe now to get access to our updated Beginning SpriteKit course and our entire catalog of over 500 videos.
We hope you enjoy, and stay tuned for more new Swift 3 courses and updates to come! :]