Peek and Pop With 3D Touch
In this tutorial, you’ll implement Peek and Pop, which enables you to preview content of the navigating view controller. You’ll also take a look at custom UIPreview Actions! By Andy Pereira.
Since Apple introduced 3D Touch, alongside iPhone 6S, users have been able to access functionality within apps using new, alternate, touch-based interactions. By giving the screen varying levels of pressure, a user can do things like preview a page using Peek, then Pop to the previewed page. By augmenting your apps with 3D Touch, you give your users a more immersive and professional experience.
In this tutorial, you’ll learn how to implement 3D Touch in Geotify, the app used in the Geofencing Tutorial.
Here’s what you’ll do in this tutorial:
- Implement Peek and Pop within Storyboard.
- Programmatically handle Peek and Pop.
- Customize content size while Peeking.
- Make actions available while Peeking.
Getting Started
First, download the project materials using the Download Materials button at the top or bottom of this tutorial. Open the starter project, then build and run.
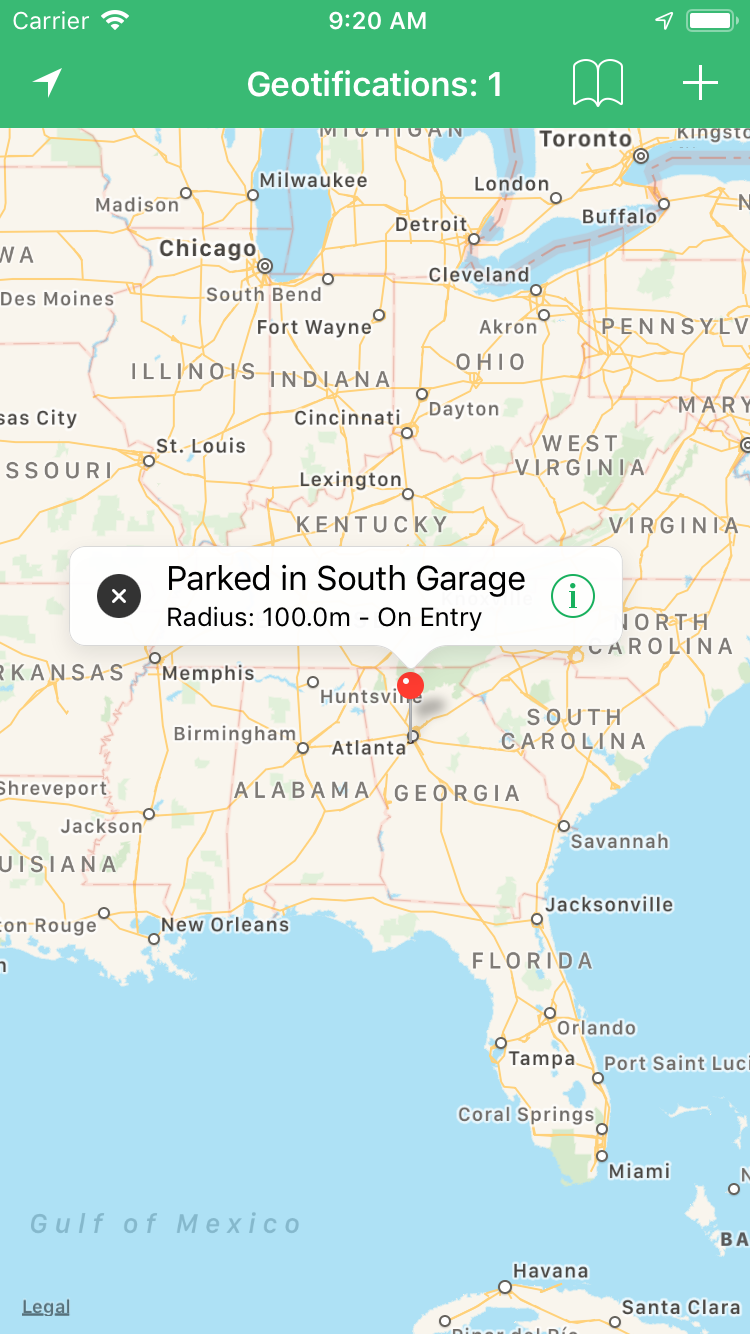
The app is the finished project from the geofencing tutorial, so everything is currently in a working state. Go ahead and add a few geofences, or Geotifications, as you’ll need at least one present to follow along in the tutorial.
Adding Peek and Pop
Open Main.storyboard and find the segue for the All Geotifications scene, ShowGeotification, and enable Peek & Pop by selecting the checkbox for Preview & Commit Segues.

Build and run the app. Ensure that you have at least one location geofenced in the app. Navigate to All Geotifications by selecting the Bookmarks Icon. Use 3D Touch to engage the first row in the table. If you’re not familiar with using 3D Touch, play around with varying levels of pressure to see how much effort is required to Peek versus Pop.
If you’re looking for a quick implementation of 3D Touch, utilizing Storyboard’s built-in functionality is an easy win.
Custom Handling
As easy as it is to use Storyboard to integrate 3D Touch into your app, you may encounter some situations in which you need more control over what happens during the peek or pop — or a situation in which you’re not even using Interface Builder. However, this doesn’t require much effort on your part.
To start, you’re going to add 3D Touch to the MKPinAnnotationView of all the Geotification pins on the map.
Open GeotificationsViewController.swift and, in mapView(_:viewFor:), below the following line:
annotationView?.rightCalloutAccessoryView = UIButton(type: .detailDisclosure)
Add the following:
if let annotationView = annotationView,
  // 1.
  traitCollection.forceTouchCapability == .available {
  // 2.
  registerForPreviewing(with: self, sourceView: annotationView)
}
Before you can programmatically implement 3D Touch, you need to do two thing:
- It’s important to check that 3D Touch is available on the device. The view controller’s trait collection provides an easy way to do this with the
forceTouchCapabilityproperty. - If your device supports 3D Touch, all you need to do is call
registerForPreviewing(with:sourceView:). Here, you provide the view controller as the delegate and the annotation view as the source view. This means that, when you use 3D Touch to engage an annotation view, it will be the source of the Peek — or previewed controller.
Next, add the following extension to the end of the file:
// MARK: - UIViewController Previewing Delegate
extension GeotificationsViewController: UIViewControllerPreviewingDelegate {
func previewingContext(_ previewingContext: UIViewControllerPreviewing,
viewControllerForLocation location: CGPoint)
-> UIViewController? {
// 1.
guard let annotationView = previewingContext.sourceView as? MKPinAnnotationView,
let annotation = annotationView.annotation as? Geotification,
let addGeotificationViewController = storyboard?
.instantiateViewController(withIdentifier: "AddGeotificationViewController")
as? AddGeotificationViewController else { return nil }
addGeotificationViewController.geotification = annotation
addGeotificationViewController.delegate = self
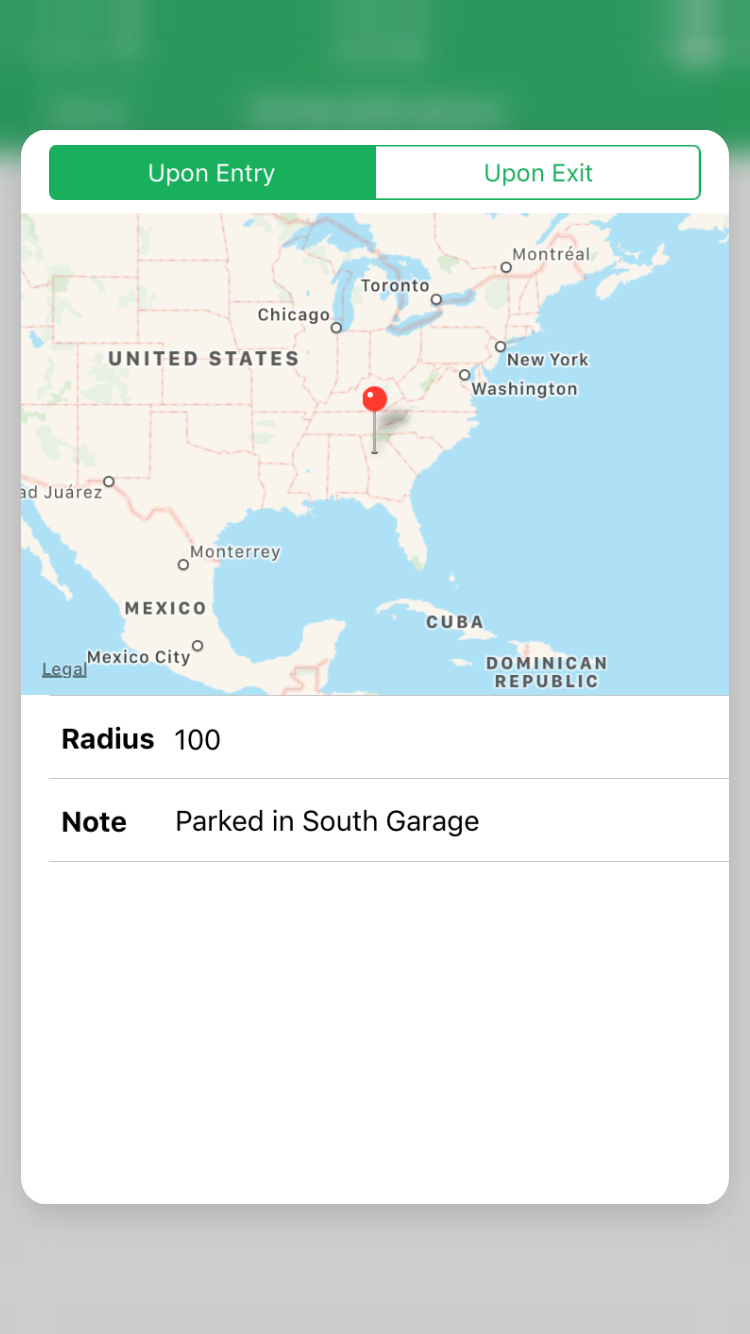
// 2.
addGeotificationViewController.preferredContentSize =
CGSize(width: 0, height: 360)
return addGeotificationViewController }
func previewingContext(_ previewingContext: UIViewControllerPreviewing,
commit viewControllerToCommit: UIViewController) {
// 3.
navigationController?.show(viewControllerToCommit, sender: nil)
}
}
In order to finish getting 3D Touch to work, you need to adopt UIViewControllerPreviewingDelegate. Because you’ve registered the annotation views to interact with 3D touches, previewingContext(_:viewControllerForLocation:) is where you’ll provide what view controller will be presented during Peeks and Pops.
- The
previewingContextprovides you access to the source of the touch. If you have multiple source views registered, this is how you can tell the difference. Once you know that the source view is a map annotation, you create anAddGeotificationViewController. - By default, the size of the preview will fill the majority of the device’s screen. In this case, there’s so much whitespace, it would look better to reduce the size of the preview. Here, you simply change the height of the preferred content size of
addGeotificationViewController. iOS handles the width for you automatically. - Last, you need to provide the information on where your Peek will Pop to. In
previewingContext(_:commit), you handle how the user should navigate to the previewed view controller, which, here, is simply by pushing onto the navigation stack.
Build and run. Tap on an annotation’s pin and, then, initiate a 3D Touch on the annotation view. You’ll now see that your preview is much more fitted to its content view.

You can also accomplish the same effect when using Storyboard to handle Peeking. Open ListTableViewController.swift and replace prepare(for:sender) with the following:
override func prepare(for segue: UIStoryboardSegue, sender: Any?) {
  if segue.identifier == "ShowGeotification" {
    guard let addViewController =
      segue.destination as? AddGeotificationViewController,
      let cell = sender as? UITableViewCell,
      let indexPath = tableView.indexPath(for: cell) else { return }
    addViewController.geotification =
      GeotificationManager.shared.geotifications[indexPath.row]
    addViewController.delegate = self
    addViewController.preferredContentSize = CGSize(width: 0, height: 360)
  }
}
Build and run. Then, navigate back to the list of Geotifications. Now when you use 3D Touch to engage a cell, you’ll see that the previewed view controller’s size has changed. Whether you’re a purist who writes UI code or uses Storyboard, you’ll find it doesn’t take much to do a lot.
Adding Actions
While it’s cool to use 3D Touch to preview and navigate to views, there’s even more you can do to add value to this feature. You may have come across actions during a 3D Touch-like Reply or Forward on an email, or when viewing all the options available with a song in Apple Music. Adding these options, called UIPreviewActions, for yourself is still just as simple as the previous steps for adding 3D Touch.
Open AddGeotificationViewController.swift and add the following protocol method to AddGeotificationsViewControllerDelegate:
func addGeotificationViewController(_ controller: AddGeotificationViewController,
                                      didSelect action: UIPreviewAction,
                                      for previewedController: UIViewController)
This method will be called on the AddGeotificationViewController‘s delegate in the event a preview action is called.
Now, add the following property and method to AddGeotificationViewController, after the list of properties:
override var previewActionItems: [UIPreviewActionItem] {
  let editAction = UIPreviewAction(title: "Edit", style: .default) {
    [weak self] (action, controller) in
    self?.handle(action: action, and: controller)
  }
  let deleteAction = UIPreviewAction(title: "Delete", style: .destructive) {
    [weak self] (action, controller) in
    self?.handle(action: action, and: controller)
  }
  return [editAction, deleteAction]
}

private func handle(action: UIPreviewAction, and controller: UIViewController) {
  delegate?.addGeotificationViewController(self, didSelect: action, for: controller)
}
In order for a user to view the actions during a Peek, the view controller that is being previewed must override previewActionItems and return an array of UIPreviewActionItems. Here, you’ve added an Edit and Delete action. Both of their handlers call handle(action:and:), which calls the delegate’s method you added earlier. To handle the actions, you’ll need to implement this method in two places.
First, open GeotificationsViewController.swift and add the following code to the AddGeotificationsViewControllerDelegate extension:
func addGeotificationViewController(_ controller: AddGeotificationViewController,
                                    didSelect action: UIPreviewAction,
                                    for previewedController: UIViewController) {
  switch action.title {
  case "Edit":
    navigationController?.show(previewedController, sender: nil)
  case "Delete":
    guard let addGeotificationViewController = previewedController
      as? AddGeotificationViewController,
      let geotification = addGeotificationViewController.geotification else { return }
    remove(geotification)
  default:
    break
  }
}
Next, open ListTableViewController.swift, and add the following code to the AddGeotificationsViewControllerDelegate extension:
func addGeotificationViewController(_ controller: AddGeotificationViewController,
                                    didSelect action: UIPreviewAction,
                                    for previewedController: UIViewController) {
  switch action.title {
  case "Edit":
    navigationController?.show(previewedController, sender: nil)
  case "Delete":
    guard let addGeotificationViewController = previewedController
      as? AddGeotificationViewController,
      let geotification = addGeotificationViewController.geotification else { return }
    GeotificationManager.shared.remove(geotification)
    tableView.reloadData()
  default:
    break
  }
}
Both of these methods provide ways to handle the two actions you added to your Peek. In the event the Edit action is called, the view controller is pushed. When Delete is called, the Geotification is removed from the map and storage.
Build and run. To view the preview actions, initiate a 3D Touch and swipe up while you see the preview. You should notice a white arrow at the top of the preview, indicating actions are present. Once you see the actions, you’re free to lift your finger from the screen.
