Building an iOS App like Siri
Learn how to build an app that recognizes voice commands and speaks like Siri, using the SpeechKit framework. By Subhransu Behera.
Siri is a voice-based personal assistant that takes voice commands and performs tasks like sending messages, making phone calls, setting alarms, searching on the web, finding directions and more.
Unfortunately at the time of writing this tutorial there isn’t an official API by Apple, but there are few third party frameworks that allow developers to include functionality similar to Siri.
In this tutorial, you’ll learn how to use the Nuance Dragon Mobile SDK (SpeechKit), which is one of the leading frameworks in this arena. Specifically, you’ll learn:
- The key concepts of SpeechKit framework
- The advantages of SpeechKit when compared to other frameworks
- How to perform speech recognition and text-to-speech synthesis using SpeechKit APIs.
You’ll use this knowledge to build a Siri-like application to help your users find nearby restaurants, narrowed down by cuisine or category. Here’s a demo video of the app you will be building:
What is SpeechKit?
The SpeechKit framework is a high-level framework with two major components for developers: the speech recognizer and the text-to-speech synthesizer.
The framework carries out the following processes:
- The audio component manages the audio system for recording and playback to give user feedback.
- The networking component manages the connection to the server and automatically re-establishes timed-out connections.
- The end-of-speech detector determines when the user stops speaking and automatically stops recording.
- The encoding component manages the streaming audio’s compression to reduce bandwidth requirements and decrease latency.
SpeechKit follows a server-based architecture and relies on the Nuance speech server for voice recognition and text-to-speech synthesis.
-
For voice recognition, the
SKRecognizerclass sends audio streams to the server which then returns a list of text results. -
To convert text to speech, the
SKVocalizerclass sends the text to a server and receives an audio playback.
SpeechKit supports 38 languages for speech recognition and 40 languages for the text-to-speech synthesis. Both male and female voices are available for many languages.
SpeechKit Framework Quick Reference
The SpeechKit iOS framework has the following four classes and three protocols that it uses for speech recognition and text-to-speech synthesis.
Class References
-
SKRecognizer: This is the primary class for voice recognition. It records the user’s voice, transmits it to Nuance Speech server and obtains lists of matching texts. Only one recognition process happens at any point of time. Generate a new instance of this class for any subsequent recognition. -
SKRecognition: This object contains voice recognition results, scores corresponding to each recognition result and suggestions for the user. Suggestions can also ask the user to speak slowly or loudly depending on the environment in which user is speaking. -
SKVocalizer: This class is for text-to-speech synthesis, and it ensures an application can be initialized to speak a language or voice. It supports 40 different languages and speaks in both male and female voices. -
SpeechKit: This class configures the SpeechKit subsystems, maintains a connection with speech server, and initializes the required audio components that record a user’s voice or playback text-to-speech. This class doesn’t provide any instance, and hence, shouldn’t be initialized.
Protocol References
-
SKRecognizerDelegate: These delegate methods maintain the flow of the recognition process. They detect when the recognition process begins and finishes, as well as when the app receives results or an error from the server. -
SKVocalizerDelegate: These methods provide information regarding the speech process. Essentially, they are optional as their primary use is to detect error. The vocalizer queues sequential speech requests, hence, it is not necessary to know when the speech request has finished. -
SpeechKitDelegate: This protocol allows the delegate object to observe the state of the SpeechKit process. Primarily it’s used to monitor if the process is being destroyed.
Getting Started
Start by downloading the starter project for this tutorial.
Open Main.storyboard and you will see that I have pre-created the user interface for you so you can stay focused on SpeechKit:

The view of ViewController has a table view as a subview where you’ll display search results. Each TableView cell has two imageViews for thumbnail and rating images, and two labels where the app will display the name and address of a restaurant.
Build and run the application, and you should see a view with a textField and a mic button. The tableView underneath will not yet have any contents. That’s your job!

The app you’re building will help make your users’ lives easier by making it simple for them to find somewhere to eat and drink. No longer will they have to rely on old-fashioned typed out searches or local knowledge, now they’ll just be able to speak what they want into their iPhone and your app will save the day.
Your app will suggest nearby restaurants based on the type of cuisine the user craves, or by a category the user defines. Sounds simple enough, but your app will need to perform five primary tasks:
- Get the user’s current location
- Take a user’s voice input to search restaurants by cuisine or category
- Use the Yelp API to look for restaurants that match
- Display results
- Provide voice feedback to the user
Aside from the user interface, the starter project also includes the code to obtain the user’s current location and connect to Yelp’s API. Cool!
Now you need to get your own Yelp API authentication token and secret key, as well as a Nuance application key.
Getting a Yelp API Token
Go to the Yelp Developer portal and click on Manage API Access.
Log In using your Yelp developer account and password. If you haven’t registered already, go ahead and Sign Up for a new account.

Fill in the details and continue.


Check your inbox for an email from Yelp. Click on the verification link to verify your email.

Once you’ve signed up, Log In to your Yelp developer account and click the Manage API Access link again.
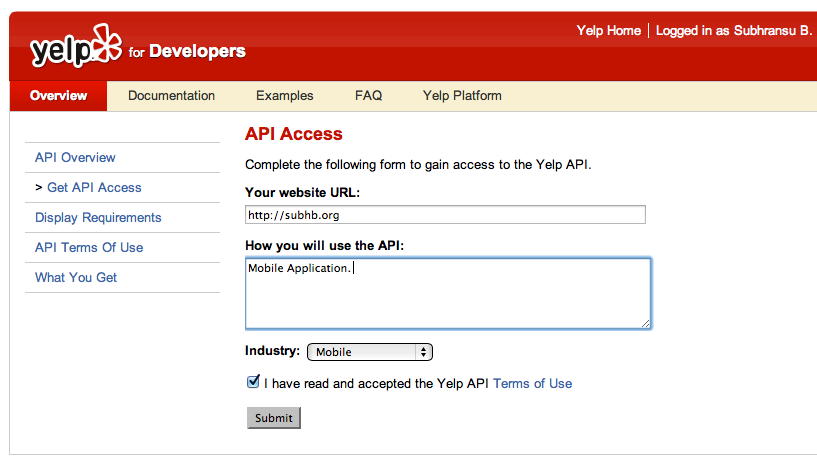
Fill up the details on API Access screen and submit for an API token.
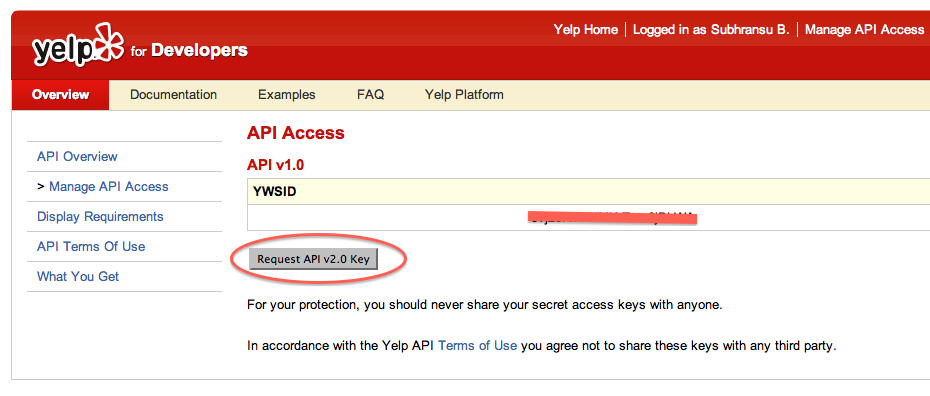
By default, you’ll have an API v1.0 token, but you’ll need an API v2.0 in this project. Click on Request API v2.0 Key to generate API v2.0 token.
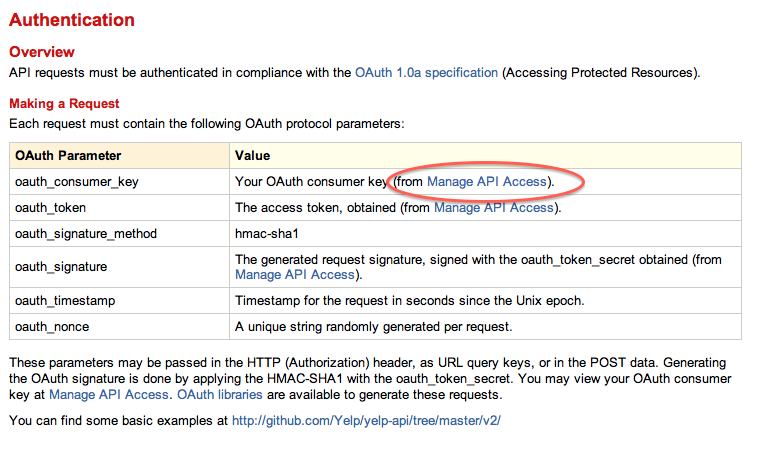
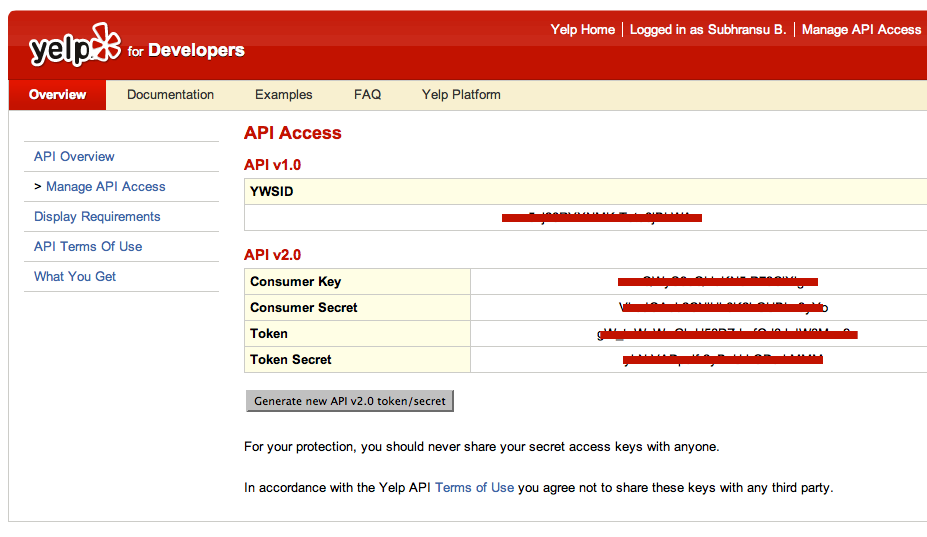
Take note of the consumer Key, consumer secret, token and token secret on this screen.
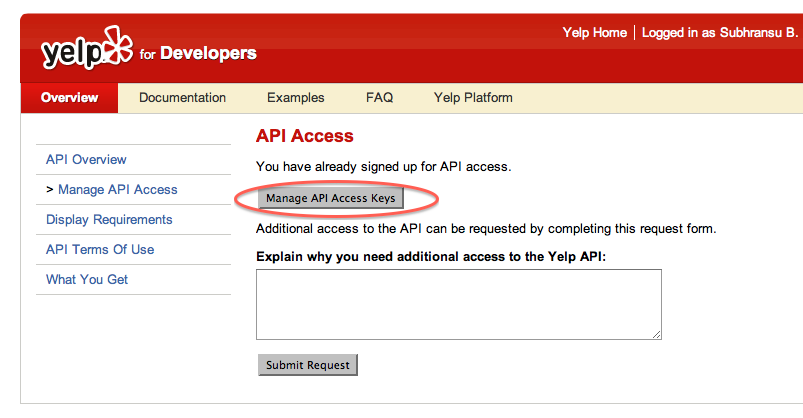
If you already have a Yelp developer account, then log in and just click on Manage API Access Keys to find your API keys.
Back in Xcode, open OAuthAPIConstants.h which is under Yelp_API_Request group in the sample project and update the API consumer key, consumer secret, token and token secret.