In-App Messaging With Firebase
Welcome to Firebase In-App Messaging & Analytics. With these services, you can segment your user base and provide a personalized user experience in the form of in-app messages. By James Nocentini.
Imagine this: After a few years of development, your travel agent mobile app to book flights anywhere around the world is getting more traction.
However, you must stay ahead of the competition, so you decide to test a new feature to allow users to purchase flights and activities at the same time.
To start small, you decide to deliver targeted suggestions and measure their impact on your conversion rate. That’s where Firebase Analytics and Firebase In-App Messaging can help.
With these services, you can segment your user base and provide a personalized user experience in the form of in-app messages.
To test these services in different scenarios, you’ll run a test app that randomly creates flight bookings for different users.
In this tutorial, you’ll learn how to:
- Set up a new Firebase In-App Messaging campaign.
- Trigger in-app messages based on events.
- Send in-app messages to different audiences.
Open Android Studio to begin!
Getting Started
First, download the project by clicking on the Download Materials button at the top or the bottom of this tutorial.
Open the project in Android Studio and build and run the project. You should see something like this:

This app contains three main functionalities. Here’s a detailed look at each section of the user interface:
-
Set User ID: This functionality, which you implement in
setFirebaseUserID(), sets the Firebase ID on the current user session. -
Random Values: This button calls
randomizeValues()to randomly select a From/To airport and a preferred activity. -
Book Flight: This button calls
purchaseFlight(), which logs a new event in Firebase called on_booking.
Before these functions will work, however, you must configure Firebase and install Firebase In-App Messaging.
Configuring Firebase
The project already contains Firebase Core, but you must configure it before you can start. To do this, you need a google-services.json file which is a JSON file that contains all the configuration data that Firebase uses internally. To get it, you need a Firebase project, so you can go ahead and create one now.
Visit the Firebase website. You should see something similar to this:

Login using a Google account; if you want, you can take a quick look around the landing page. When you’re ready, click the Go to Console button on the upper-right side of the screen.
You’ll now create a new Firebase project by clicking on the Add project card, as you can see below.

For this tutorial, you’ll use the name Travel Exp for your project name and then you’ll choose a location for both Analytics and Firebase database. Your setup should look similar to this:

Read and accept the terms, if needed, and click Create Project.
Now that you’ve finished the first step, you should see a success message:

Click Continue and you’ll see the project dashboard.
Next, you need to add an Android app to the project, so click on the Add Firebase to your Android app card:

Fill in the package name com.raywenderlich.android.travelexp from the starter project and click Register app. The SHA key can be empty for now; you only need it when you are signing an APK.
Now, follow the instructions on the Firebase page to add the google-services.json file to the project and click Next.

Add the firebase-inappmessaging-display gradle dependency and google-services plugin to your app module build.gradle file, like so:
dependencies {
    //Add the following line
    implementation 'com.google.firebase:firebase-inappmessaging-display:17.0.4'
}

//Add the following line
apply plugin: 'com.google.gms.google-services'
Click Sync Now to sync your Gradle files. Now you can start working on the juicy parts of this app!
Note: The app at this point needs Instant Run enabled in Android Studio to work. To check this, open Preferences > Build, Execution, Deployment > Instant Run. Make sure the Enable Instant Run checkbox is checked.
You can read more about Instant Run on the Android Developer site.
Preparing the Fields
So, now you’re ready to start using Firebase In-App Messaging. Before you go any farther, send a test message to verify that you’ve configured the service correctly.
As described in the Firebase documentation, Firebase In-App Messaging only retrieves messages from the server once per day. To speed up the process, Firebase In-App Messaging has a test mode that allows you to send messages to a specific device immediately.
Your first step is to retrieve your app’s Instance ID. In Android Studio, open LogCat and search for the message “InAppMessaging”. This will display your app’s Instance ID:

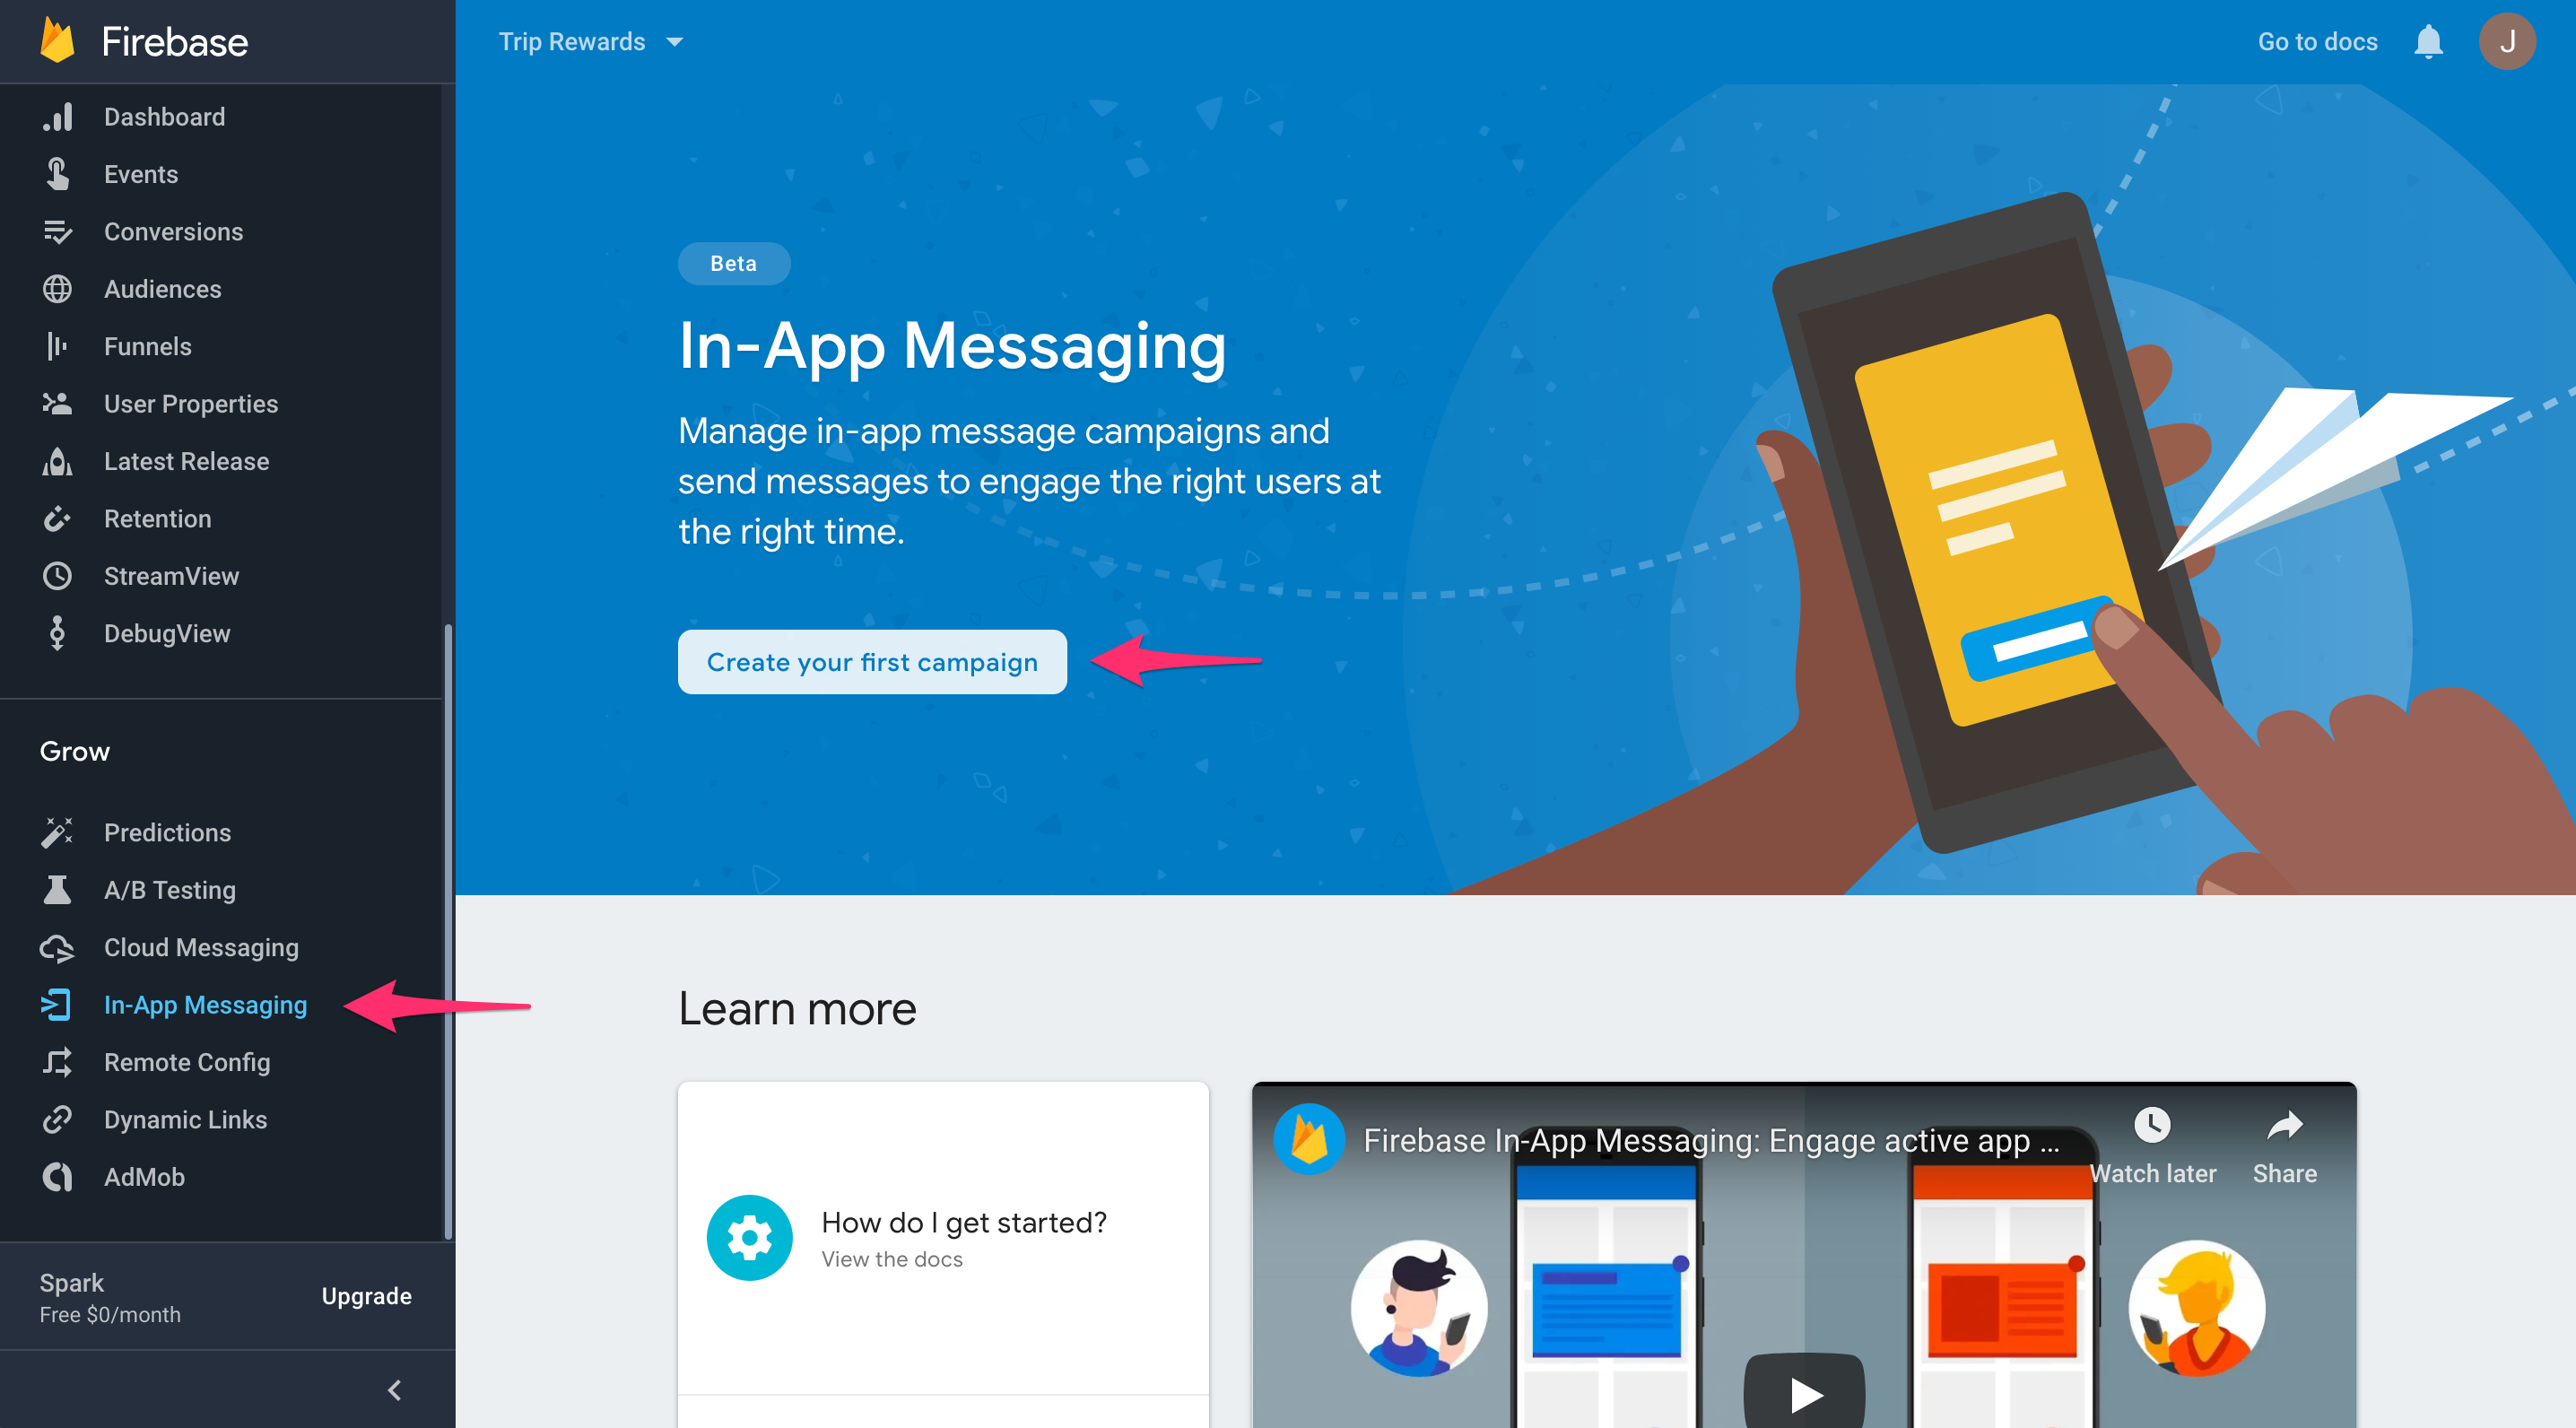
In the Firebase Dashboard, select the Grow dropdown on the left. Then select the In-App Messaging tab and click Create your first campaign.
You’ll be presented with a screen like this:

Select the Top banner message layout and set the following values:
- Background: #00c398
- Text colour: #ffffff
- Message title: Art expo
- Body: On this weekend!
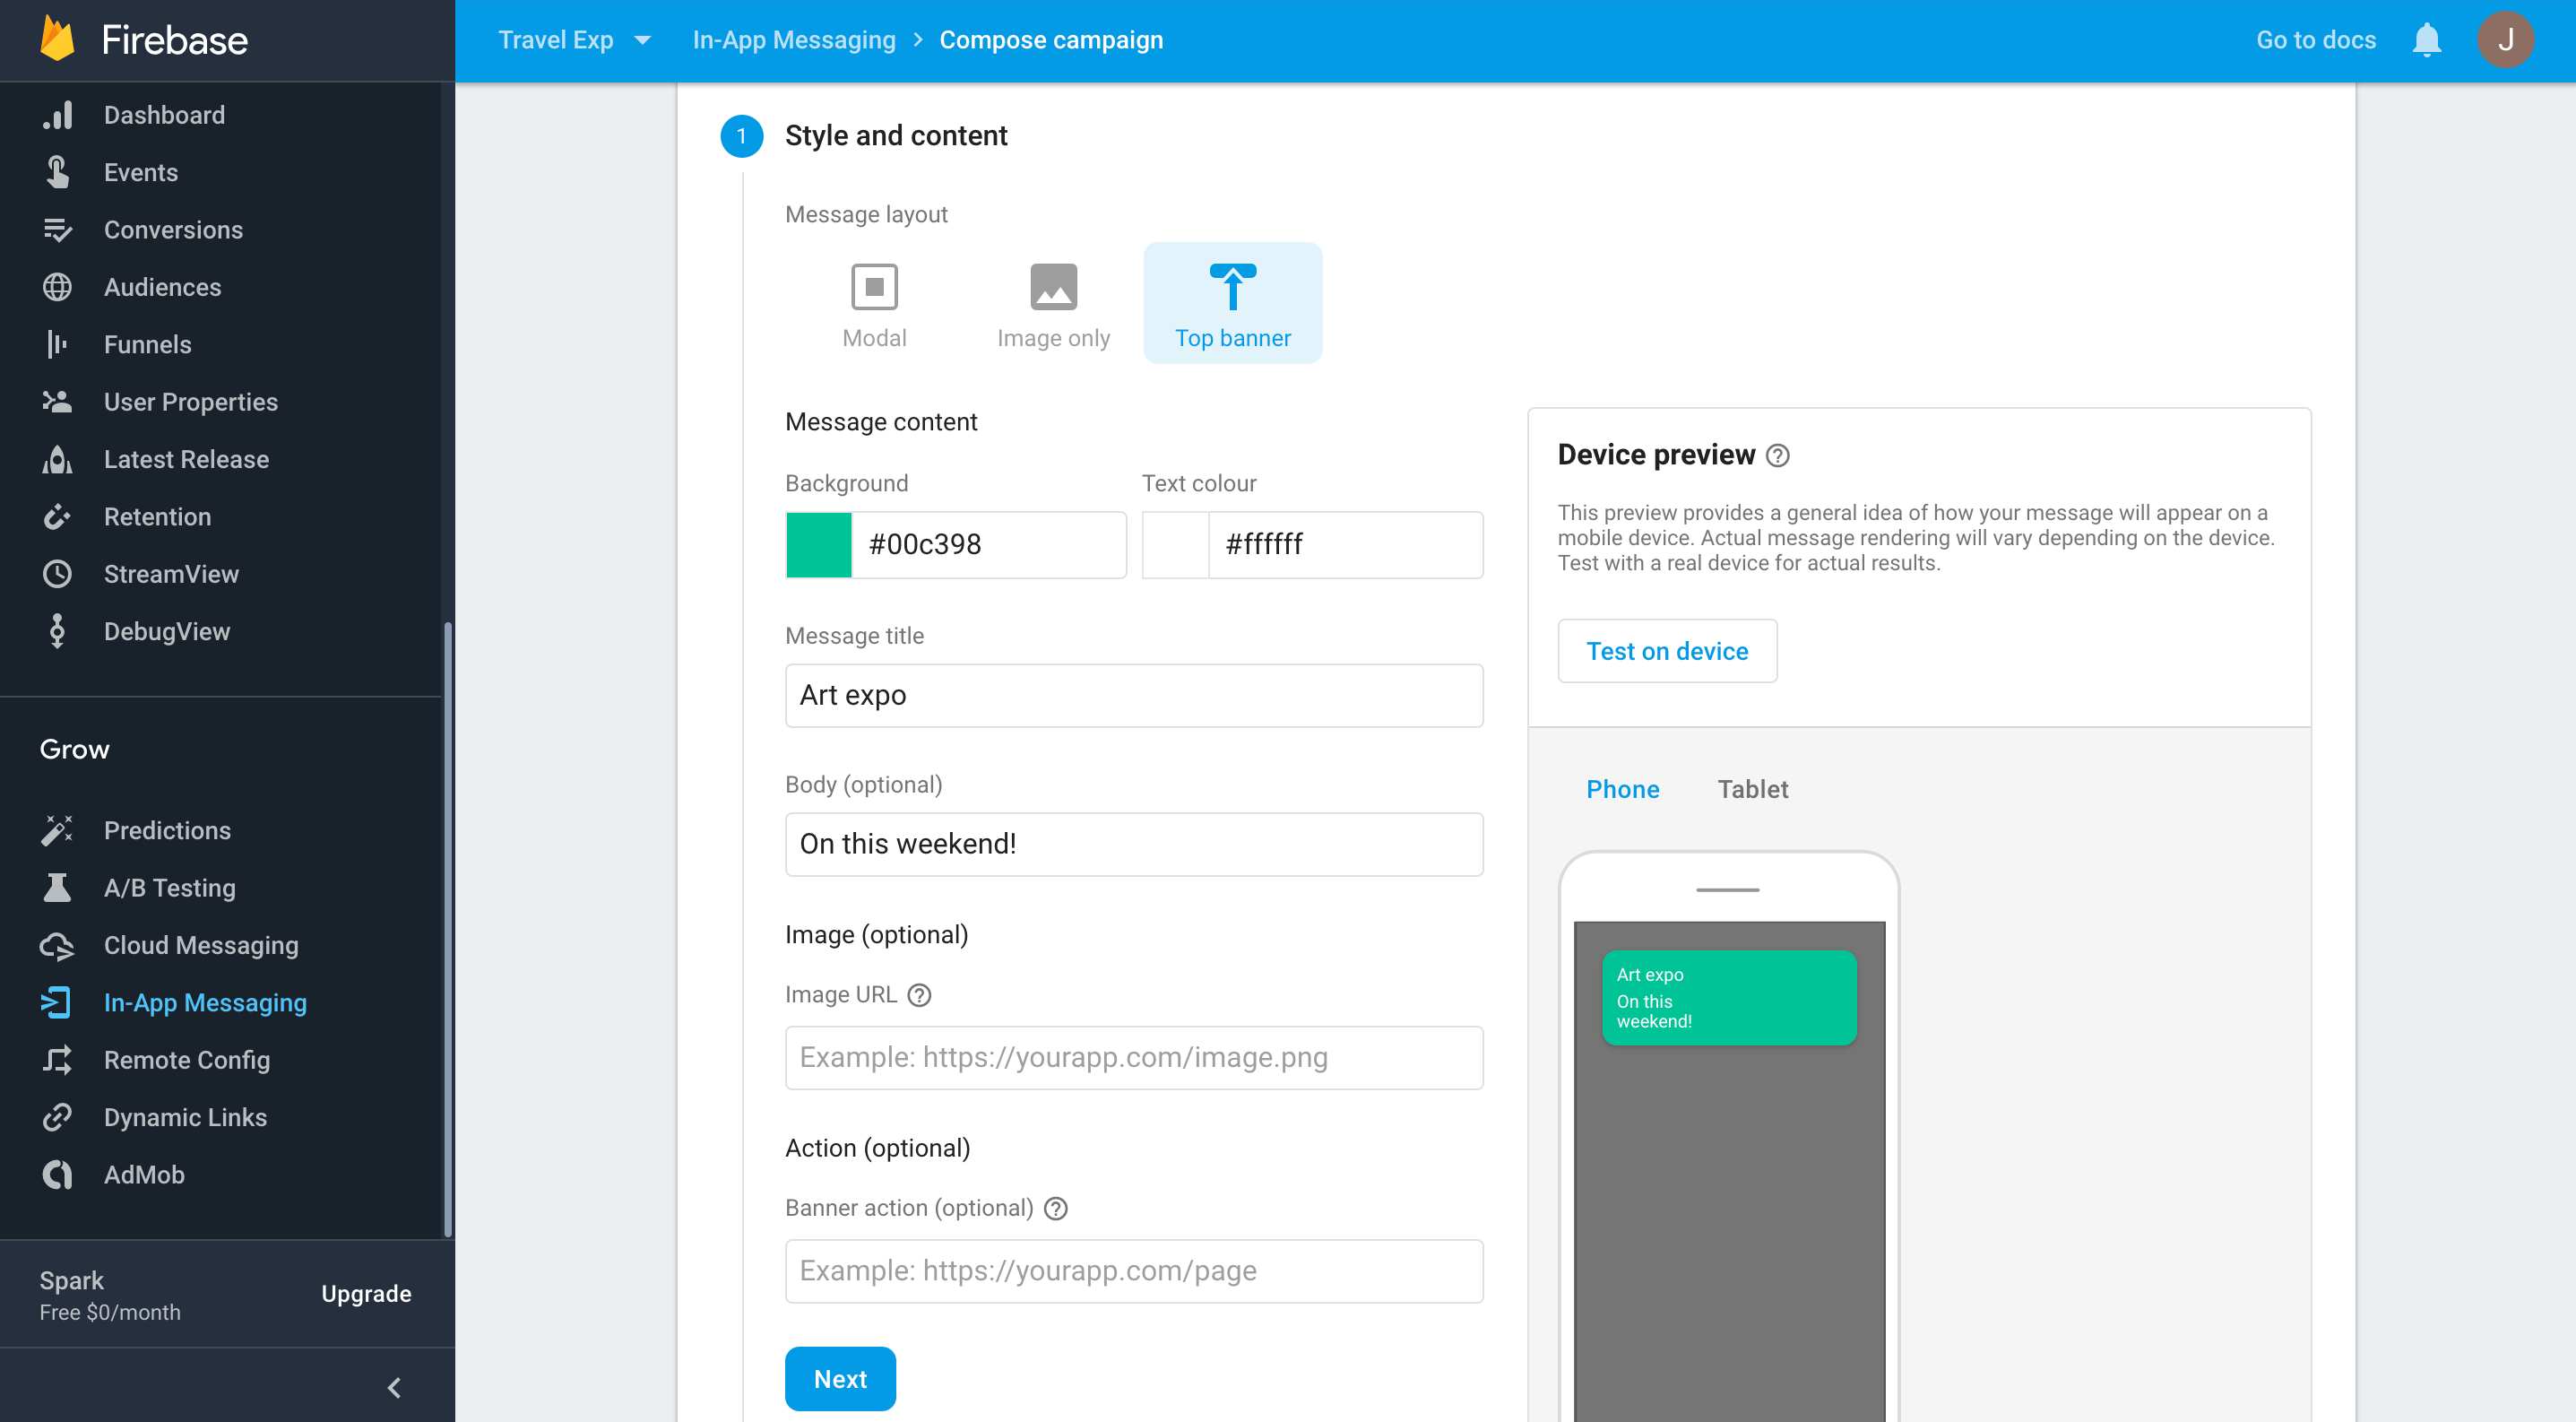
Then, click the Test on device button and paste your app’s Instance ID, which you copied earlier.

Click the plus to add your Instance ID, then click the Test button.
Back in your app, you’ll notice that the message hasn’t arrived yet. To show the in-app message, the app must trigger the on_foreground Android lifecycle event. To trigger that event, exit and return to the app using the Home button as shown below.

There it is, your first in-app message!
Your First Campaign
You’ve now tested how to use in-app messaging during development. Now you’re ready to create campaigns that target users more specifically.
An in-app message campaign consists of four key attributes:
- Style and content: How the in-app message looks and behaves.
- Target: The audience that will receive the in-app message.
- Scheduling: When the in-app message will be delivered.
- Conversion events: Links the in-app message to a conversion event.
You’ve already seen the Style and content attribute in action. You set this attribute when setting the background and text color of your campaign.
Next, you will look at using the other attributes.
Targets
Targets allow app developers to specify which users will receive the message. Campaign targets become more useful as you collect data through behavioral analytics.
You can define a target audience by various parameters including:
- Which app version a user has installed.
- Automatically collected events like a click on an ad.
- A defined user audience based on factors like the user’s age or language.
- A user property like geographical location.
- A behavior prediction that the user will or won’t trigger an analytics event like a flight booking.
Since the “Travel Exp” project is completely new, you’ll start by targeting a message to all users. Later, you’ll learn how to use behavioral analytics to specify the campaign target.
For now, return to the Firebase dashboard. With your campaign still open, click Next to proceed to the Target section. Set the Campaign name to Art Expo. Select com.raywenderlich.android.travelexp as the app target and click Next.
