Android Slices: Getting Started
In this tutorial, you’ll learn how to use Slices, which allow you to embed parts of your app into viewers like the Google Search app and Google Assistant. By Ahmed Tarek.
Creating the Bookstore Slice
Slices are list of rows that are constructed using a ListBuilder, a type of SliceBuilder.
Slice Builders

At the time of writing of this tutorial, Android provides five different Slice builders to build different types of rows with different designs and functionalities: HeaderBuilder, RowBuilder, GridRowBuilder, RangeBuilder, and InputRangeBuilder.
To create your “bookstore Slice” design, you will use:
-
ListBuilderas the main builder of your Slice. -
HeaderBuilderto set a header with title and subtitle. -
GridRowBuilderto add a row of cells. -
CellBuilderto add a cell; each cell has an image, title and text.
Add the createBookstoreSlice() method to BookstoreSliceProvider:
private fun createBookstoreSlice(sliceUri: Uri): Slice {
  // 1
  return ListBuilder(context, sliceUri, ListBuilder.INFINITY)
      // 2
      .setHeader {
        it.apply {
          // 3
          title = "Bookstore"
          // 4
          subtitle = "raywenderlich.com" // large mode
          summary = "raywenderlich.com" //small mode
          // 5
          primaryAction = createOpenBookStoreAction()
        }
      }
      // 6
      .build()
}
Also, add the createOpenBookStoreAction() method that returns a SliceAction for the action to take when a user interacts with your Slice:
private fun createOpenBookStoreAction(): SliceAction {
  val pIntent = BookstoreActivity.buildPendingIntent(context)
    return SliceAction(pIntent, createIcon(R.drawable.logo_raywenderlich),
        "Open  Book Store")
}
In the above, you:
- Construct a
ListBuilderby passing a context object, the SliceUriand the lifetime of the content in this Slice. For your case, passListBuilder.INFINITYfor the lifetime to make the content live forever. ListBuilder is the first builder you need to use to start building a new Slice, and it allows you to add different types of rows that are displayed in a list. - Set a
HeaderBuilderto display a header as a first row in your Slice template.HeaderBuilderallows you to add title, subtitle, summary subtitle and/or primary action to the header. - Set a title for the header
- Set a subtitle and summary for the header.
- Set the primaryAction for the header.
- Call the
build()method to build your Slice.
Letting the Slice Viewer Show Your Slice
You neeed to set up a run configuration to show your Slice on the top of the viewer surface by launching the Slice Viewer app using your Slice URI.
Follow these steps to do this:


Note: The Slice Viewer app can show your Slice if and only if it has permission to access your Slice URI.

- In Android Studio, select Run ▸ Edit Configurations.
- In the top-left corner, click the Plus button and select Android App.
- Enter Bookstore Slice in the Name field.
- Select your app module in the Module dropdown.
- Under Launch Options, select URL from the Launch dropdown.
- Enter your Slice URI in the URL field.
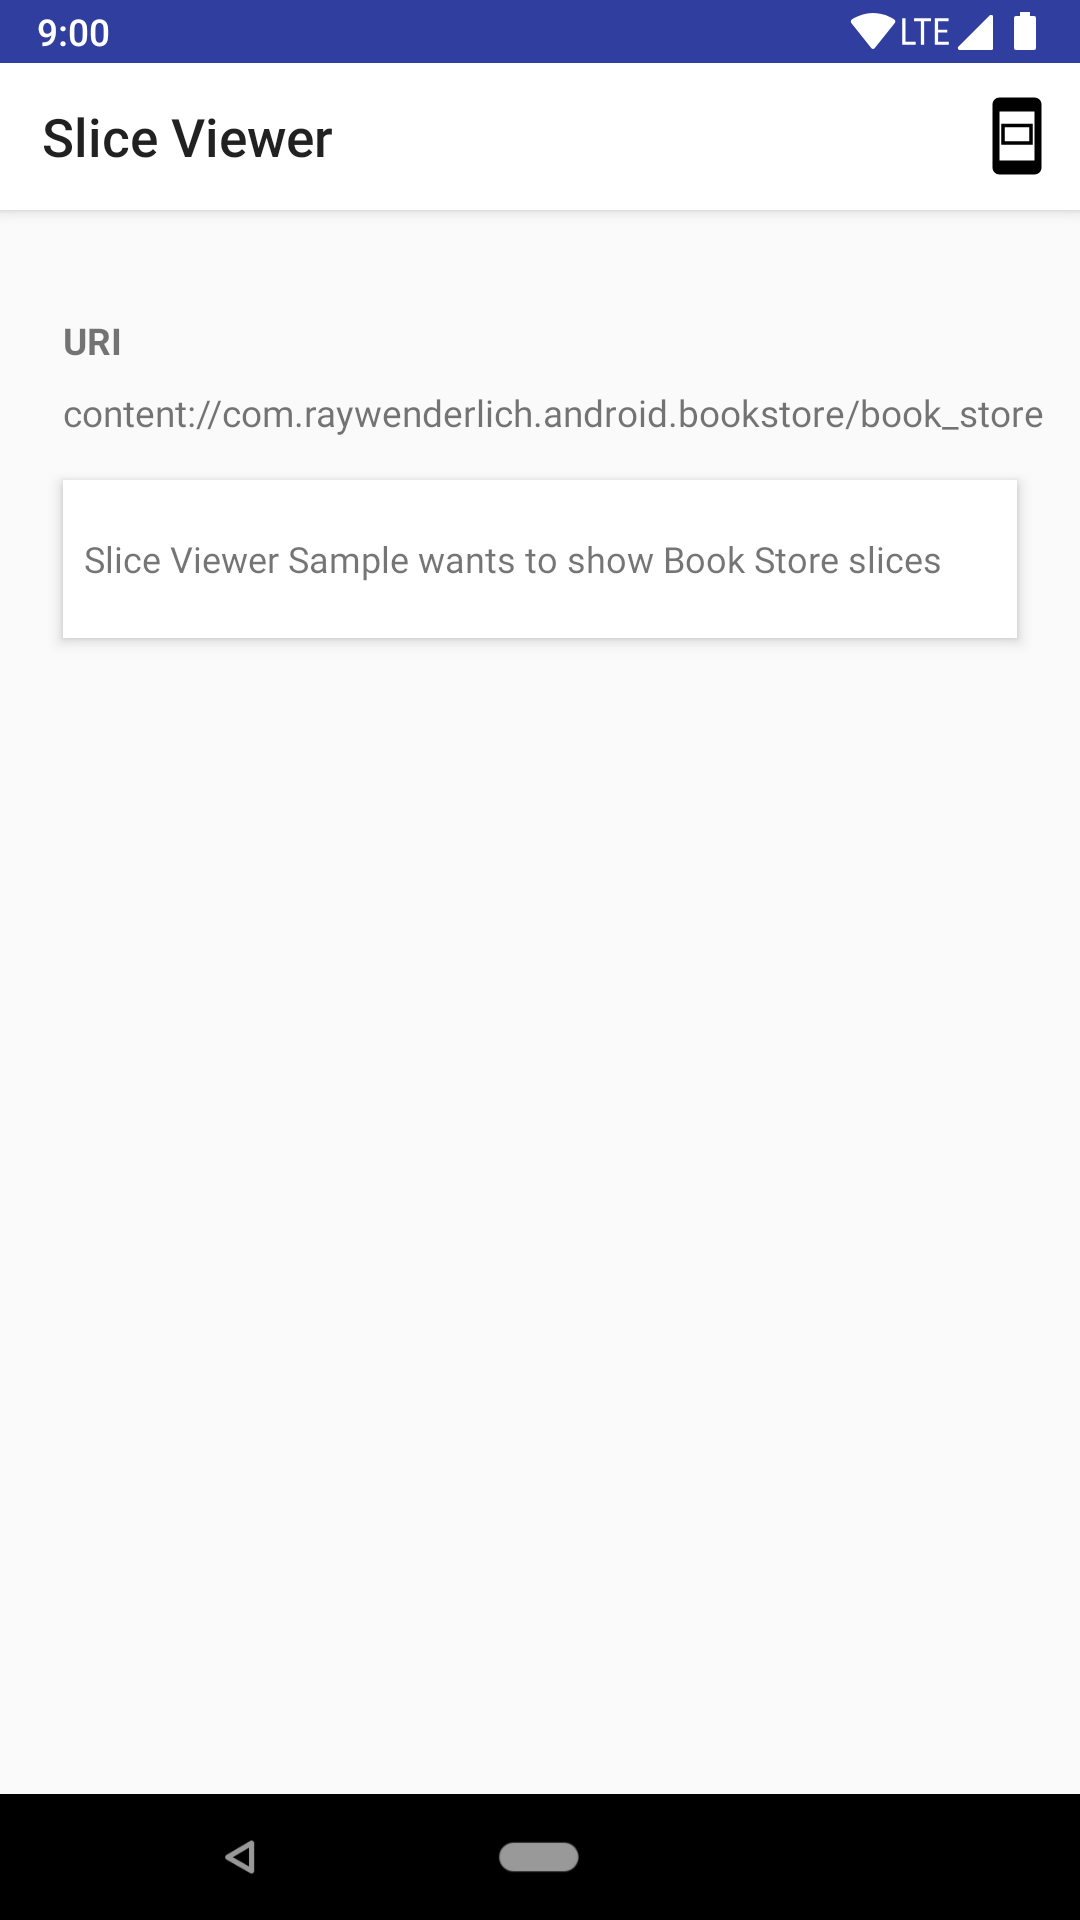
- Click OK. Build and run using this configuration; you will see a screen like this:
- Tap on the Slice Viewer item; you will see a screen like this:
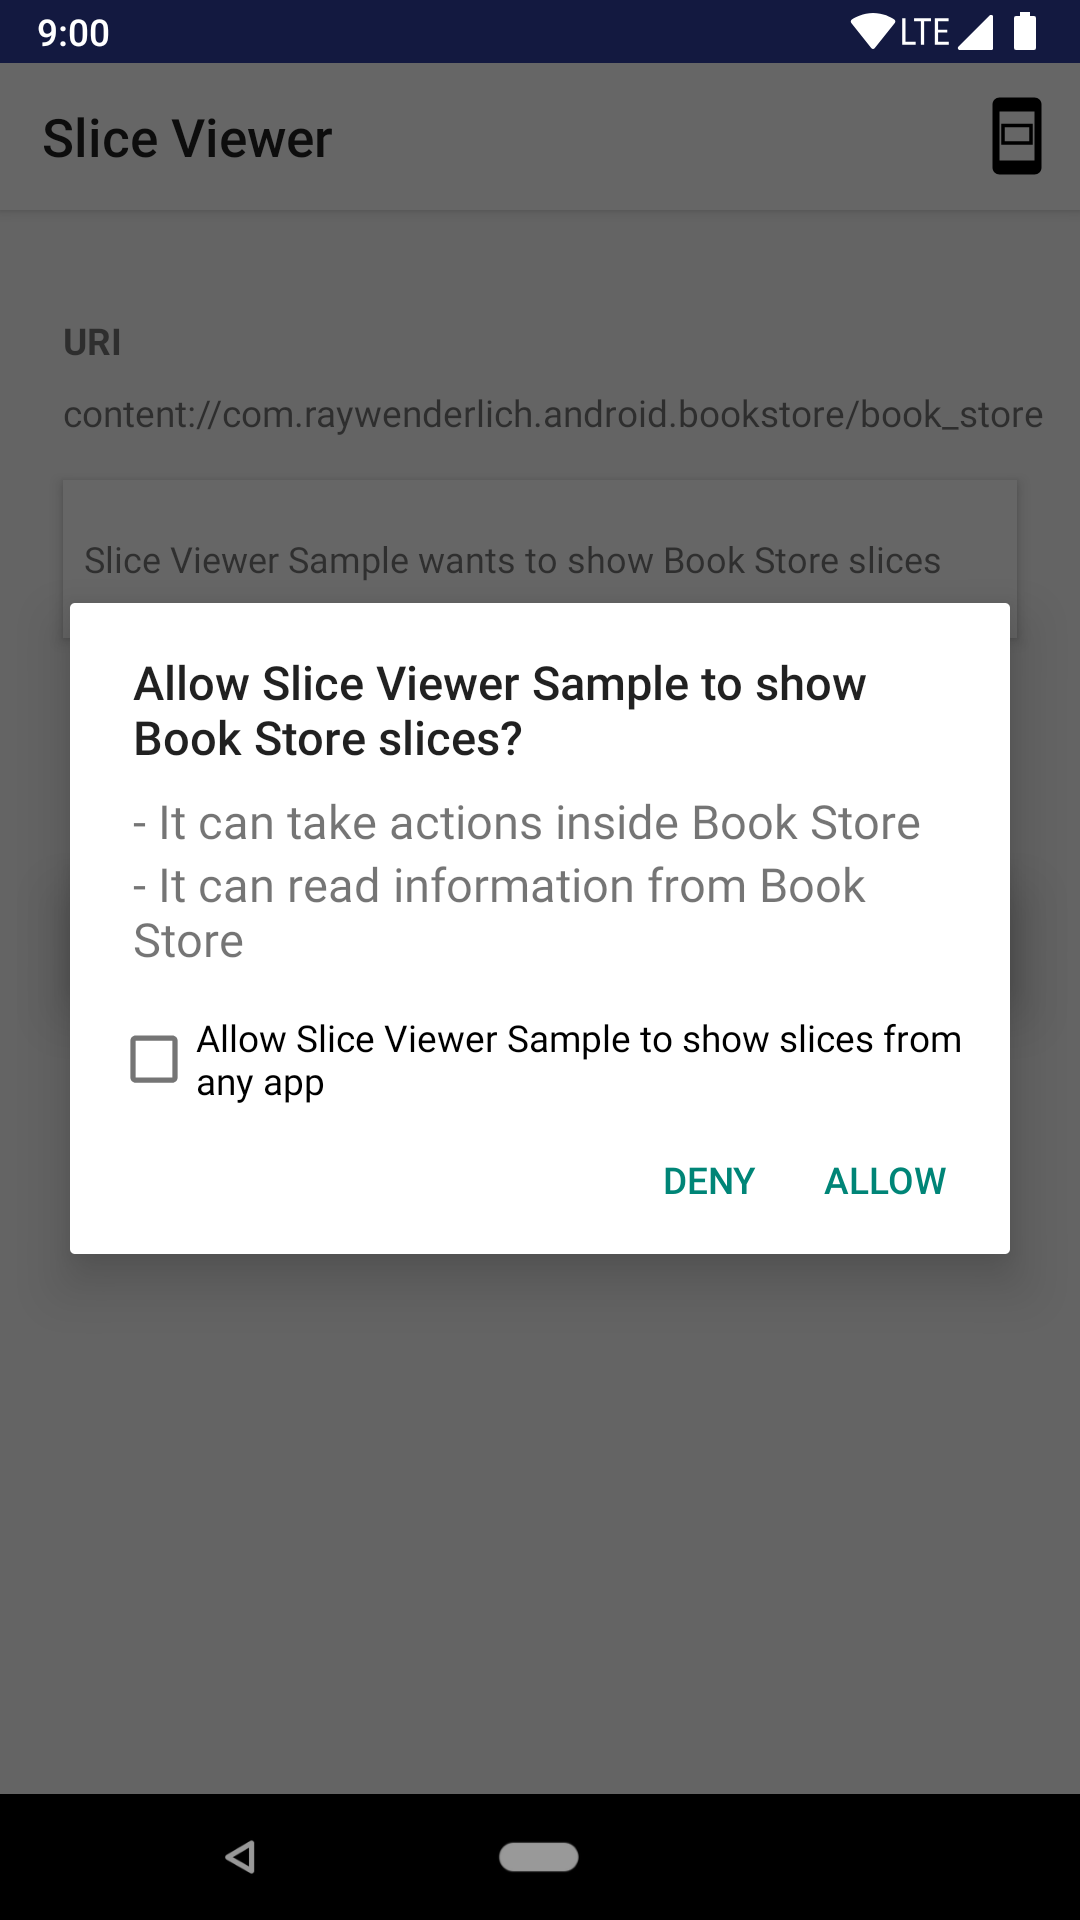
- Tap on the ALLOW button to grant the permission, then you will see a screen like this:
slice-content://com.raywenderlich.android.bookstore/book_store
slice-content://com.raywenderlich.android.bookstore/book_store
Using GridRowBuilder to Display Books
Add the following code to your ListBuilder right before .build() to add a row of cells:
//...
// 1
.addGridRow {
  it.apply {
    // 2
    val books = Bookstore.getBooks()
    for (book in books) {
      // 3
      addCell {
        it.apply {
          // 4
          addImage(createIcon(book.cover), ListBuilder.SMALL_IMAGE)
          // 5
          addTitleText(book.title)
          // 6
          addText(book.price)
          // 7
         contentIntent = BookstoreActivity.buildPendingIntent(context, book.url)
        }
      }
    }
  }
}
//...
Also add the createIcon() method to the class:
private fun createIcon(@DrawableRes resId: Int) = IconCompat.createWithResource(context, resId)
In the above, you:
- Add a new
GridRowBuilder. - Get the
bookslist from the data store. - For every book in the list, add a new
cellto the row. - Add the book
coveras animageto the cell. - Add the book
titleastitleTextfor the cell. - Add the book
priceastextfor the cell. - Set the
PendingIntentto be invoked by the primary action if the user taps on this cell in the row.
Build and run the Bookstore Slice configuration; you will see a screen like this:

Adding a Notification Icon
You can add a notification icon to your Slice to let users enable or disable notifications from your Bookstore app.
Add this addAction() before .build(), and add the getToggleNotificationAction() to the class. You’ll create a the BookstoreSliceBroadcastReceiver in a moment.
...
// 1
.addAction(getToggleNotificationAction())
...
private fun getToggleNotificationAction(): SliceAction {
  // 2
  val pIntent = BookstoreSliceBroadcastReceiver.getToggleNotificationPendingIntent(context)
  // 3
  val iconResId = NotificationSettings.getIcon()
  // 4
  return SliceAction(pIntent, createIcon(iconResId), "Toggle Notification")
}
Here, you:
- Add a
SliceActionto theListBuilder. - Get a
pendingIntentfrom a broadcast receiver calledBookstoreSliceBroadcastReceiver. This broadcast receiver handles broadcasts when the user taps on the notification icon in your remote Slice. - Get the notification icon resource ID based on the notification state (enabled or disabled).
- Create and return a new
SliceActionwith three parameters (pIntent, actionIcon, actionTitle).
Note: To send and receive data from your remote Slice to your app, you need to create a BroadcastReceiver!
Create the BookstoreSliceBroadcastReceiver class:
class BookstoreSliceBroadcastReceiver : BroadcastReceiver() {
  // 1
  override fun onReceive(context: Context, intent: Intent) {
    // 2
    val action = intent.action
    // 3
    if (ACTION_TOGGLE_NOTIFICATION == action) {
      // 4
      NotificationSettings.toggleNotification()
      // 5
      val uri = Utility.getUri(context, BookstoreSliceProvider.BOOKSTORE_PATH)
      // 6
      context.contentResolver.notifyChange(uri, null)
    }
  }

  companion object {
    // 7
    const val ACTION_TOGGLE_NOTIFICATION = "com.raywenderlich.bookstore.ACTION_TOGGLE_NOTIFICATION"
    // 8
    fun getToggleNotificationPendingIntent(context: Context): PendingIntent {
      // 9
      val intent = Intent(context, BookstoreSliceBroadcastReceiver::class.java)
      // 10
      intent.action = ACTION_TOGGLE_NOTIFICATION
      // 11
      return PendingIntent.getBroadcast(context, 0, intent, FLAG_UPDATE_CURRENT)
    }
  }
}
Here, you:
- Implement
onReceive()to receive broadcasts. - Get the action of the received broadcast.
- Check if the action is equal to your
ACTION_TOGGLE_NOTIFICATION. - Toggle the notification state.
- Get the URI of the Bookstore Slice.
- Notify the URI to update all of the presented Slices.
- Create an action string constant to use with the toggle notification broadcast.
- Create a method to get a
PendingIntentto toggle the notification. - Create new intent for
BookstoreSliceBroadcastReceiver. - Set the intent action to
ACTION_TOGGLE_NOTIFICATION. - Return a broadcast
PendingIntentwith the intent you just created.
Next, declare BookstoreSliceBroadcastReceiver in the AndroidManifest.xml file as a child of the application element.
<receiver android:name=".BookstoreSliceBroadcastReceiver"/>
Build and run; you will see a screen like this:

Try to enable the notifications by tapping on the notification icon in your Slice; doing so will broadcast the notification toggle action to the BookstoreSliceBroadcastReceiver.
Open the Bookstore app and notice that the notification icon in the floating button is updated, as seen below: