SwiftUI: Getting Started
In this SwiftUI tutorial, you’ll learn how to layout the UI by declaring and modifying views, and how to use state variables to update your UI. You’ll use Xcode’s new preview and live preview, and experience the joy of code and WYSIWYG layout that stay in sync.
Version
- Swift 5, iOS 13, Xcode 11

SwiftUI is the most exciting news since Apple announced Swift in 2014. It’s an enormous step towards Apple’s goal of getting everyone coding, simplifying the basics so you can spend more time on custom features that delight your users. Some developers have joked (?) that they might be “Sherlocked” by SwiftUI!
SwiftUI lets you ignore Interface Builder (IB) and storyboards without having to write detailed step-by-step instructions for laying out your UI. IB and Xcode were separate apps before Xcode 4, and the seams still show every time you edit the name of an IBAction
or IBOutlet
or delete it from your code, and your app crashes because IB doesn’t see changes to code. Or you’ve fumed about stringly-typed identifiers for segues or table view cells that you have to use in your code, but Xcode can’t check for you because they’re strings. And, while it might be faster and easier to design a new UI in a WYSIWYG editor, it’s much more efficient to copy or edit UI when it’s written out in code.
SwiftUI to the rescue! You can preview a SwiftUI view side-by-side with its code — a change to one side will update the other side, so they’re always in sync. There aren’t any identifier strings to get wrong. And it’s code, but a lot less than you’d write for UIKit, so it’s easier to understand, edit and debug. What’s not to love?
SwiftUI doesn’t replace UIKit — like Swift and Objective-C, you can use both in the same app. The SwiftUI APIs are consistent across platforms, so it will be easier to develop the same-ish app on multiple platforms using the same source code on each.
In this article, you’ll use SwiftUI to build a variation of our famous BullsEye game from iOS Apprentice.
You’ll learn how to layout the UI by declaring and modifying views, and how to use state variables to update your UI. You’ll use some of Xcode’s new tools, especially previews and live previews, and experience the joy of code and WYSIWYG layout that stay in sync.
If you don’t have a spare Mac, you can install Catalina on a separate APFS volume (not partition).
Getting Started
Get started by downloading the materials for this article — you can find the link at the top or bottom of this article. Build and run the UIKit app in the RGBullsEye-Starter folder. This game uses three sliders — for red, green and blue values in the RGB color space — to match a target color.
I wrote this app for RWDevCon 2016 and updated the code to Swift 5 for this article. It runs in Xcode 10 and Xcode 11. In this article, you’ll use SwiftUI to create a basic version of this game.
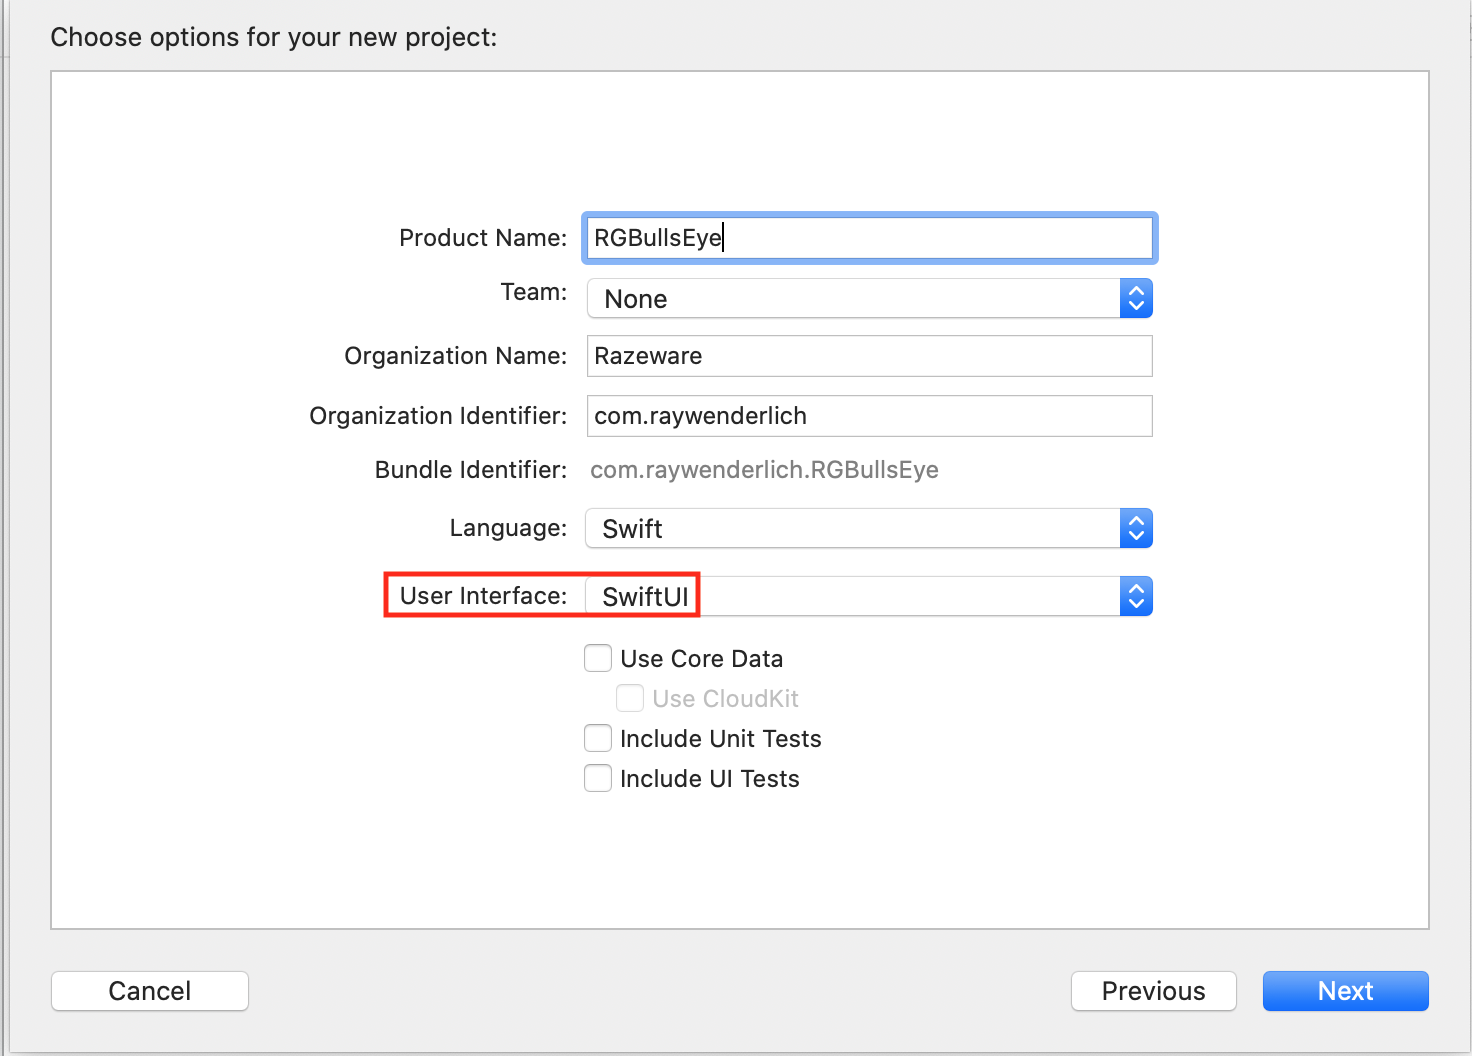
In Xcode 11, create a new Xcode project (Shift-Command-N), select iOS ▸ Single View App, name the project RGBullsEye, then select SwiftUI in the User Interface menu:
Save your project somewhere outside the RGBullsEye-Starter folder.
Entering the New World of SwiftUI
In the project navigator, open the RGBullsEye group to see what you got: the old AppDelegate.swift is now split into AppDelegate.swift and SceneDelegate.swift and SceneDelegate
has the window
:
SceneDelegate
isn’t specific to SwiftUI, but this line is:
window.rootViewController = UIHostingController(rootView: ContentView())
UIHostingController
creates a view controller for the SwiftUI view ContentView
.
UIHostingController
enables you to integrate SwiftUI views into an existing app. You add a Hosting View Controller to your storyboard and create a segue to it from a UIViewController
. Then Control-drag from the segue into the view controller code to create an IBSegueAction
, where you specify the hosting controller’s rootView
value — a SwiftUI view.
When the app starts, window
displays an instance of ContentView
, which is defined in ContentView.swift. It’s a struct
that conforms to the View
protocol:
struct ContentView: View {
var body: some View {
Text("Hello World")
}
}
This is SwiftUI declaring that the body
of ContentView
contains a Text
view that displays Hello World.
Down below struct ContentView
, struct ContentView_Previews
produces a view that contains an instance of ContentView
.
struct ContentView_Previews: PreviewProvider {
static var previews: some View {
ContentView()
}
}
This is where you can specify sample data for the preview. But where is this preview you’ve heard so much about?
There’s a big blank space next to the code, with this at the top:
Click Resume, and wait a while to see the preview:
If you still don’t see the Resume button, make sure you’re running macOS 10.15.
Outlining Your UI
The one file you don’t see listed is Main.storyboard — you’re going to create your UI in SwiftUI code, keeping an eye on the preview to see what it looks like. But don’t worry — you won’t be writing hundreds of lines of code to create views!
SwiftUI is declarative: You declare how you want the UI to look, and SwiftUI converts your declarations into efficient code that gets the job done. Apple encourages you to create as many views as you need, to keep your code easy to read and maintain. Reusable, parameterized views are especially recommended — it’s just like extracting code into a function, and you’ll create one later in this article.
RGBullsEye’s UI has a lot of subviews, so you’ll first create an “outline”, using Text
views as placeholders. The finished UI will look like this, with a different randomly-generated target color on the left:
Start by replacing Text("Hello World")
with this:
Text("Target Color Block")
If necessary, click Resume to refresh the preview.
Now Command-Click the Text
view in the preview, and select Embed in HStack:
Text
, use Control-Command-Click instead.
Notice your code updates to match:
HStack {
Text("Target Color Block")
}
You’re using a horizontal stack here because you want to display the target and guess color blocks side by side.
Copy and paste the Text
statement, then edit it so your HStack
looks like the following. Notice you don’t separate the two statements with a comma — just write each on its own line:
HStack {
Text("Target Color Block")
Text("Guess Color Block")
}
And there it is in the preview:
Now prepare for adding the slider placeholders by embedding the HStack
in a VStack
— this time, Command-Click on HStack
in your code:
Select Embed in VStack; new code appears, but the preview doesn’t change — you need to add views below the color blocks.
Open a new line below your HStack
closure, click the + button in the toolbar to open the Library, then drag a Vertical Stack into the new line:
As you expect by now, code and preview update:
Now finish your outline so it looks like this:
VStack {
HStack {
Text("Target Color Block")
Text("Guess Color Block")
}
Text("Hit me button")
VStack {
Text("Red slider")
Text("Green slider")
Text("Blue slider")
}
}
The new VStack
will contain three sliders, and there will be a button between the color blocks and the sliders.
Filling in Your Outline
Now, practice your new SwiftUI-fu skills to start filling in the color blocks HStack
: Use your preferred combination of Command-Click menu and drag-from-Library actions to replace each color block placeholder with a VStack
containing a Rectangle
and the relevant Text
:
HStack {
// Target color block
VStack {
Rectangle()
Text("Match this color")
}
// Guess color block
VStack {
Rectangle()
HStack {
Text("R: xxx")
Text("G: xxx")
Text("B: xxx")
}
}
}
Each color block has a Rectangle
. The target color block has one Text
view below its rectangle, while the guess color block has three Text
views — later in this article, you’ll replace each xxx to display the current slider values.
Don’t worry about the black rectangles taking over the scene — they will make room for the sliders and you’ll set their foreground colors now.
Using @State Variables
You can use “normal” constants and variables in SwiftUI, but you designate a variable as a @State
variable if the UI should update whenever its value changes. This game is all about colors, so all variables that affect the color of the guess rectangle are @State
variables.
Add these lines at the top of struct ContentView
, above the body
closure:
let rTarget = Double.random(in: 0..<1)
let gTarget = Double.random(in: 0..<1)
let bTarget = Double.random(in: 0..<1)
@State var rGuess: Double
@State var gGuess: Double
@State var bGuess: Double
R, G and B values are between 0 and 1. You initialize the target values to random values. You could also initialize the guess values to 0.5, but I've left them uninitialized to show you what you must do, if you don't initialize some variables.
Scroll down to the ContentView_Previews
struct, which instantiates a ContentView
to display in the preview. The initializer now needs parameter values for the guess values. Change ContentView()
to this:
ContentView(rGuess: 0.5, gGuess: 0.5, bGuess: 0.5)
When you create the sliders, they'll appear in the preview with their thumbs centered.
You must also modify the initializer in SceneDelegate
, in scene(_:willConnectTo:options:)
— replace ContentView()
in this line:
window.rootViewController = UIHostingController(rootView:
ContentView(rGuess: 0.5, gGuess: 0.5, bGuess: 0.5))
When the app loads its root scene, the slider thumbs will be centered.
Now add a foreground color modifier to the target Rectangle
:
Rectangle()
.foregroundColor(Color(red: rTarget, green: gTarget, blue: bTarget, opacity: 1.0))
The modifier .foregroundColor
creates a new Rectangle
view, now with the foreground color specified by the randomly-generated RGB values.
Similarly, modify the guess Rectangle
:
Rectangle()
.foregroundColor(Color(red: rGuess, green: gGuess, blue: bGuess, opacity: 1.0))
When the R, G and B values are all 0.5, you get gray.
Click Resume, and wait a while for the preview to update.
Making Reusable Views
I've shown this game to a few people, and they found it very addictive — especially graphic designers. And then they would ask me to implement one of the other color spaces, like YUV. But RGB is a good choice for this article, because the sliders are basically identical, so you'll define one slider view, then reuse it for the other two sliders.
First, pretend you're not thinking about reuse, and just create the red slider. In the sliders VStack
, replace the Text("Red slider")
placeholder with this HStack
:
HStack {
Text("0")
.foregroundColor(.red)
Slider(value: $rGuess)
Text("255")
.foregroundColor(.red)
}
You modify the Text
views to change the text color to red. And you initialize the Slider
with a value — the position of its thumb. The default range is 0 to 1, which is just fine, so you don't need to specify anything more here.
But what's with the $
? You've just gotten comfortable with ?
and !
for optionals, and now $
?
It's actually pretty cool and ultra powerful for such a little symbol. rGuess
by itself is just the value — read-only. $rGuess
is a read-write binding — you need it here, to update the guess rectangle's foreground color while the user is changing the slider's value.
To see the difference, set the values in the three Text
views below the guess rectangle:
HStack {
Text("R: \(Int(rGuess * 255.0))")
Text("G: \(Int(gGuess * 255.0))")
Text("B: \(Int(bGuess * 255.0))")
}
Here, you're only using the values, not changing them, so you don't need the $
prefix.
Wait for the preview to refresh, to see your first slider:
The color blocks have shrunk a little, to make room, but the slider still looks a little cramped — the end labels are too close to the window edges — so add some padding (another modifier) to the HStack
:
HStack {
Text("0")
.foregroundColor(.red)
Slider(value: $rGuess)
Text("255")
.foregroundColor(.red)
}
.padding()
That's better!
Now, if you were to copy-paste-edit this HStack
to create the green slider, you'd change .red
to .green
, and $rGuess
to $gGuess
. So that's where the parameters will go.
Command-Click the red slider HStack
, and select Extract Subview:
This works the same as Refactor ▸ Extract to Function, but for SwiftUI views.
Don't worry about all the error messages that appear — they'll go away when you've finished editing your new subview.
Now, name the ExtractedView
ColorSlider, then add these lines at the top of your new ColorSlider view, before its body
closure:
@Binding var value: Double
var textColor: Color
You're adding parameters to its initializer, to synchronize its value
with ContentView
, and to specify the color of its slider label.
Next, replace $rGuess
with $value
, and .red
with textColor
:
Text("0")
.foregroundColor(textColor)
Slider(value: $value)
Text("255")
.foregroundColor(textColor)
You're replacing the fixed values from the red slider with your new parameters, so you'll be able to reuse ColorSlider for the green and blue sliders.
Now, go back up to the call to ColorSlider()
in the VStack
, and add your parameters:
ColorSlider(value: $rGuess, textColor: .red)
Check that the preview shows the red slider, then copy-paste-edit this line to replace the Text
placeholders with the other two sliders:
ColorSlider(value: $gGuess, textColor: .green)
ColorSlider(value: $bGuess, textColor: .blue)
Click Resume to update the preview:
And that's nearly the entire app done! Think back to when you created BullsEye, and marvel at how much more quickly you've created RGBullsEye. When I used to teach BullsEye to my students, it would take them hours to set up the UI, even with Auto Layout and stack views. And then they still had so much code to write! When I start teaching SwiftUI, I might run out of apps to fill up their time ;].
Now for something fun: Down by the lower right corner of the preview device, click the live preview button:
Live preview lets you interact with the preview the same as if your app is running in the simulator — brilliant!
Wait for the Preview spinner to stop; if necessary, click Try Again.
Now move those sliders to match the color!
Wonderful! Do you feel like those programmers in the Goodnight Developers video from the WWDC Keynote? So satisfying! Go ahead and do a victory lap to the kitchen, get your favorite drink and snacks, then come back for the final step! You want to know your score, don't you?
Presenting an Alert
After using the sliders to get a good color match, your user taps the Hit Me button, just like in the original BullsEye game. And just like in BullsEye, an Alert
will appear, displaying the score.
First, add a method to ContentView
to compute the score. Between the @State
variables and the body
, add this method:
func computeScore() -> Int {
let rDiff = rGuess - rTarget
let gDiff = gGuess - gTarget
let bDiff = bGuess - bTarget
let diff = sqrt(rDiff * rDiff + gDiff * gDiff + bDiff * bDiff)
return Int((1.0 - diff) * 100.0 + 0.5)
}
The diff
value is just the distance between two points in three-dimensional space — the user's error. To get the score, you subtract diff
from 1, then scale this to a value out of 100. Smaller diff
yields a higher score.
Next, replace the Text("Hit me button")
placeholder with a Button
view:
Button(action: {
}) {
Text("Hit Me!")
}
A Button
has an action and a label, just like a UIButton
. The action you want to happen is the presentation of an Alert
view. But if you just create an Alert
in the Button
action, it won't do anything.
Instead, you create the Alert
as one of the subviews of ContentView
, and add a @State
variable of type Bool
. Then, you set the value of this variable to true
when you want the Alert
to appear — in the Button
action, in this case. The value resets to false
— to stop showing the alert — when the user dismisses the Alert
.
So add this @State
variable, initialized to false
:
@State var showAlert = false
Then add this line as the Button
action:
self.showAlert = true
You need the self
because showAlert
is inside a closure.
Finally, add an alert
modifier to the Button
, so your Button
view looks like this:
Button(action: {
self.showAlert = true
}) {
Text("Hit Me!")
}
.alert(isPresented: $showAlert) {
Alert(title: Text("Your Score"), message: Text("\(computeScore())"))
}
You pass the binding $showAlert
because its value will change when the user dismisses the alert, and this change will cause the view to update.
SwiftUI has simple initializers for Alert
views, just like the ones that many developers have created for themselves in a UIAlertViewController
extension. This one has a default OK
button, so you don't even need to include it as a parameter.
Turn off live preview, click Resume to refresh the preview, then turn on live preview, and try your hand at matching the target color:
Hey, when you've got live preview, who needs iOS Simulator? Although if you do run your app in the simulator, you can rotate it to landscape:
Previewing in Landscape
RGBullsEye looks best in landscape orientation. However, at the time of writing, Xcode 11 doesn't provide an easy way to preview in landscape orientation. For now, you have to specify fixed width and height values: Inside the static previews
property, add a previewLayout
modifier to ContentView()
:
ContentView()
.previewLayout(.fixed(width: 568, height: 320))
These values display an iPhone SE-sized window in landscape orientation, but not in Live Preview.
You can find a list of dimensions for other iPhone models in The Ultimate Guide To iPhone Resolutions.
Where to Go From Here?
You can download the final project using the link at the top or bottom of this article.
This article barely scratches the surface of SwiftUI, but you now have a feel for how to use some new Xcode tools to layout and preview views, and how to use @State
variables to keep your UI updated. Not to mention that terrific Alert
!
You're now well-prepared to dive deeper into Apple's wealth of resources — its tutorials and WWDC sessions. The tutorials and WWDC sessions work through different sample projects. For example, Introducing SwiftUI (#204) builds a list app for meeting rooms — it's simpler than the tutorials' Landmarks app. And SwiftUI Essentials (#216) shows you how to use the Form
container view to easily get the look and feel of an iOS form.
To keep this article simple, I didn't create a data model for RGB colors. But most apps model their data as structs or classes. If you need SwiftUI to keep track of changes in a model's instances, it must conform to BindableObject
by implementing a didChange
property that publishes change events. Look at Apple's sample projects and especially Data Flow Through SwiftUI (#226)
To ease yourself into SwiftUI, you can add a SwiftUI view to an existing app, or use existing views in a new SwiftUI app — watch Integrating SwiftUI (#231) to see how quick and easy this is to do.
Also, explore the SwiftUI documentation to see what else is available — there's a lot!
And check out our SwiftUI by Tutorials book!
Comments