Deploying Server-Side Swift Apps With Docker on Heroku
In this tutorial, you’ll learn how to deploy server-side applications developed in Vapor as well as Docker images of your application into Heroku. By Natan Rolnik.
Logging in to the Heroku CLI
Before running the commands from this section and onward, you need to be logged in to Heroku in its command-line tool. To check if you’re already logged in — and with which user — run the following command:
heroku auth:whoami
If you’re not logged in yet, you’ll see an error message indicating so. To fix that, run the login command:
heroku login
Then, press any key to open the browser and finish the login process. After seeing the success page, return to Terminal, and you will see a success message there as well.
Creating the Heroku App
Now, you’re all set to create your own Heroku app using the apps command! Run the following command:
heroku apps:create <your-app-name>
A few notes about this command:
- Heroku enforces unique app names across all the platforms. If you pick a popular name someone has chosen before, you’ll receive an error when creating the app.
- If you omit the app name, Heroku chooses a random, unique app name.
- To learn the remote Git URL, or any other information about your Heroku app, you can run
heroku apps:info <your-app-name>. It will display detailed app information, including the URL.
Alternatively, if you use Heroku without Git, you must pass the
--app flag followed by your Heroku app name for every app-related command.
For now, you haven’t yet deployed the app. If you try to visit your app’s web URL, you’ll find a welcome page with a link with help to deploy it:
A yet-to-be-deployed Heroku app in the browser

Open the Heroku dashboard in your browser. It displays a list of apps that belong to your account. Click the app you just created, and you’ll see more details about it:
Heroku app overview

Adding the Postgres Add-on
The next step is provisioning a database to read and write data. The sample project uses PostgreSQL, so you’ll need to make a database of this type available.
Instead of leaving the difficult task of maintaining Postgres instances to developers, Heroku provides many common services as fully managed add-ons. For this tutorial, you’ll use the Heroku Postgres add-on in the Hobby Dev tier. It’s free with some limitations, but more than enough to get started. For more information about Heroku Postgres, check out its documentation.
Back in the terminal, run the command below:
heroku addons:create heroku-postgresql:hobby-dev
After adding the add-on, the Heroku CLI will display a confirmation message and will also print the environment variable used at runtime. To access the database, use the value from: DATABASE_URL environment variable. To check out the full URL, run the following command:
heroku config
This prints all the app’s environment variables in key and value format, much like a dictionary object. Since the database URL value is accessible via environment variables, you don’t have to hardcode the database address in your app’s code.
Configuring Other Environment Variables
As the previous section mentioned, you should rely on environment variables rather than setting hardcoded URLs, secrets or other values that might change depending on where you deploy your app. You might also use it to specify if a server is designated for staging, testing or production.
The TIL app requires two environment variables to support Sign In With Apple. Because this feature isn’t in the scope of this tutorial, you’ll set two sample values for these keys that won’t work. However, they’re required for the app to launch correctly.
Additionally, ServerInfoController needs to know what the app environment is so it can provide the response.
Although you can edit the environment variables from the app settings in the browser, doing it with the CLI is faster. To do so, run the command below:
heroku config:set APP_ENVIRONMENT=heroku-prod WEBSITE_APPLICATION_IDENTIFIER=til-prod SIWA_REDIRECT_URL=https://sign-in-with-apple.example.com
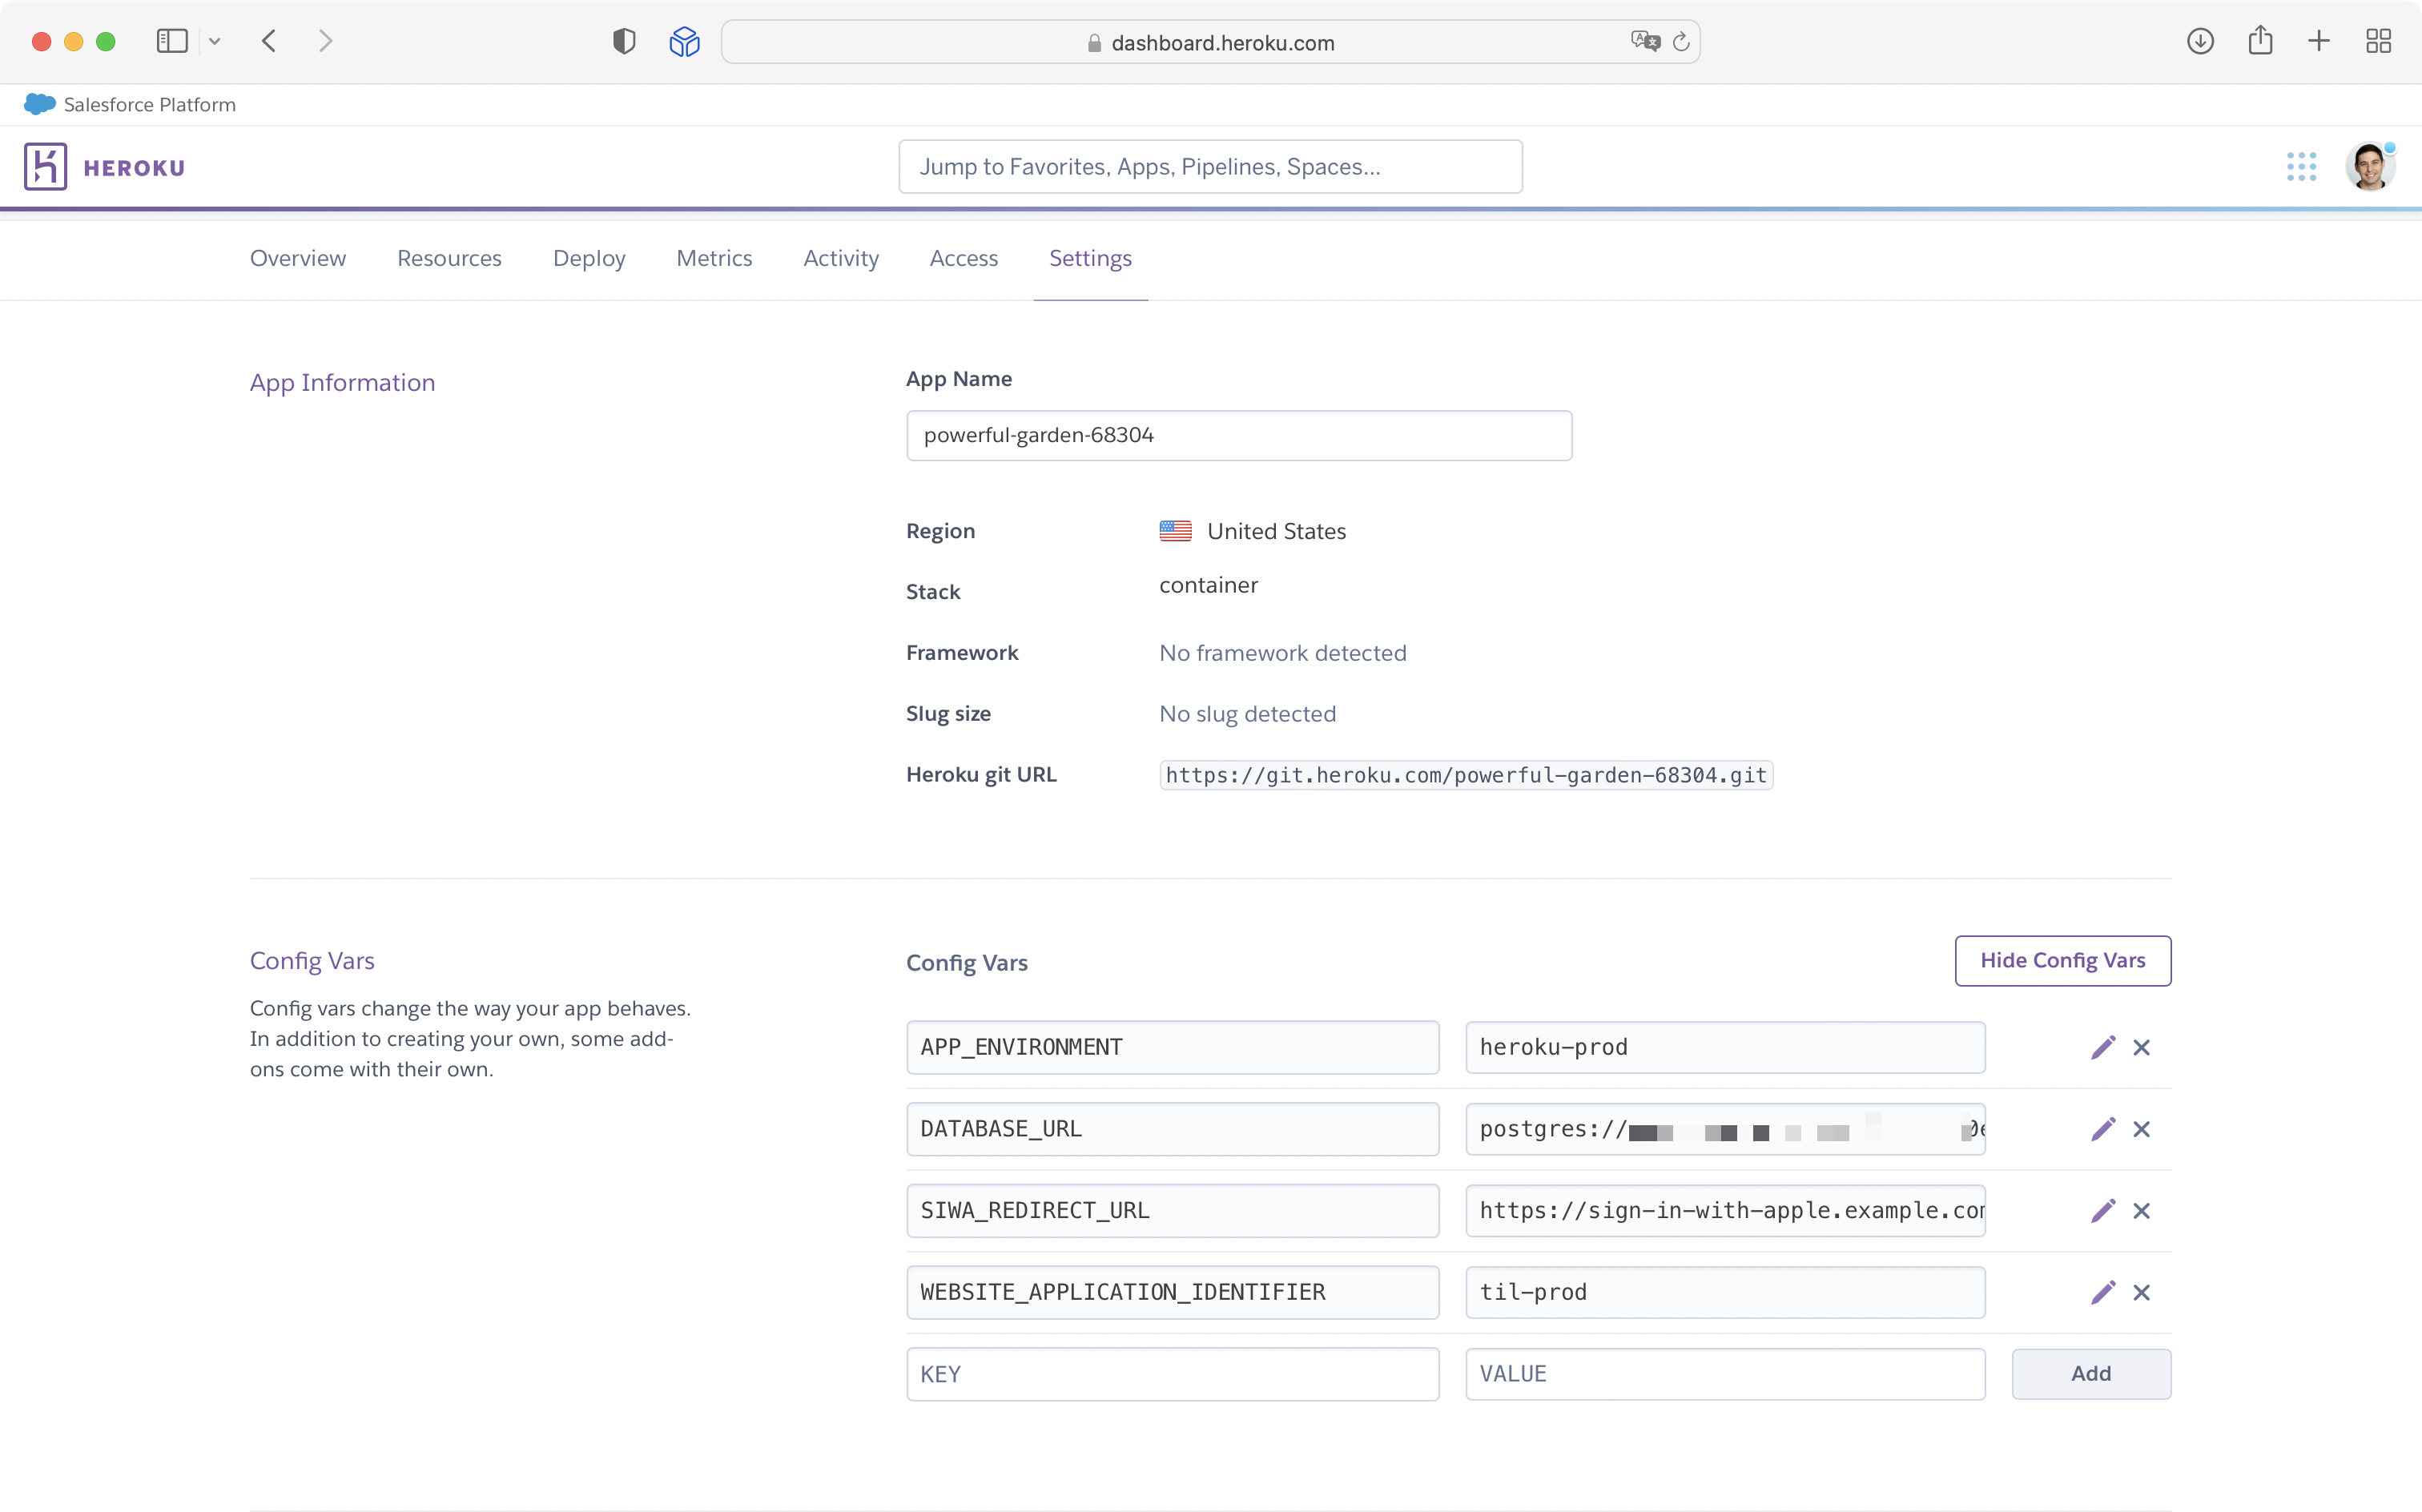
To confirm Heroku persisted these changes, run the heroku config command, just as previously, and see the result. Alternatively, open the app dashboard in Heroku, click Settings, and then scroll to the Config Vars section. Click the Reveal Config Vars button to see all the variables and their values:
Application Config Vars in the Heroku Dashboard
Setting the Heroku App Stack
Now, the final configuration your Heroku app needs is to set the stack it will use. Stacks are operating system layer images that Heroku curates and maintains, providing operating system “building blocks” and the language runtimes.
In this case, you’ll build your own Docker images, which package every resource your app needs, so it doesn’t rely on Heroku’s default stacks. For that reason, setting the stack to container is necessary. To change the stack your app uses in the next deployment, use the heroku stack:set command:
heroku stack:set container
To confirm you successfully set the stack to container, run the following command:
heroku stack
Now, you should see that the selected stack is container, as shown below:
Heroku CLI displays the selected Heroku stack

The Heroku app configuration is ready. The next section covers the changes you’ll need to make in the Vapor app to get it ready for deployment.
Preparing the Vapor App for Deployment
You’ll need to make two changes to ensure the app launches correctly when running on Heroku. You’ve previously added the Postgres add-on to the Heroku app. Now, your app currently looks for a database in the localhost but it will need to connect to the Heroku database upon launch. The second change is the HTTP port the server binds to.
Configuring Heroku Postgres in the App
To add support for a remote Postgres database, open configure.swift. You can see there’s already a function that sets up the local database: configureLocalDatabase(). At the end of the file, paste the following global function:
// 1
func configureDatabase(with url: URL, for app: Application) {
  // 2
  guard let host = url.host,
        let user = url.user else {
          return
  }

  // 3
  var configuration = TLSConfiguration.makeClientConfiguration()
  configuration.certificateVerification = .none

  // 4
  let db = url.path.split(separator: "/").last.flatMap(String.init)
  app.databases.use(.postgres(configuration: .init(hostname: host,
                                                   username: user,
                                                   password: url.password,
                                                   database: db,
                                                   tlsConfiguration: configuration)), as: .psql)

  // 5
  if let db = db {
    app.logger.info("Using Postgres DB \(db) at \(host)")
  }
}
Here’s what you’re doing with this code:
- Declare a function that receives the database
URLand Vapor’sApplicationobject. - As the
hostanduserproperties of aURLare optional, use aguardto unwrap them. - Disable the TLS certificate verification, as it’s necessary when using the hobby plan in Heroku Postgres.
- Get the database name, extracting it from the URL’s
lastpath component. Along with all the other properties, initialize the database configuration and assign it to the app. - As this code is called on app launch, print a log containing database name and host. This way, you’ll be able to confirm the app is using the correct database by reading the logs.