Implementing The Command Pattern In Unity
How to achieve replay functionality, as well as undo and redo in Unity by using the command pattern. Use it to enhance strategy and similar games. By Najmm Shora.
Have you ever wondered how games like Super Meat Boy and others achieve their replay functionality? One of the ways to do it is by executing the inputs exactly as the player issued them, which, in turn, means that the input needs to be stored somehow. The Command pattern can be used to do that and more.
The Command pattern is also useful if you want to create Undo and Redo functionalities in a strategy game.
In this tutorial, you will implement the Command pattern using C# and use it to traverse a bot character through a 3D maze. During this process, you’ll learn:
- The fundamentals of the Command pattern.
- How to implement the Command pattern
- Queuing input commands and postponing their execution.
- Undoing and redoing the issued commands before their execution.
Getting Started
To set things in motion, download the project materials using the link at the top or bottom of this tutorial. Unzip the file and open the Starter project inside Unity.
Go to RW/Scenes and open the Main scene. You will notice that the scene contains a bot inside a maze, and there is a terminal UI that displays instructions. The floor’s design is like as a grid, which will be useful visually when you make the bot move across the maze.
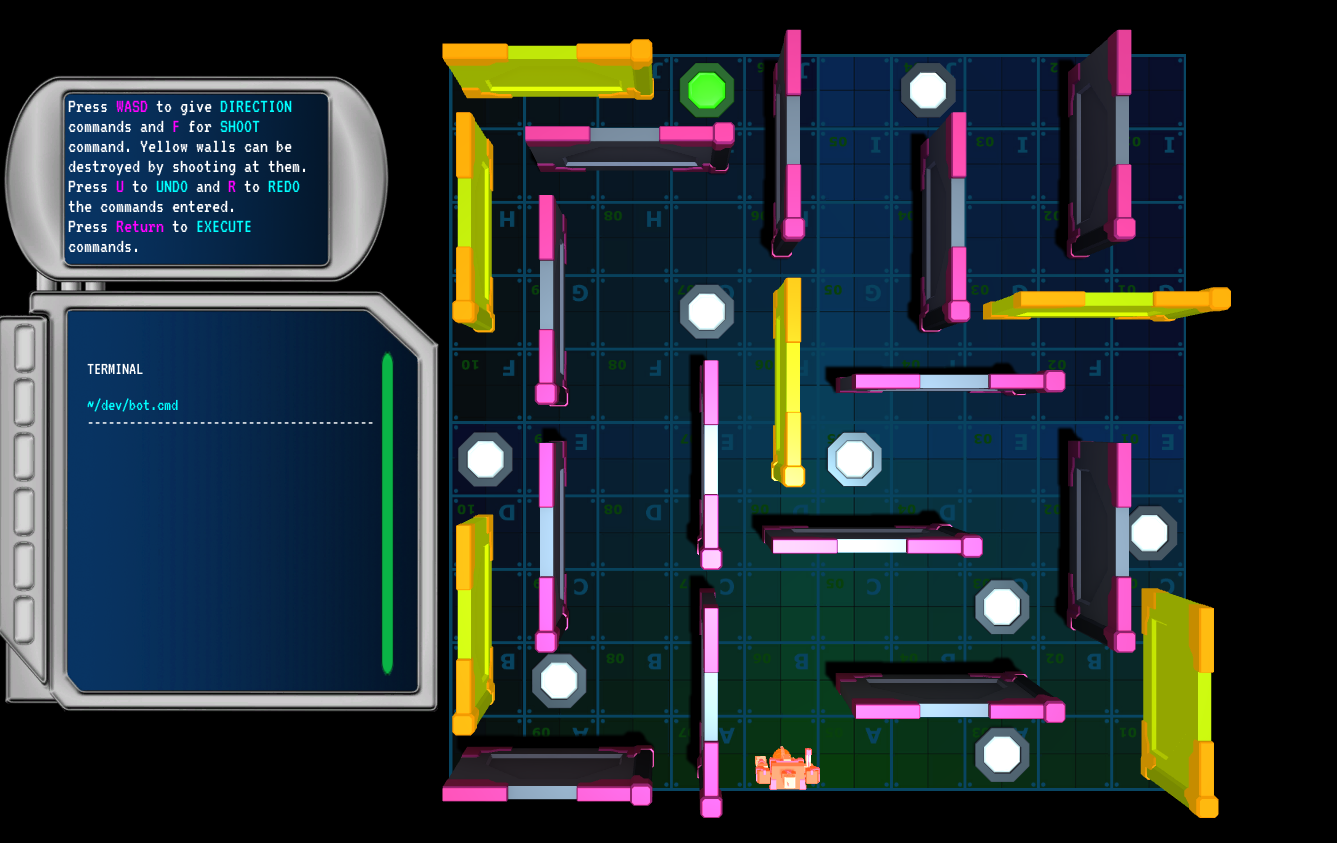
If you click Play, the instructions won’t seem to be working. That’s OK because you will add that functionality in this tutorial.
The most interesting part of this scene is the Bot GameObject. Select it from the Hierarchy by clicking on it.

Take a look in the Inspector, and you will see that it has a Bot component attached to it. You will use this component while issuing input commands.

Understanding the Bot logic
Navigate to RW/Scripts and open the Bot script in your code editor. You don’t need to know about what is happening in the Bot script. But take note of the two methods named Move and Shoot. Again, you don’t need to worry about what happens inside these methods but you need to understand how to use them.
Notice that the Move method accepts an input parameter of type CardinalDirection. CardinalDirection is an enumeration. An enumerator of type CardinalDirection can be either Up, Down, Right or Left. Based on the chosen CardinalDirection, the bot will move by exactly one square across the grid in the corresponding direction.

The Shoot method makes the bot shoot a projectile that can destroy the yellow walls but is useless against other walls.

Finally, take a look at the ResetToLastCheckpoint method; to understand what it does, take a look at the maze. In the maze, there are points referred to as the checkpoints. To solve the maze, the bot should reach the green checkpoint.

When the bot crosses a new checkpoint, it becomes the last checkpoint for the bot. ResetToLastCheckpoint resets the bot’s location to the last checkpoint.

You can’t use these methods yet, but you will soon. First, you will learn about the Command design pattern.
Understanding the Command Design Pattern
The Command pattern is one of the 23 design patterns described in the book Design Patterns: Elements of Reusable Object-Oriented Software by the
The authors state that the “Command pattern encapsulates a request as an object, thereby letting us parameterize other objects with different requests, queue or log requests, and support undoable operations.”
Woah there! What??

I know, this definition isn’t exactly “user friendly,” but let’s break it down.
Encapsulation refers to the fact that a method call can be encapsulated as an object.

The encapsulated method can act on multiple objects based on the input parameter. This is what parameterizing other objects means.
The resulting “command” can then be stored alongside other commands before their execution. This refers to the queuing of requests.
Command Queue

Finally, “undoable” here doesn’t mean something that is impossible to achieve, but rather it refers to the operations that can be reversed by an Undo functionality.
Interesting…

OK, but what does this mean in code?
Simply put, a Command class will have an Execute method which can accept an object (on which the command acts) called the Receiver as an input parameter. So, essentially, the Execute method is encapsulated by the Command class.
The multiple instances of a Command class can be passed around as regular objects, which means that they can be stored in a data structure, such as a queue, stack, etc.
Finally, to execute any command, its Execute method will need to be called. The class that triggers the execution is called the Invoker.
All Clear!

Right now, the project contains an empty class called BotCommand. In the next section you will tackle the requirements to implement the above, enabling the Bot to execute actions using the Command pattern. :]
Moving the Bot
Implementing the Command Pattern
In this section, you will implement the Command pattern. There are multiple ways to implement this pattern. This tutorial will teach you one of such ways.
First, go to RW/Scripts and open the BotCommand script in your editor. The BotCommand class should be empty but not for long.
Paste the following code inside the class:
    //1
    private readonly string commandName;

    //2
    public BotCommand(ExecuteCallback executeMethod, string name)
    {
        Execute = executeMethod;
        commandName = name;
    }

    //3
    public delegate void ExecuteCallback(Bot bot);

    //4
    public ExecuteCallback Execute { get; private set; }

    //5
    public override string ToString()
    {
        return commandName;
    }
So what is happening, here?
- The
commandNamevariable is simply used to store a human, readable name of a command. It is not essential to this pattern, but you will need it later in the tutorial. - The
BotCommandconstructor accepts a function and a string. This will help you to setup a Command object’sExecutemethod and itsname. - The
ExecuteCallbackdelegate defines the type of the encapsulated method. The encapsulated method will return void and accept an object of typeBot(the Bot component) as an input parameter. - The
Executeproperty will reference the encapsulated method. You will use this to call the encapsulated method. - The
ToStringmethod is overridden to return thecommandNamestring. Useful for convenience and use in the UI for example.
Save your changes and — congratulations! You have successfully implemented the Command pattern.
All that’s left is to use it.