Sharing Core Data With CloudKit in SwiftUI
Learn to share data between CoreData and CloudKit in a SwiftUI app. By Marc Aupont.
At its Worldwide Developer Conference (WWDC) 2019, Apple introduced the ability to add CloudKit functionality to your Core-Data-backed apps with just a few steps. In theory, you needed only three steps. First, update your container type to NSPersistentCloudKitContainer. Second, enable the iCloud capability in your app. Third, create an iCloud container that hosts your data in iCloud.
Once you’ve completed these steps, the data in your app then “automagically” sync with iCloud. Amazing! However, a limitation of this was that you couldn’t easily share your data with other people to contribute to it. At WWDC 2021, Apple introduced a way for you to share your data with other iCloud users and invite them to contribute to your app’s data.
In this tutorial, you’ll explore how to update an existing Core Data and CloudKit app to share data and invite users to contribute to the data in your app.
- A paid developer account — To use CloudKit.
- Two separate iCloud accounts — To initiate the sharing process.
- At least one real device – To send and accept share invitation(s). Also, to change the sharing permissions because it doesn’t work properly on a simulator.
Getting Started
Download the starter project by clicking the Download Materials button at the top or bottom of this tutorial. Then, open the starter project. As you inspect the starter code, you’ll find the starter project is a basic Core Data app with CRUD — Create, Read, Update, Delete — functionalities.
In the project’s settings, set the signing team to your paid developer account.
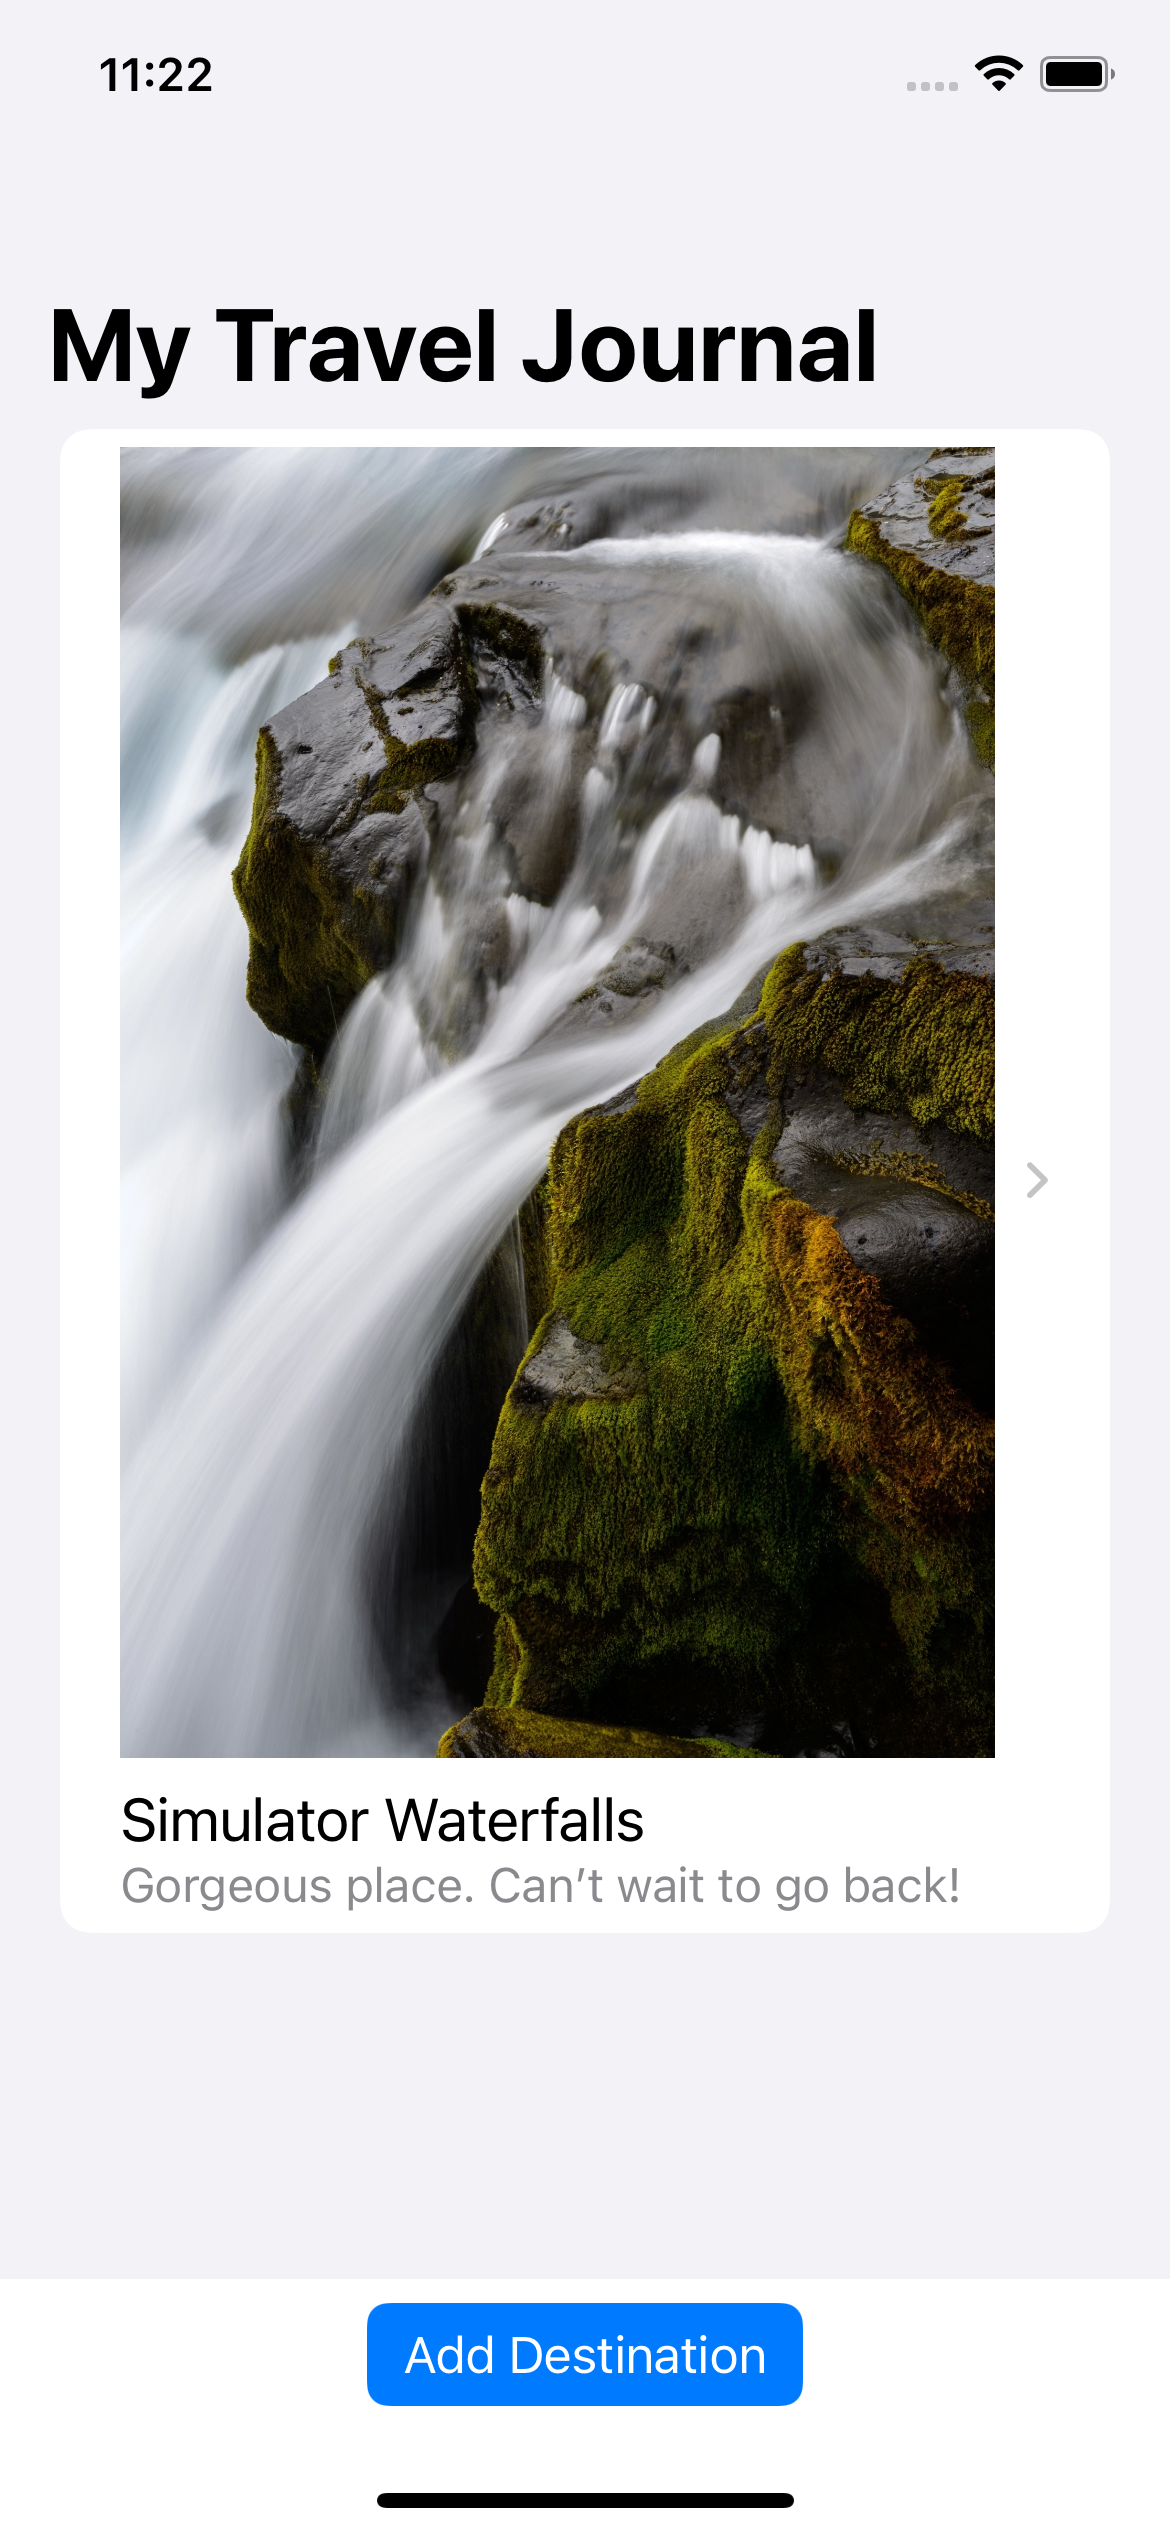
Build and run. You see a travel journal screen with an empty state message and a button.

Tap the Add Destination button. This takes you to a screen to add a recent destination you visited. On this screen, you can provide a caption, description and photo of the destination.

Once you add a destination, you’ll see it on the main screen like below.
To delete the destination, swipe left to reveal the delete button. Tapping this button removes a destination from your travel journal.
To edit or update the caption or description, tap the destination cell to see the detail screen. From this screen, you can take a few actions.
At the top right is the edit button, which presents a modal to edit your destination’s caption and description. There’s also a share action that does nothing now. You’ll build this action in this tutorial.
Types of CloudKit Databases
Before you start enabling CloudKit syncing, you first need to understand the three types of databases you can store your data in.
- Public: Data stored here is public, and every user, whether they sign in to the iCloud account or not, can read it. You’ll store data in this database for this tutorial.
- Private: Data stored here is private data associated with the currently signed-in user.
- Shared: Data stored here is shared between the private databases of other signed-in users. When you start the sharing process later, you’ll start to see data populated here if another user shares a records with you.
Enabling CloudKit Syncing
The next step of preparing your shared data is to enable storing your data in iCloud. When you create a destination, the data is being persisted via Core Data locally in your app.
In the Signing & Capabilities section, add the iCloud capability. You’ll need to ensure that you have set a unique bundle identifier at this point. Then, select the CloudKit checkbox to enable the feature.

The next step is to create the container your data will live in. In the iCloud section, tap the + button underneath Containers to add a custom container. In the window that comes up, enter your container’s name. A general guideline is to use com.company_name.bundle_identifier. Xcode prefixes the container name with iCloud.

The final step is to add the Background Modes capability and enable Remote Notifications. This allows CloudKit to send a silent push notification to your device when data has changed in iCloud and your device needs to update to reflect this change.

Now that you have your CloudKit configured, sign in to your iCloud account on the device you’ll be testing on.
Launch a simulator. From the home screen, open Settings. Sign in to your Apple ID.
Build and run. Add a destination.
Last, head to the CloudKit Console so you can verify your data.

CloudKit Console Dashboard
When storing data via CloudKit, CloudKit Console allows you to interact with the data in question and perform several other functions such as viewing logs. After you have logged into the console, open CloudKit Database.
Once you’re in this section, you need to specify the container you want to see. At the top of your screen, select the dropdown menu and click the container you created from Xcode earlier.
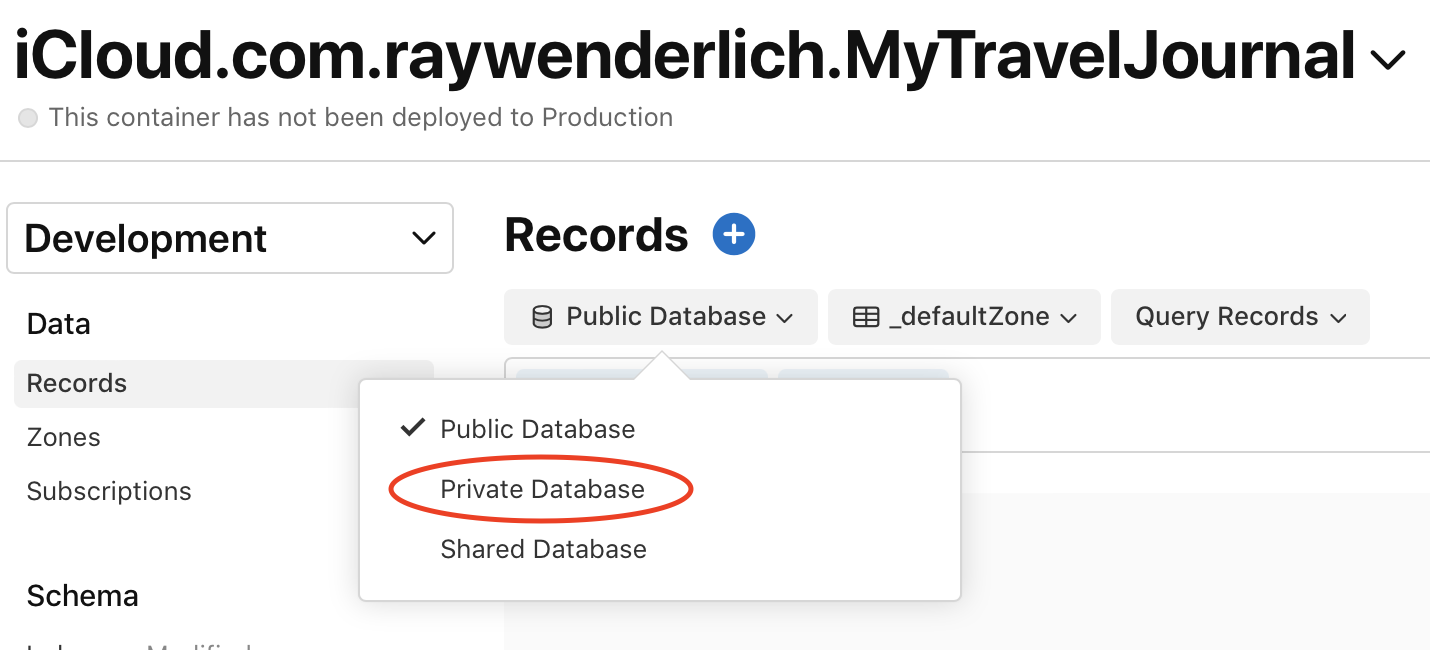
Below the Data section, click Records. Select Private Database. This is the default database that data gets written to.
If you attempt to select record type as CD_Destination and query records from here, you receive an error stating Field recordName isn’t marked queryable. Now, you’ll resolve this error.
Under the Schema section, select Indexes. Select CD_Destination. This is your Destination entity in Core Data. CloudKit prefixes your entities with CD to distinguish them from traditional CloudKit records.
Click Add Basic Index. Select recordName from the list and ensure the index type is Queryable. Save the changes.

Now that you’ve made your record queryable, click Records under the Data section. Select Private Database. Specify record type as CD_Destination. Update the selected zone from defaultZone to the automatically generated com.apple.coredata.cloudkit.zone.
Click Query Records to see a listing of the record(s) you created in the app earlier! The most amazing part is that because your data is now synced in iCloud, you can run your app on a completely different device that’s signed in to the same iCloud account and see all your data!

Updating NSPersistentCloudKitContainer to Prepare for Share
At this point, your app can locally persist your changes on the device while also syncing them with a private database in iCloud. However, to allow other users to interact with this data, you need to update your NSPersistentCloudKitContainer. Open CoreDataStack.swift. The class contains all the necessary methods and properties you need to interact with Core Data. To begin the sharing process, add the following code to your persistentContainer below the // TODO: 1 comment:
let sharedStoreURL = storesURL?.appendingPathComponent("shared.sqlite")
guard let sharedStoreDescription = privateStoreDescription
  .copy() as? NSPersistentStoreDescription else {
  fatalError(
    "Copying the private store description returned an unexpected value."
  )
}
sharedStoreDescription.url = sharedStoreURL
This code configures the shared database to store records shared with you. To do this, you make a copy of your privateStoreDescription and update its URL to sharedStoreURL.
Next, add the following code under the // TODO: 2 comment:
guard let containerIdentifier = privateStoreDescription
  .cloudKitContainerOptions?.containerIdentifier else {
  fatalError("Unable to get containerIdentifier")
}
let sharedStoreOptions = NSPersistentCloudKitContainerOptions(
  containerIdentifier: containerIdentifier
)
sharedStoreOptions.databaseScope = .shared
sharedStoreDescription.cloudKitContainerOptions = sharedStoreOptions
This code creates NSPersistentContainerCloudKitContainerOptions, using the identifier from your private store description. In addition to this, you set databaseScope to .shared. The final step is to set the cloudKitContainerOptions property for the sharedStoreDescription you created.
Next, add the following code below the // TODO: 3 comment:
container.persistentStoreDescriptions.append(sharedStoreDescription)
This code adds your shared NSPersistentStoreDescription to the container.
Last and under the // TODO: 4, replace:
container.loadPersistentStores { _, error in
  if let error = error as NSError? {
    fatalError("Failed to load persistent stores: \(error)")
  }
}
With the following:
container.loadPersistentStores { loadedStoreDescription, error in
  if let error = error as NSError? {
    fatalError("Failed to load persistent stores: \(error)")
  } else if let cloudKitContainerOptions = loadedStoreDescription
    .cloudKitContainerOptions {
    guard let loadedStoreDescritionURL = loadedStoreDescription.url else {
      return
    }
    if cloudKitContainerOptions.databaseScope == .private {
      let privateStore = container.persistentStoreCoordinator
        .persistentStore(for: loadedStoreDescritionURL)
      self._privatePersistentStore = privateStore
    } else if cloudKitContainerOptions.databaseScope == .shared {
      let sharedStore = container.persistentStoreCoordinator
        .persistentStore(for: loadedStoreDescritionURL)
      self._sharedPersistentStore = sharedStore
    }
  }
}
The code above stores a reference to each store when it’s loaded. It checks databaseScope and determines whether it’s private or shared. Then, it sets the persistent store based on the scope.