Android App Distribution Tutorial: From Zero to Google Play Store
Learn how to generate a release build of your app, create a Google Play Store listing and finally release your app on the Play Store. By arjuna sky kok.
Publishing Your App on Google Play
After completing all of these steps, you can now publish your app.
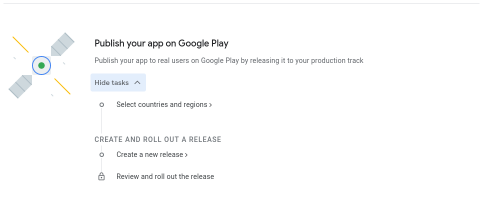
Click Select countries and regions. Then, choose which countries you want your app to be available in. For this example, choose all of the countries.
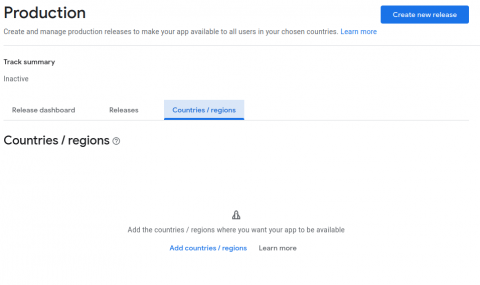
After choosing countries and regions, click Create new release. In this section, upload your app bundle or APK. If you’ve built and generated a signed bundle or APK, you’ll have one. The name of the file is app-release.aab or app-release.apk:
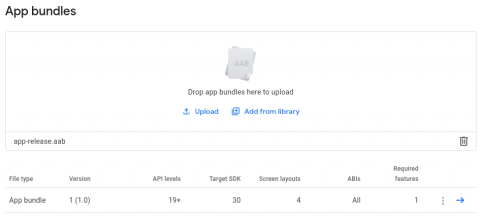
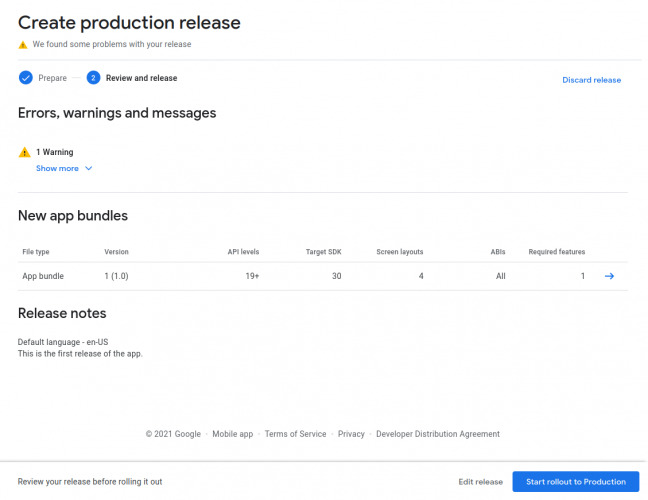
Once you’ve uploaded your app bundle or APK, give a release name to differentiate your app releases. It could be something simple, like 1 (1.0). Then, enter a note in the Release notes field. Finally, click Review release.
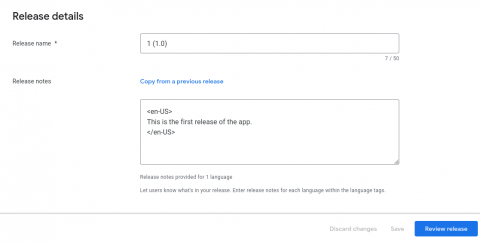
In the final screen, you’ll see a warning about a missing deobfuscation file. Ignore it. Click Start rollout to Production. Your app will be released to Google Play.
Where to Go From Here?
Google Play Developer Console has several other features, such as teammate invitations and Google Apps keys (necessary for apps that use Google Maps and similar services). Read about these features and more on the Android Developer Page and the Google Play Developer Help Center.
Before you submit your app, your team should test it carefully to minimize the risk of possible bugs. To learn more about this process, check out Use testing tracks to get invaluable early feedback from users.
We hope you enjoyed this tutorial. If you have any questions or comments, please join the forum discussion below!