PaintCode Tutorial: Custom Progress Bar
In this second part of our PaintCode tutorial series, learn how to make a custom progress bar drawn with Core Graphics – but without having to write any code! By Felipe Laso-Marsetti.
Drawing the Progress View
Now that you have your progress bar in place, the first test is to make sure it’s being drawn correctly.
Locate Resources\Storyboards\MainStoryboard.storyboard in the Xcode project and open it. Go to the Progress View Controller scene and add a View object from the Object Library. Change the class to ProgressView in the Identity Inspector and give it the following attributes in the Size Inspector:
- X: 20
- Y: 183
- Width: 280
- Height: 46

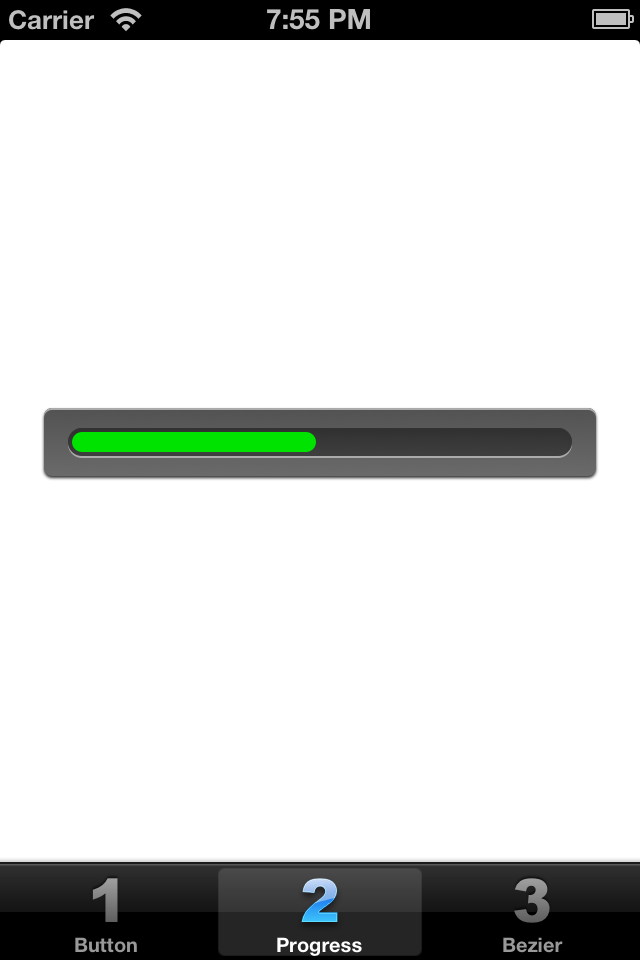
Build and run your project and switch to the Progress tab of your app. Your control should be displayed as in the following screenshot:

Your custom progress bar looks pretty good — but it’s not being drawn to the size of the view placed in the storyboard. To fix this, go back to drawRect: in ProgressView.m and find the following line of code:
    …

    //// Frames
    CGRect progressIndicatorFrame = CGRectMake(2, 1, 318, 34);

    ...
Update this line of code as shown below:
- (void)drawRect:(CGRect)rect
{
    ...

    // Frames
    CGRect progressIndicatorFrame = rect;

    ...
}
This ensures that the frame’s size is set based on the view’s rectangle.
Build and run your project, and again switch to the Progress tab. Your progress bar should now be drawn to match the view you placed in the storyboard, as demonstrated below:
The progress bar is now being drawn correctly — it’s time to make the progress bar animate just as it would in a real-world app.
Adding Dynamic Elements to the Progress View
Open up ProgressViewController.m and add the following code just before the @implementation line:
// 1
#import "ProgressView.h"
#import "ProgressViewController.h"

// 2
#define kSecondsForCompleteUpdate   3.0
#define kUpdateInterval             0.02

// 3
@interface ProgressViewController ()

@property (weak, nonatomic) IBOutlet ProgressView *progressView;
@property (weak, nonatomic) IBOutlet UIButton *startProgressButton;
@property (strong, nonatomic) NSTimer *timer;

@end
Here’s a short review of what the above code does:
- Imports ProgressView.h so it can be leveraged in the view controller.
- Defines two variables
kSecondsForCompleteUpdateandkUpdateIntervaland assigns them a value. These two variables will help simulate a progress activity to which your control will respond. - Adds a class extension with outlets for
UIButtonandUIProgressView, and adds a timer variable to control the update of the progress view’sprogressproperty.
Now add the following code to (still in ProgressViewController.m):
-(IBAction)startProgressTapped {
    self.progressView.progress = 0.0;

    self.startProgressButton.enabled = NO;

    self.timer = [NSTimer timerWithTimeInterval:kUpdateInterval
                                         target:self
                                       selector:@selector(updateProgressView)
                                       userInfo:nil
                                        repeats:YES];

    [[NSRunLoop currentRunLoop] addTimer:self.timer forMode:NSDefaultRunLoopMode];

    [self.timer fire];
}
This code will be called when a button is tapped on the screen. It first sets the progress property of the progress view to 0. It then disables the button so that it can’t be pressed again while the progress animation is running. Next, it creates a timer to control the length of the simulated event.
Finally, the code adds the timer to the current run loop and starts the timer to simulate the start of the event.
Take a look at the self.timer line. You can see that the timer calls updateProgressView, which is the simulator that will update your progress bar. You’ll add this now.
Add the following code to ProgressViewController.m:
-(void)updateProgressView; {
    if (self.progressView.progress < 1.0) {
        self.progressView.progress += (kUpdateInterval / kSecondsForCompleteUpdate);
    } else {
        [self.timer invalidate];
        self.startProgressButton.enabled = YES;
    }
}
This method checks whether the current progress is less than 1.0, which means the task is not yet 100% complete. If so, it increments the progress bar gradually, using the variables you set earlier to control the rate at which the progress bar increments.
If the progress is equal to or greater than 1.0, that means the task is 100% complete, and the method invalidates the timer and re-enables the button so that you can run the simulation again.
All that's left to add is the button to the screen that will trigger startProgressTapped to kick off the whole sequence of events.
Adding The Start Progress Button
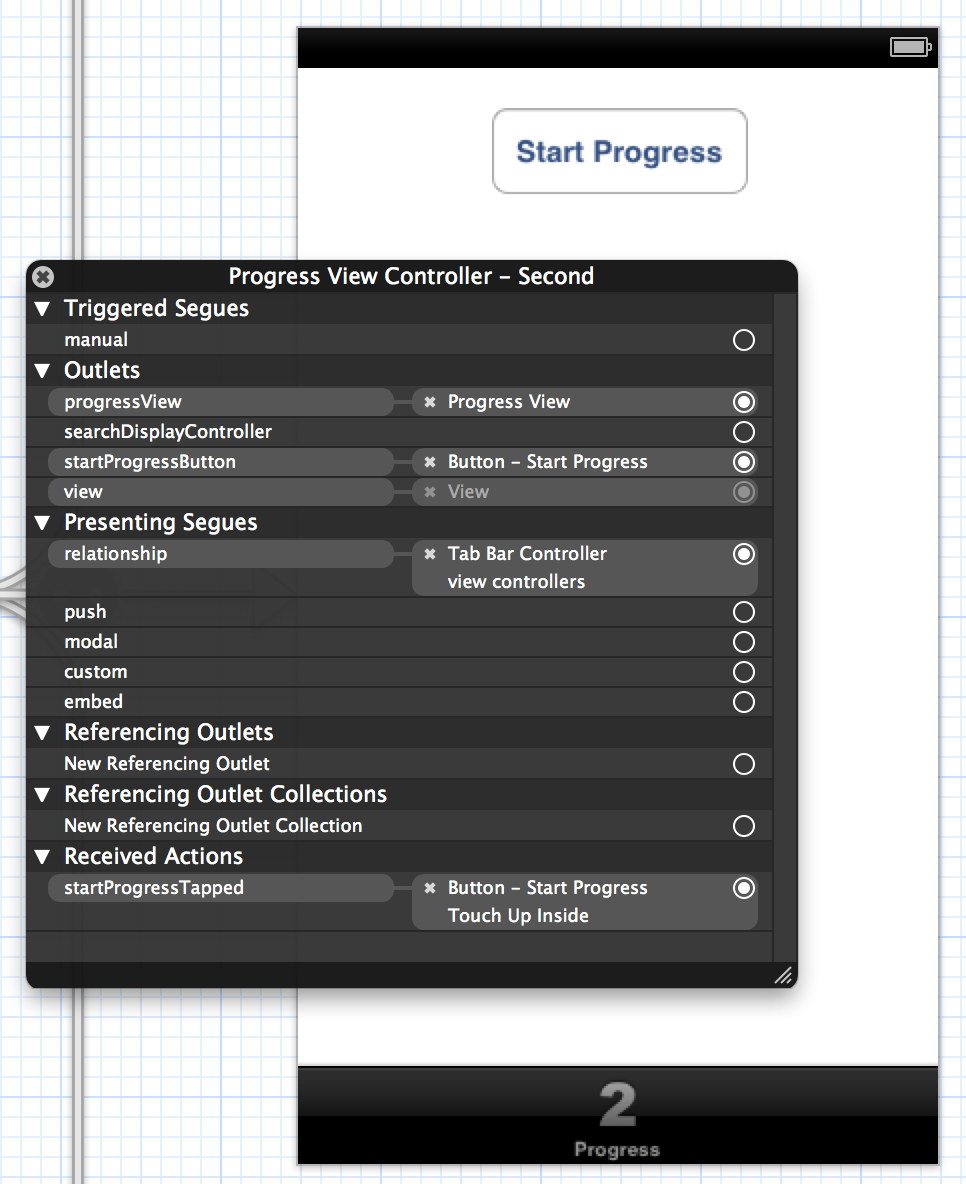
Switch to the storyboard and drag a Round Rect Button object into the Progress View Controller scene. In the Attributes Inspector change the title to "Start Progress" and connect the Touch Up Inside event to the startProgressTapped selector.
Next, modify the button's attributes in the Size Inspector as shown below:
- X: 97
- Y: 20
- Width: 128
- Height: 44
- Autosizing: Fixed to left, top, right margin and fixed width. Flexible to the bottom margin and flexible width.

Next, connect the outlets for the button and progress view. Your resulting scene should look like the following:
Build and run your app, change to the Progress tab, and click the Start Progress button. Your progress bar should be drawn as shown below:

Umm...the progress bar seems to be stuck. Nothing happens when you tap the button. What gives?
Updating The Progress Track
The issue is that there's no code in ProgressView to modify the actual progress track. It's still being drawn statically, just as it was drawn in PaintCode. You need to add some code to draw the track based on the progress property of the progress view.
Switch to ProgressView.m. Locate the following section of code:
    …

    //// Abstracted Attributes
    CGRect progressTrackActiveRect = CGRectMake(CGRectGetMinX(activeProgressFrame) + 2, CGRectGetMinY(activeProgressFrame) + 2, CGRectGetWidth(activeProgressFrame) - 4, 10);

    …
Replace the entire CGRect progressTrackActiveRect line with the following code:
CGRect progressTrackActiveRect = CGRectMake(CGRectGetMinX(activeProgressFrame) + 3,
                                                CGRectGetMinY(activeProgressFrame) + 2,
                                                (CGRectGetWidth(activeProgressFrame) - 4) * self.progress,
                                                10);
The new code calculates the width of the progress indicator rectangle's width based on the value of the progress property.
There's one final thing to do — set the initial value of the progress property to zero. That way, when the app starts, the progress bar will be reset to zero, as a user would expect.
Switch to ProgressViewController.m and add the following code:
-(void)viewDidLoad {
    [super viewDidLoad];

    self.progressView.progress = 0.0;
}
Build and run again, move to the Progress tab and tap the button. Your progress bar should start at zero and start to fill the track gradually, as in the screenshot below:

You now have a complete progress view that updates dynamically! The progress bar will update over the span of 3 seconds to emulate some background process or download activity.