React Native Tutorial: Building Android Apps with JavaScript
In this React Native tutorial you’ll learn how to build native apps based on the hugely popular React JavaScript library, with a focus on Android. By Christine Abernathy.
Adding Navigation
React Navigation is a community effort led by Facebook and Expo to provide an easy-to-use navigation solution for React Native apps. It’s a JavaScript implementation which means that it works across iOS and Android. You’ll be working with this library in this tutorial.
There are other native navigation solutions out there including AirBnB’s Native Navigation and React Native Navigation from Wix. Be sure to check out the alternatives if you’re looking for a more native look and feel for your future app.
Install React Navigation by running the following in terminal:
yarn add react-navigation
You’re now ready to use its navigation components.
In App.js, add the following after the import statements near the top:
import {
  createStackNavigator,
} from 'react-navigation';
createStackNavigator enables your app to transition from one screen to another with the new screen being placed on top of a stack.
Next, replace the App class definition with the following:
class SearchPage extends Component<Props> {
Next, add the following to SearchPage just before render():
static navigationOptions = {
  title: 'Property Finder',
};
This sets the title in the navigation bar for this screen.
Add the following below the SearchPage component:
const App = createStackNavigator({
  Home: { screen: SearchPage },
});
export default App;
This configures the SearchPage component as the initial component in the navigation stack.
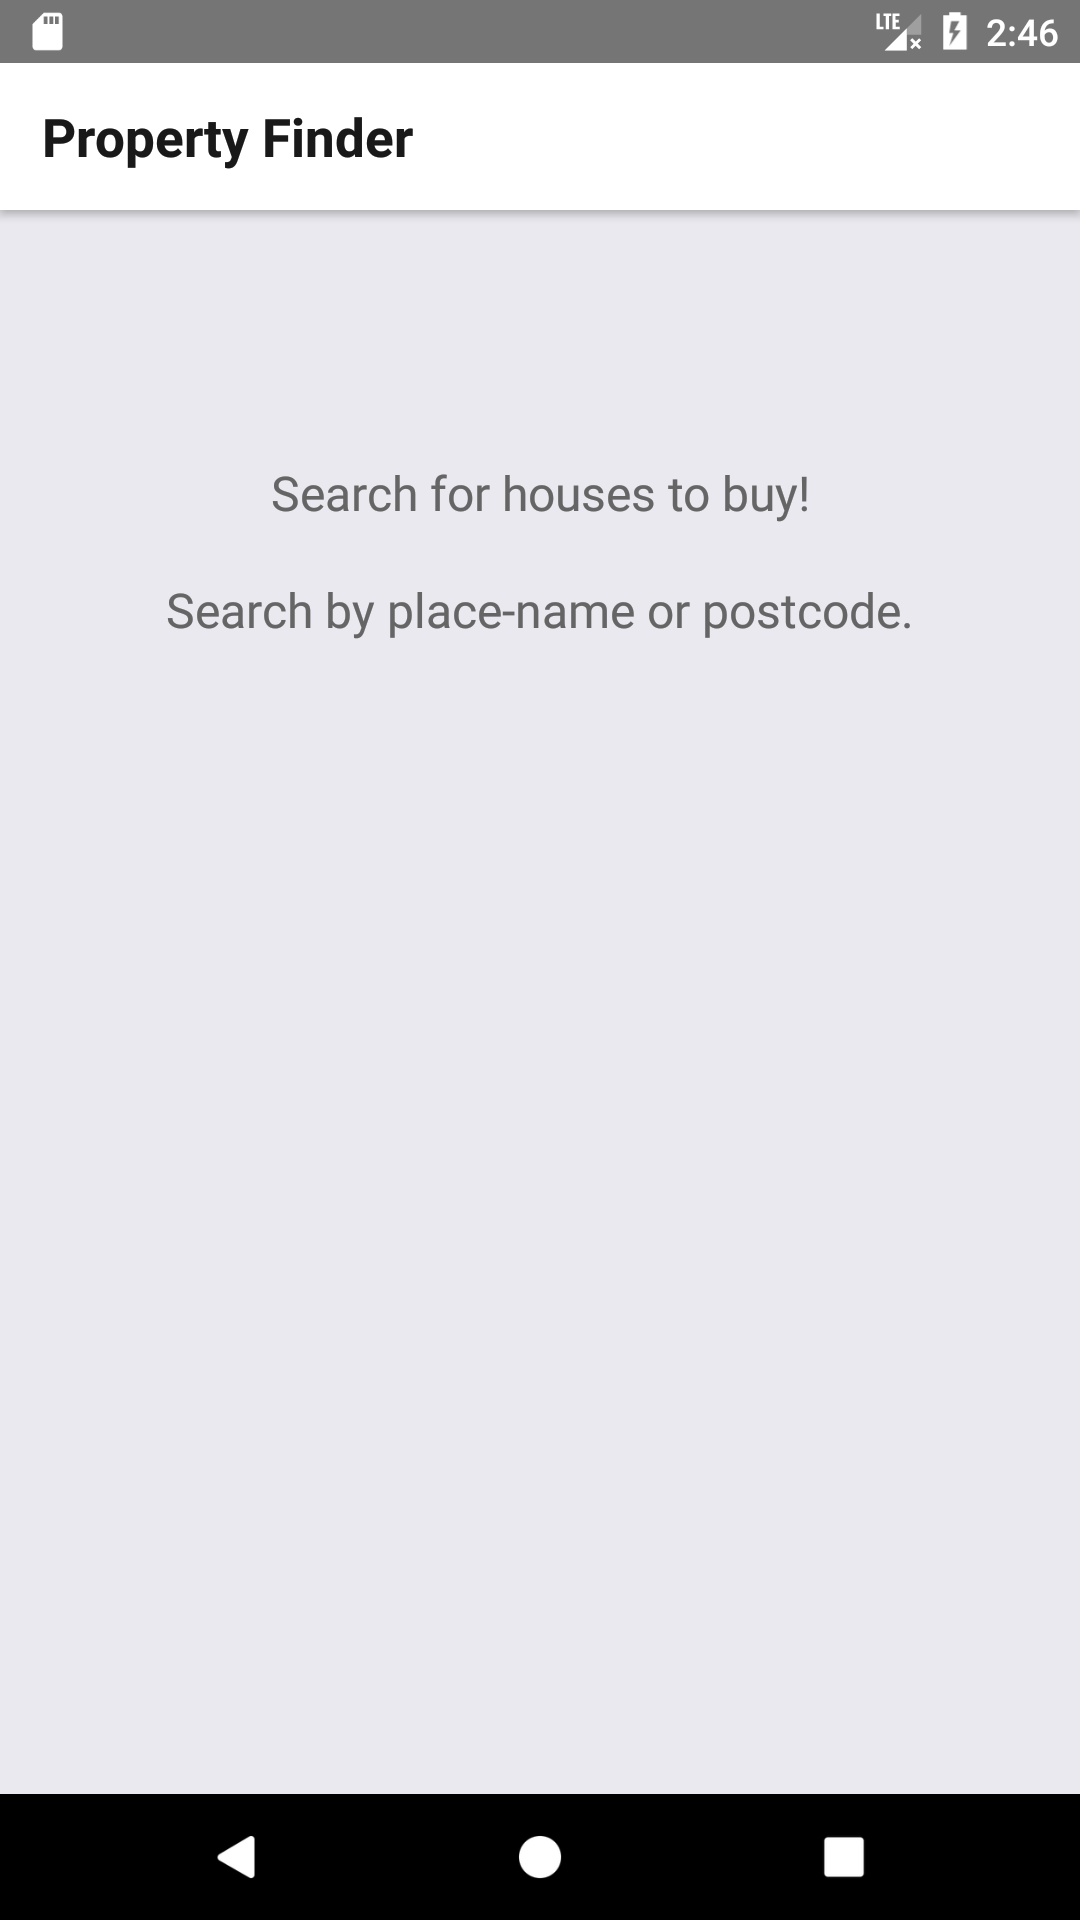
Save your changes and check the emulator to see the updated UI:

Excellent — you now have the basic navigation structure in place.
Building out the Search Page
Add a new file named SearchPage.js and place it in the same folder as App.js. Add the following code to this file:
'use strict';

import React, { Component } from 'react';
import {
  StyleSheet,
  Text,
  TextInput,
  View,
  Button,
  ActivityIndicator,
  Image,
} from 'react-native';
This imports the modules you’ll need to build the UI.
Add the following Component subclass after the import statements:
type Props = {};
export default class SearchPage extends Component<Props> {
  static navigationOptions = {
    title: 'Property Finder',
  };

  render() {
    return (
      <View style={styles.container}>
        <Text style={styles.description}>
          Search for houses to buy!
        </Text>
        <Text style={styles.description}>
          Search by place-name or postcode.
        </Text>
      </View>
    );
  }
}
render is a great demonstration of JSX and the structure it provides. Along with the style, you can very easily visualize the UI constructed by this component: a container with two text labels.
Now, add the following style code at the bottom of the file:
const styles = StyleSheet.create({
  description: {
    marginBottom: 20,
    fontSize: 18,
    textAlign: 'center',
    color: '#656565'
  },
  container: {
    padding: 30,
    marginTop: 65,
    alignItems: 'center'
  },
});
Again, these are standard CSS properties. Setting up styles like this is less visual than using Android Studio’s layout design editor, but it’s better than setting view properties one by one in your onCreate() methods! :]
Save your changes.
Open App.js and add the following just after the current import statements near the top of the file:
import SearchPage from './SearchPage';
This imports SearchPage from the file you just created.
Remove the SearchPage class and its associated description style from App.js. You won’t be needing that code any longer. This may also be a good time to get rid of the all unused imports: those from react and react-native.
Save your changes and return to the emulator to check out the new UI:
Styling with Flexbox
So far, you’ve seen basic CSS properties that deal with margins, paddings and color. However, you might not be familiar with Flexbox, a more recent addition to the CSS specification that’s useful for handling complex layout across different screen sizes.
React Native uses the Yoga library under the hood to drive layout. Yoga is a C implementation of Flexbox and it includes bindings for Java (for Android), Swift, Objective-C, and C# (for .NET).
Generally you use a combination of Yoga’s flexDirection, alignItems, and justifyContent properties to manage your layout.
So far, your layout has a container with two children arranged vertically:

This is due to the default flexDirection value of column being active. flexDirection helps define the main axis and cross axis. Your container’s main axis is vertical. It’s cross axis is therefore horizontal.
alignItems determines the placement of children in the cross axis. Your app has set this value to center. This means the children are center-aligned.
You’re going to see some other layout options at play.
Open SearchPage.js and insert the following just after the closing tag of the second Text element:
<View style={styles.flowRight}>
  <TextInput
    underlineColorAndroid={'transparent'}
    style={styles.searchInput}
    placeholder='Search via name or postcode'/>
  <Button
    onPress={() => {}}
    color='#48BBEC'
    title='Go'
  />
</View>
You’ve added a view that holds a text input and a button.
In your styles definition, add the following new styles below the container style:
flowRight: {
  flexDirection: 'row',
  alignItems: 'center',
  alignSelf: 'stretch',
},
searchInput: {
  height: 36,
  padding: 4,
  marginRight: 5,
  flexGrow: 1,
  fontSize: 18,
  borderWidth: 1,
  borderColor: '#48BBEC',
  borderRadius: 8,
  color: '#48BBEC',
},
These set the placement of the text input and button.
Save your changes and check the emulator to see your updates:
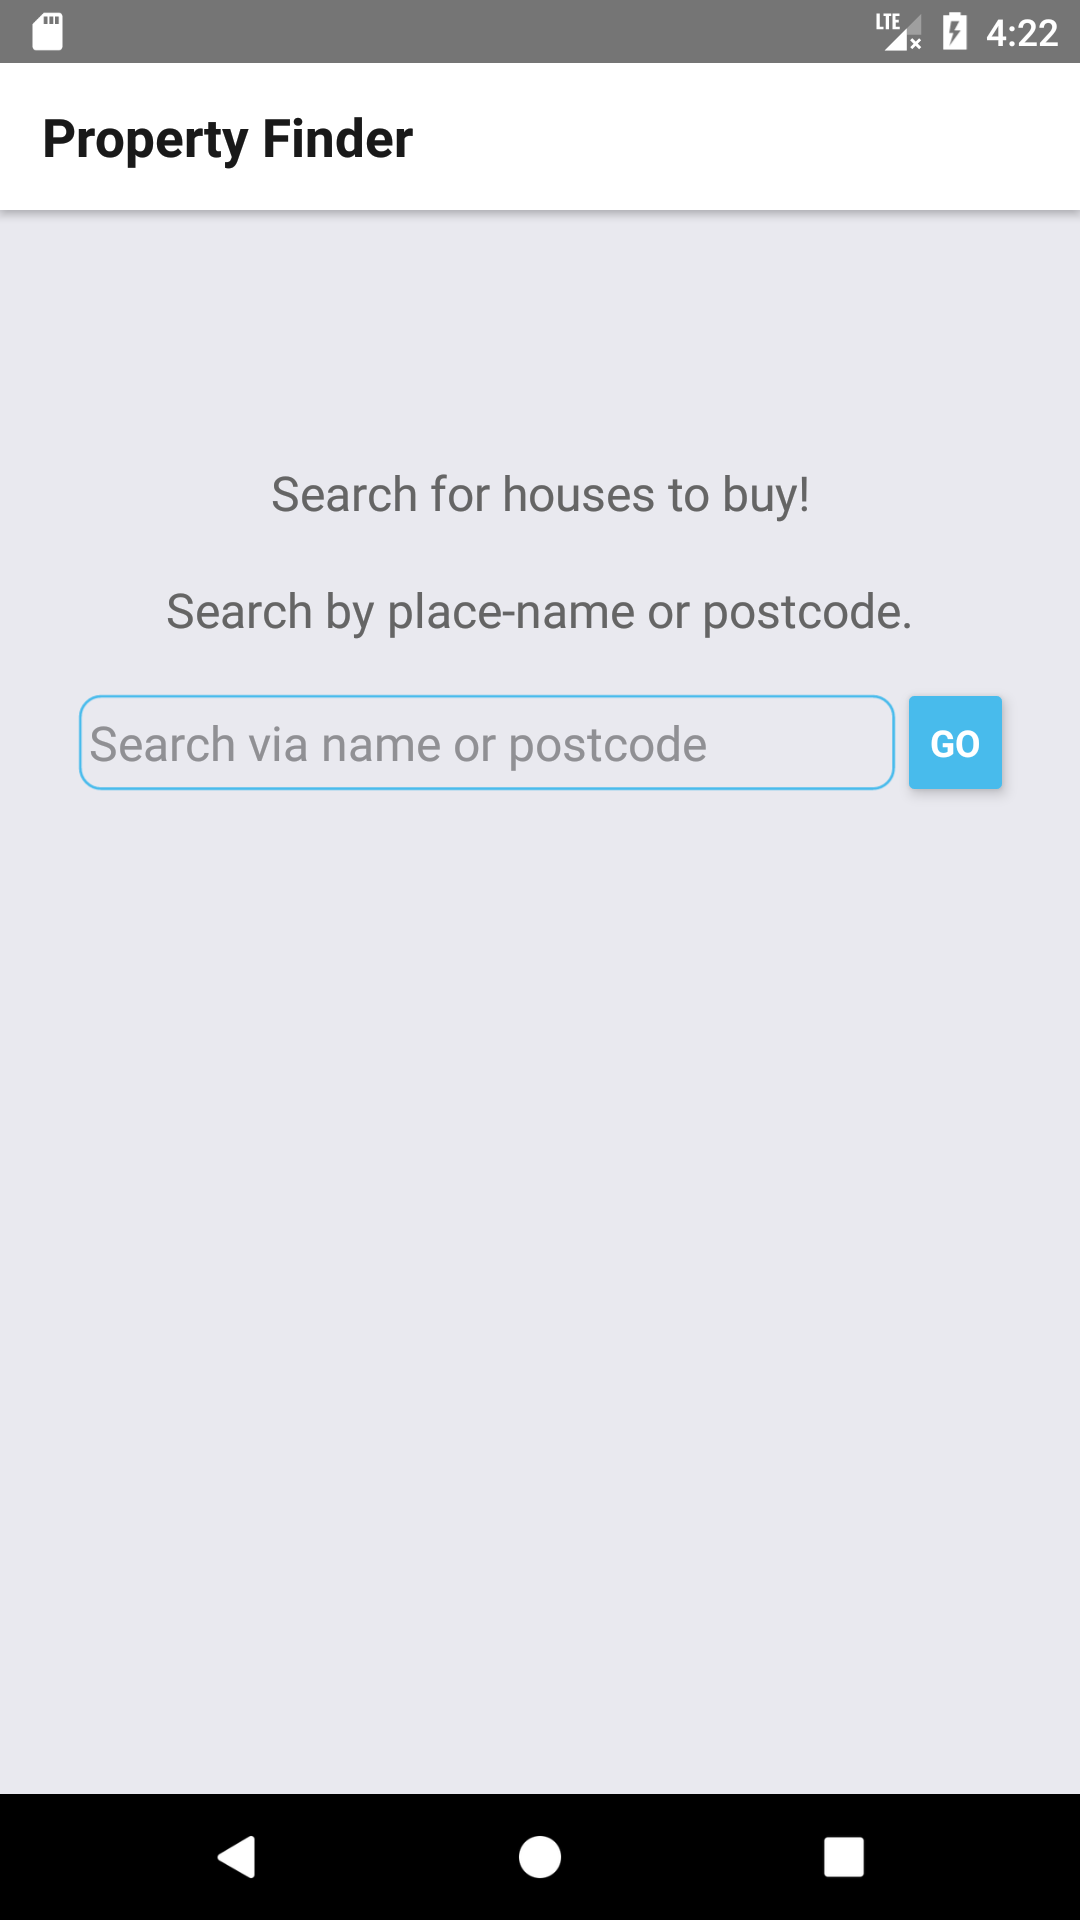
The text field and Go button are on the same row, so you’ve wrapped them in a container view using the flowRight style which uses flexDirection: 'row' to horizontally place the items in a row.
You’ve also added a flexGrow: 1 style to the text input. Yoga first lays out the text input and button according to their sizes. It then distributes the remaining space according to the flexGrow values. The text input therefore takes over the remaining space.
Handling Assets
The final step to complete the search screen of the application is to add the house graphic. Download and unzip the images zip file.
Next, create a directory in your root project folder named Resources. Place the three images of the house in this directory.
Drawables: In Android, static app images are typically added to the project’s res/drawable folder. In React Native, however, it’s recommended not to. Placing your image assets alongside your components helps to keep your components self contained, doesn’t require the app to be relaunched if you add new images. It also provides a single place for adding images if you are building for both iOS and Android.
Back in SearchPage.js, add the following beneath the closing tag of the View component that wraps the text input and button:
<Image source={require('./Resources/house.png')} style={styles.image}/>
Now, add the image’s corresponding style to the end of the style list:
image: {
  width: 217,
  height: 138,
},
Save your changes and check out your new UI:

You may need to restart the packager on Windows if the image doesn’t show up.
Your current app looks good, but it’s somewhat lacking in functionality. Your task now is to add some state to your app and perform some actions.