Building an iOS App like Siri
Learn how to build an app that recognizes voice commands and speaks like Siri, using the SpeechKit framework. By Subhransu Behera.
Getting a Nuance Development Key
Next, go to the Nuance Mobile Developer portal, and click on Register to create a new account.

Fill out the details and continue.
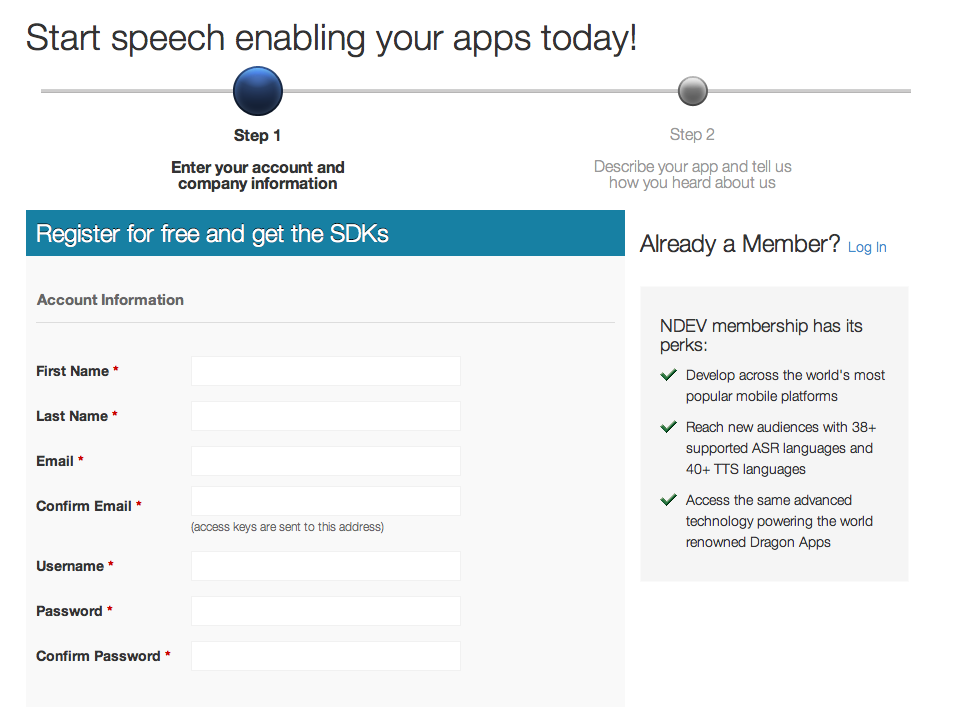
Provide a brief summary of the application you’re going to build, and remember to select iOS as the platform. You can choose multiple platforms if you have big plans to for cross-platform development.

Feel free to leave the bottom section on this screen empty.

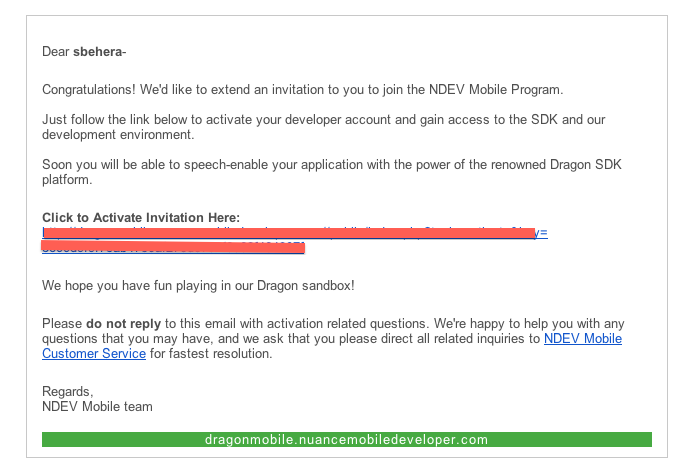
Click on Get Started to create your account. You’ll receive an email at this point. Follow the steps to activate your account and login.
Once you’ve successfully logged in, you can download the iOS Mobile SDK.

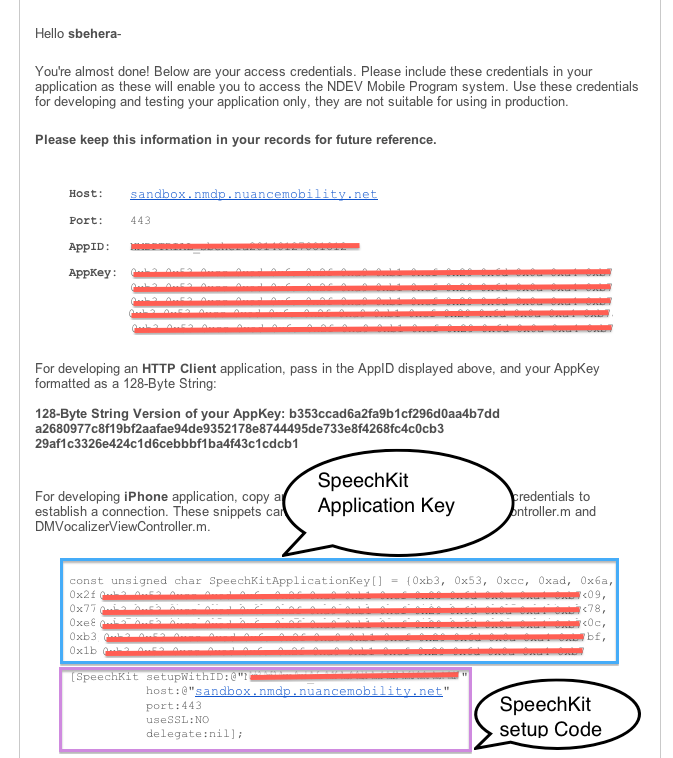
You’ll receive another email with your SpeechKit Application key and setup details. Be sure to take a note of the Host, Port, AppID and App Key.
There’s one last step before you can start coding – you need to add the SpeechKit framework to your project.
Adding the SpeechKit Framework
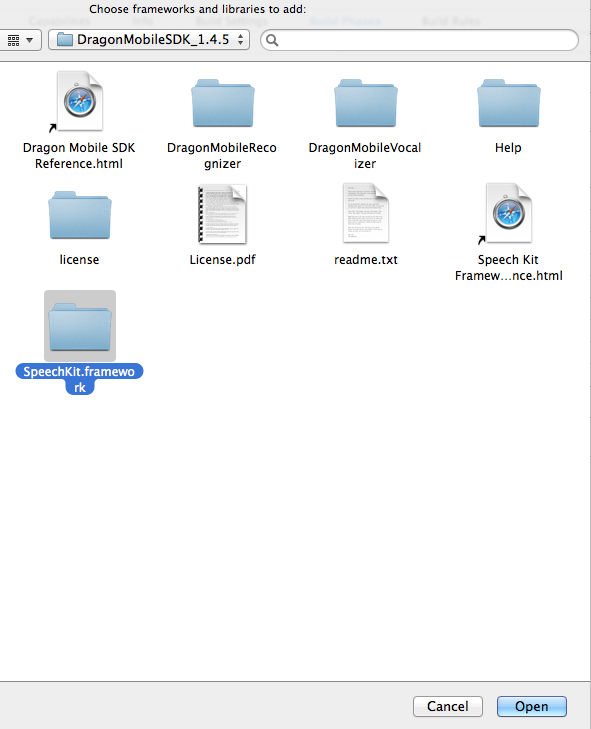
Start by extracting the DragonMobileSDK zip file that you downloaded when you registered with Nuance. The extracted directory will have the SpeechKit framework named as SpeechKit.framework, along with some sample projects.
Next, select the YelpNearby project file in the Project Navigator and then select Build Phases. Expand the Link Binary with Libraries section and click the add (+) button.

In the pop-up window, click on Add Other… button, and then locate SpeechKit.framework in the directory that you extracted in step-1. Click Open to add the framework to the sample project.
Allright – you’re finally done with the initial setup, time to code! :]
Speech Recognition with SKRecognizer
Open ViewController.h in Class group, then import SpeechKit.h framework header:
#import <SpeechKit/SpeechKit.h>
Also declare that the ViewController class is going to use SpeechKitDelegate and SKRecognizerDelegate:
@interface ViewController : UIViewController <UITextFieldDelegate, UITableViewDelegate, UITableViewDataSource, SpeechKitDelegate, SKRecognizerDelegate>
Finally, declare an SKRecognizer property:
@property (strong, nonatomic) SKRecognizer* voiceSearch;
Next, switch to ViewController.m. Open the email from Nuance or refer to the Development Key that you got from the Nuance Developer Portal, and add your SpeechKitApplicationKey before the @implementation section:
const unsigned char SpeechKitApplicationKey[] = {INSERT_YOUR_APPLICATION_KEY_HERE};
Be sure to replace the INSERT_YOUR_APPLICATION_KEY_HERE with your unique application key that you got in the email earlier. It should be a long list of hex numbers.
Next open AppDelegate.h and import the SpeechKit.h framework header:
#import <SpeechKit/SpeechKit.h>
Also replace setupSpeechKitConnection method in AppDelegate.m with the following:
- (void)setupSpeechKitConnection {
     [SpeechKit setupWithID:INSERT_YOUR_APPLICATION_ID_HERE
     host:INSERT_YOUR_HOST_ADDRESS_HERE
     port:INSERT_YOUR_HOST_PORT_HERE
     useSSL:NO
     delegate:nil];

     // Set earcons to play
     SKEarcon* earconStart	= [SKEarcon earconWithName:@"earcon_listening.wav"];
     SKEarcon* earconStop	= [SKEarcon earconWithName:@"earcon_done_listening.wav"];
     SKEarcon* earconCancel	= [SKEarcon earconWithName:@"earcon_cancel.wav"];

     [SpeechKit setEarcon:earconStart forType:SKStartRecordingEarconType];
     [SpeechKit setEarcon:earconStop forType:SKStopRecordingEarconType];
     [SpeechKit setEarcon:earconCancel forType:SKCancelRecordingEarconType];
}
Input the actual APPLICATION_ID, HOST_ADDRESS and PORT you have received from Nuance while setting up SpeechKit (it’s easiest to just copy/paste the code from the email).
The code you added here is new, so let’s review it a bit.
-
setupWithID:host:port:useSSL:delegate:initiates the necessary underlying components of SpeechKit framework. Upon calling this method, the app connects with the speech server and receives authorization. This provides the basis to perform recognitions and vocalizations. -
setEarcon:forType:configures an earcon, which is a distinctive sound that represents specific events. In this case, the earcons play the respective audio cue when SpeechKit starts, stops and cancels a recording.
Next, you’ll add the three earcons that will play during the recognition process.
To do this, select Supporting Files, right click and select Add Files to “YelpNearby”…, then locate DragonMobileRecognizer sample project that’s part of DragonMobileSDK.

Select the earcon files that end with .wav, make sure to Copy items into destination group’s folder (if needed) is checked, and click Add to add the files to your project.

Back in ViewController.m, replace the implementation of viewDidLoad method with the following:
- (void)viewDidLoad
{
    [super viewDidLoad];

    self.messageLabel.text = @"Tap on the mic";
    self.activityIndicator.hidden = YES;

    if (!self.tableViewDisplayDataArray) {
        self.tableViewDisplayDataArray = [[NSMutableArray alloc] init];
    }

    self.appDelegate = (AppDelegate *)[UIApplication sharedApplication].delegate;
    [self.appDelegate updateCurrentLocation];
    [self.appDelegate setupSpeechKitConnection];

    self.searchTextField.returnKeyType = UIReturnKeySearch;
}
What does that do? updateCurrentLocation updates the user’s current location after the view loads, so the app always has the user’s current location. You don’t have to set up SpeechKit manually, because it’s configured by setupSpeechKitConnection.
Next, replace the recordButtonTapped: method with the following:
- (IBAction)recordButtonTapped:(id)sender {
    self.recordButton.selected = !self.recordButton.isSelected;

    // This will initialize a new speech recognizer instance
    if (self.recordButton.isSelected) {
        self.voiceSearch = [[SKRecognizer alloc] initWithType:SKSearchRecognizerType
                                                    detection:SKShortEndOfSpeechDetection
                                                     language:@"en_US"
                                                     delegate:self];
    }

    // This will stop existing speech recognizer processes
    else {
        if (self.voiceSearch) {
            [self.voiceSearch stopRecording];
            [self.voiceSearch cancel];
        }
    }
}
recordButtonTapped: is called when user taps on the Mic button
Let’s review the method creates a new SKRecognizer instance:
- (id)initWithType:(NSString *)type detection:(SKEndOfSpeechDetection)detection language:(NSString *)language delegate:(id <SKRecognizerDelegate>)delegate;
This method takes 4 parameters:
-
type: This allows the server to anticipate the type of phrases the user is likely to say and select an appropriate vocabulary of words. Note: When a user pulls up speech recognition, usually he or she intends to search for a specific thing or dictate a command to the device, such as taking a note or posting something to social media. All of these actions are defined inSKSearchRecognizerTypeandSKDictationRecognizerTyperespectively. -
detection: This automatically detects when speech stops. Possible values can beSKNoEndOfSpeechDetection,SKShortEndOfSpeechDetection,SKLongEndOfSpeechDetectionwhich define ‘do not detect the end of speech’, ‘detect end of short phrase’ and ‘detect end of longer phrase,’ respectively. -
language: This definies the language spoken by user and is expressed in ISO 639 code followed by ISO 3166-1 country code. -
delegate: The delegate, which is the receiver for recognition responses.
stopRecording stops the existing recording and streaming audio to the speech server. cancel stops all speech requests, even those that are pending.
Next, add the following SKRecognizerDelegate methods in ViewController.m:
# pragma mark - SKRecognizer Delegate Methods

- (void)recognizerDidBeginRecording:(SKRecognizer *)recognizer {
        self.messageLabel.text = @"Listening..";
}

- (void)recognizerDidFinishRecording:(SKRecognizer *)recognizer {
        self.messageLabel.text = @"Done Listening..";
}
The code in recognizerDidBegingRecording: and recognizerDidFinishRecording: methods update the status message to let the user know whether the application is listening for a voice or has finished listening.
The most important delegate method in this whole implementation is didFinishWithResults:, which is called when the recognition process successfully completes. Add the following code to implement this method:
- (void)recognizer:(SKRecognizer *)recognizer didFinishWithResults:(SKRecognition *)results {
        long numOfResults = [results.results count];

        if (numOfResults > 0) {
           // update the text of text field with best result from SpeechKit
           self.searchTextField.text = [results firstResult];
        }

        self.recordButton.selected = !self.recordButton.isSelected;

        if (self.voiceSearch) {
            [self.voiceSearch cancel];
        }
}
In the above method, the results object contains an array of possible results. It places the best result at index 0, or returns an empty array if no error occurred but no speech was detected. Then it updates the text of the searchTextField with the best result.
Once this process finishes, it has to cancel the recognition request in order to stop SKRecognizer from listening further.
But what do you do if the user’s speech is unclear because they are on a busy street, mumbling indiscriminately because they are hungry beyond measure, or there is another error of some kind?
If the recognition process completes with an error, the app needs to handle it and let the user know something went wrong. Add the following snippets to alert the user when there’s an error:
- (void)recognizer:(SKRecognizer *)recognizer didFinishWithError:(NSError *)error suggestion:(NSString *)suggestion {
        self.recordButton.selected = NO;
        self.messageLabel.text = @"Connection error";
        self.activityIndicator.hidden = YES;


        UIAlertView *alert = [[UIAlertView alloc] initWithTitle:@"Error"
                                                        message:[error localizedDescription]
                                                       delegate:nil
                                              cancelButtonTitle:@"OK"
                                              otherButtonTitles:nil];
        [alert show];
}
Build and run the application now on a device (the SDK does not work properly on the simulator).
Once the application launches, tap on the Mic icon and say something clearly in English. SpeechKit will detect it and display the result. Since this is your first time, why not start with a polite “Hello?”

Note: If when you try to record it immediately says “Cancelled” and shows an error like “recorder is null” or “[NMSP_ERROR] check status Error: 696e6974 init -> line: 485”, this probably means either something is wrong with your SpeechKit keys, or the SpeechKit servers are down. Double check your keys, and/or try again later.