Object in Kotlin and the Singleton Pattern
Learn how to use the object keyword in Kotlin to define singleton, companion and anonymous objects and to ensure Java interoperability.
Version
- Kotlin 1.4, Android 10.0, Android Studio 4.2

When working in Kotlin, you’ll often come across a keyword called object
. This keyword has different meanings depending on its context.
In this tutorial, you’ll build a shopping app to learn about the many uses of object
. In this app, users can browse products, add them to their shopping cart and clear the cart. While building this app, you’ll learn:
- How to define singleton, companion and anonymous objects.
- Object expressions.
-
Java interoperability: How to expose
object
s to Java callers. - Singleton best practices.
It’s time to get started!
Getting Started
Download the starter project by clicking the Download Materials button at the top or bottom of the tutorial.
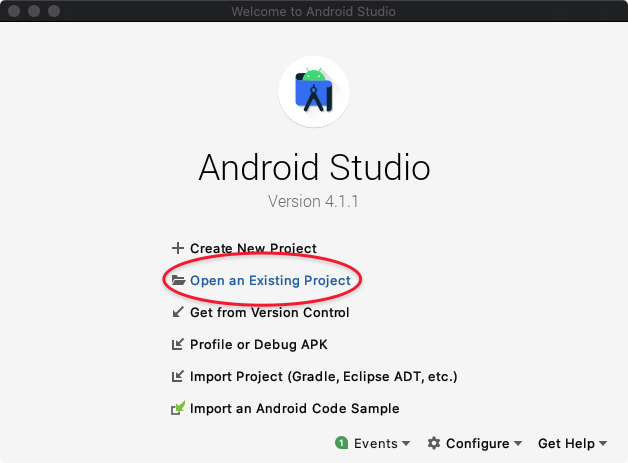
Open your project in Android Studio 4.1 or higher. Select Open an Existing Project and then select the name of the starter project.
When you open the starter project, you’ll see some structure already in place:
- MainActivity.kt: Your app’s initial screen.
- Product.kt: A model representing a product in the store.
-
ProductListAdapter.kt: A
ListAdapter
, which bothMainActivity
andShoppingCartActivity
use to populate a RecyclerView of products. - ShoppingCartActivity.kt: An activity you’ll use to display the user’s shopping cart, total price and a button to clear the cart.
-
StringUtils.kt: Contains a handy extension on
Int
to format it to a price string like $12.34.
Next, build and run the project. You’ll see a screen with a variety of Android-themed products for sale:
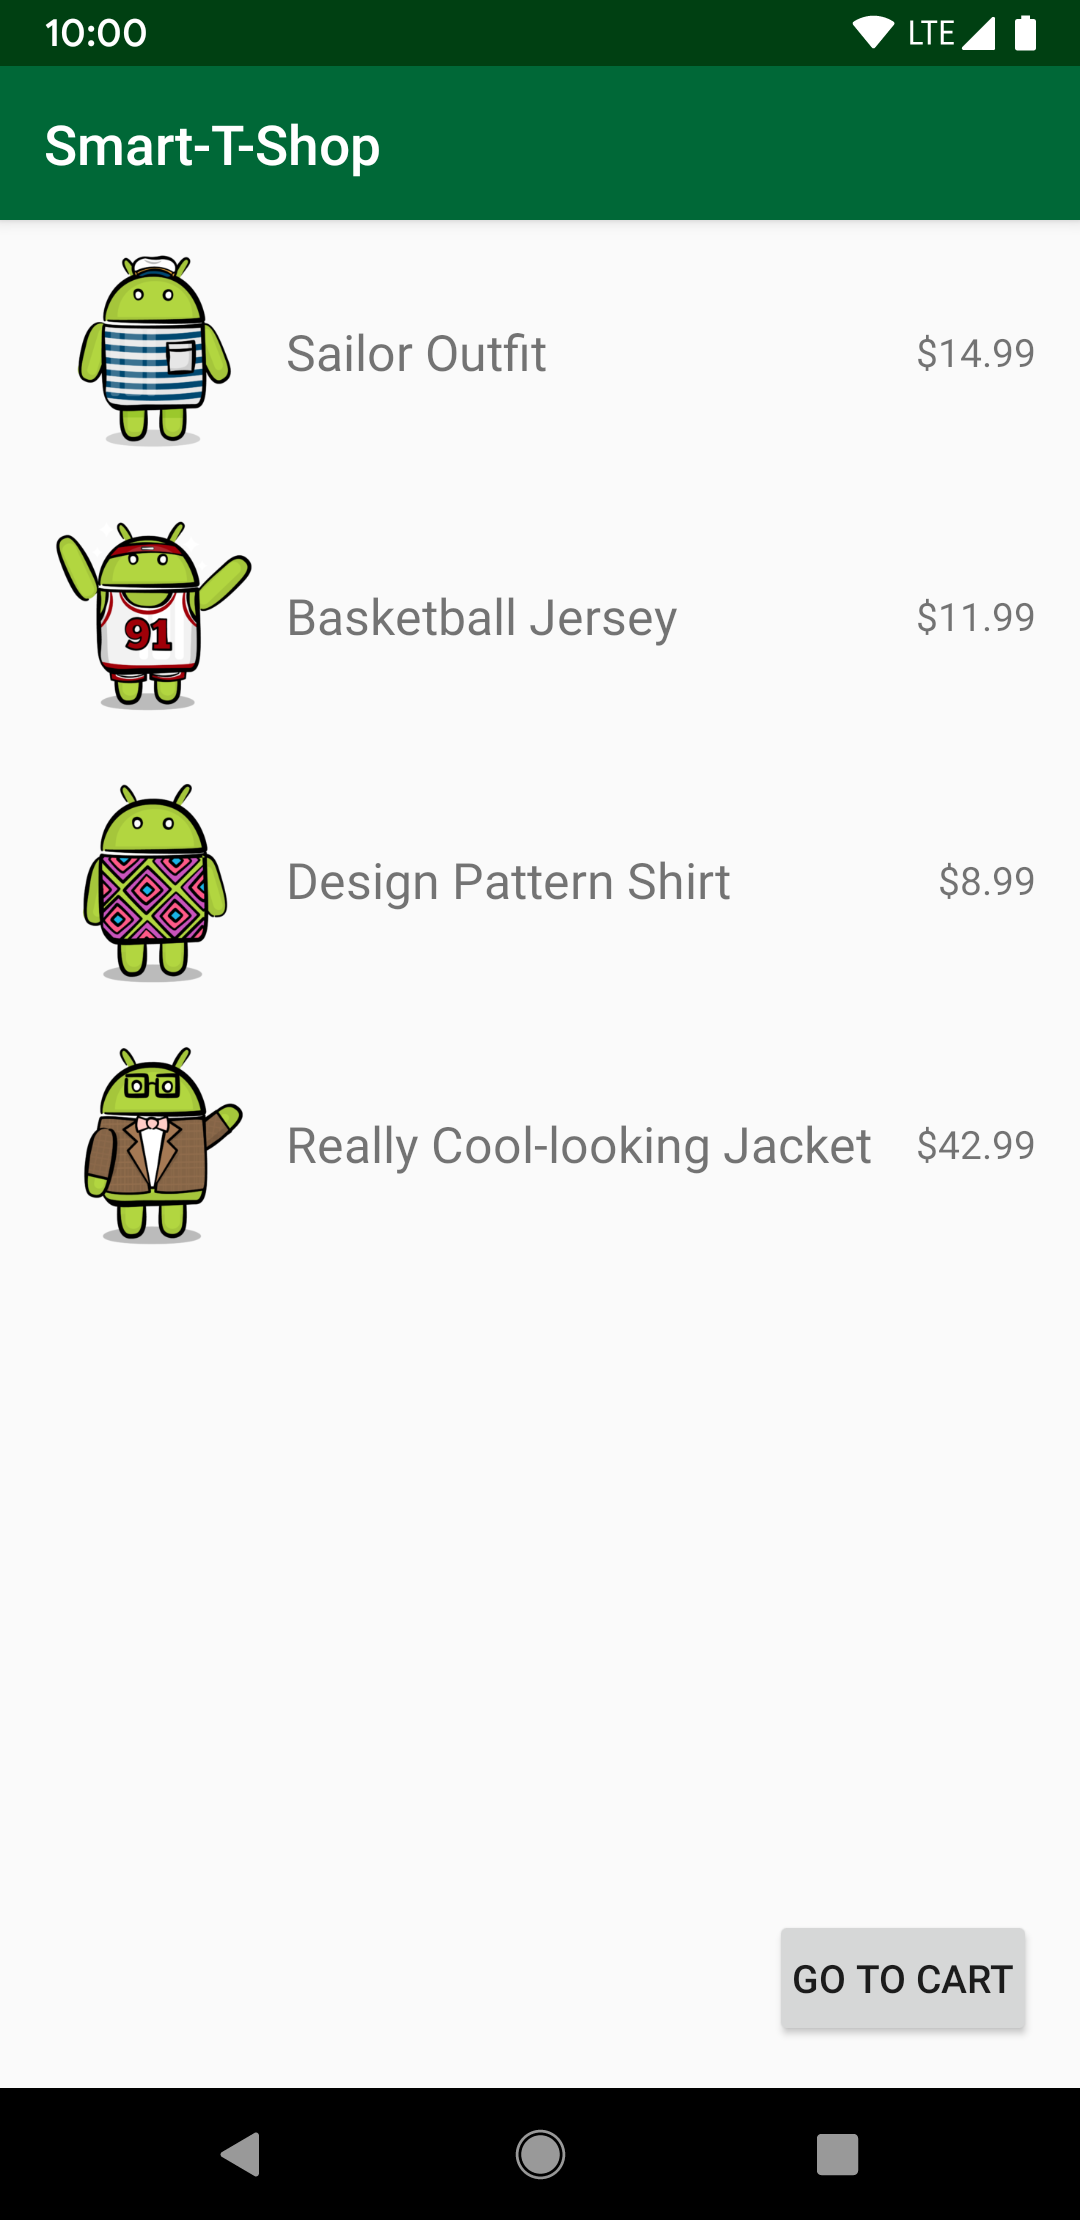
However, you can’t buy anything just yet. Keep reading to implement this shopping experience while learning about the many uses for the object
keyword in Kotlin.
Using Singletons in Kotlin
By using the keyword object
in your app, you’re defining a singleton. A singleton is a design pattern in which a given class has only one single instance inside the entire app. A singleton’s two most common use cases are:
- To share data between two otherwise unrelated areas of your project.
- To share logic that doesn’t have associated state throughout the app.
Keep in mind that singletons are not a data persistence solution. Data in singletons live only as long as your app is in memory.
Read on to learn how to define a singleton!
Using Object to Define a Shopping Cart Singleton
Currently, there’s no way to add items to your cart and view them in the app. To do that, you need a place to put that information and a way to share it across screens of your app.
You’re going to use the power of the object
keyword to manage this through a ShoppingCart
singleton. To create app ▸ src ▸ main ▸ java ▸ com ▸ raywenderlich ▸ android ▸ kotlinobject ▸ ShoppingCart.kt and use object
to define the ShoppingCart
, take the following steps:
- In Android Studio, select File ▸ New ▸ Kotlin File/Class.
- In the pop-up, name your file ShoppingCart, select Object and press Enter.
Android Studio will create a file with an empty object
for you. It will look like this:
object ShoppingCart {
}
Notice how much this object declaration looks like a Kotlin class! The only difference is that you’re using the object
keyword instead of the class
keyword. But what difference does that make?
You can learn a lot about this difference by looking at the equivalent Java code. Lucky for you, Android Studio has a way for you to do this.
Go to Tools ▸ Kotlin ▸ Show Kotlin Bytecode and click the Decompile button at the top of the Kotlin Bytecode window. You’ll see something like the following:
public final class ShoppingCart {
@NotNull
public static final ShoppingCart INSTANCE;
private ShoppingCart() {
}
static {
ShoppingCart var0 = new ShoppingCart();
INSTANCE = var0;
}
}
The main points to notice here are:
- The Java class has a private constructor.
- It has a static
INSTANCE
of theShoppingCart
singleton for the calling code to use.
Remember this when you’re trying to use this Kotlin code alongside Java!
Creating a Singleton’s Public Interface
Now that you’ve created your singleton, you need to create its public interface so other classes can communicate with it. To do this, add the following insideShoppingCart
‘s curly brackets:
// 1.
var products: List<Product> = emptyList()
private set
// 2.
fun addProduct(product: Product) {
products = products + listOf(product)
}
// 3.
fun clear() {
products = emptyList()
}
By adding the above code, you:
- Created a list of
Product
s. These are the products the user added to their cart. It has a private setter because only the singleton should be able to directly modify the list. - Created a function to append the added product to the
products
list in the shopping cart.MainActivity
will call this public function when a user adds a product to their cart. - Gave the user a way to clear their shopping cart. Calling this function will empty the
products
list held byShoppingCart
.
Next, you’ll learn how to access the public interface of the singleton you just defined.
Accessing the Singleton’s Public Interface
Now that you’ve defined the singleton, you’ll add some logic so it can be accessed. To do this:
- Open MainActivity.kt.
- Find
addProductToCart()
, whichProductListAdapter
calls when the user selects a product. That logic is already in place for you. All you need to do is replace the// TODO
insideaddProductToCart()
with the following, importingandroid.widget.Toast
as necessary:
ShoppingCart.addProduct(product)
Toast.makeText(
this,
R.string.product_added_toast, Toast.LENGTH_SHORT
).show()
Notice that you’re calling ShoppingCart.addProduct(product)
by using its name.
For some visual feedback to make sure you’ve added the product successfully, you also show a Toast.
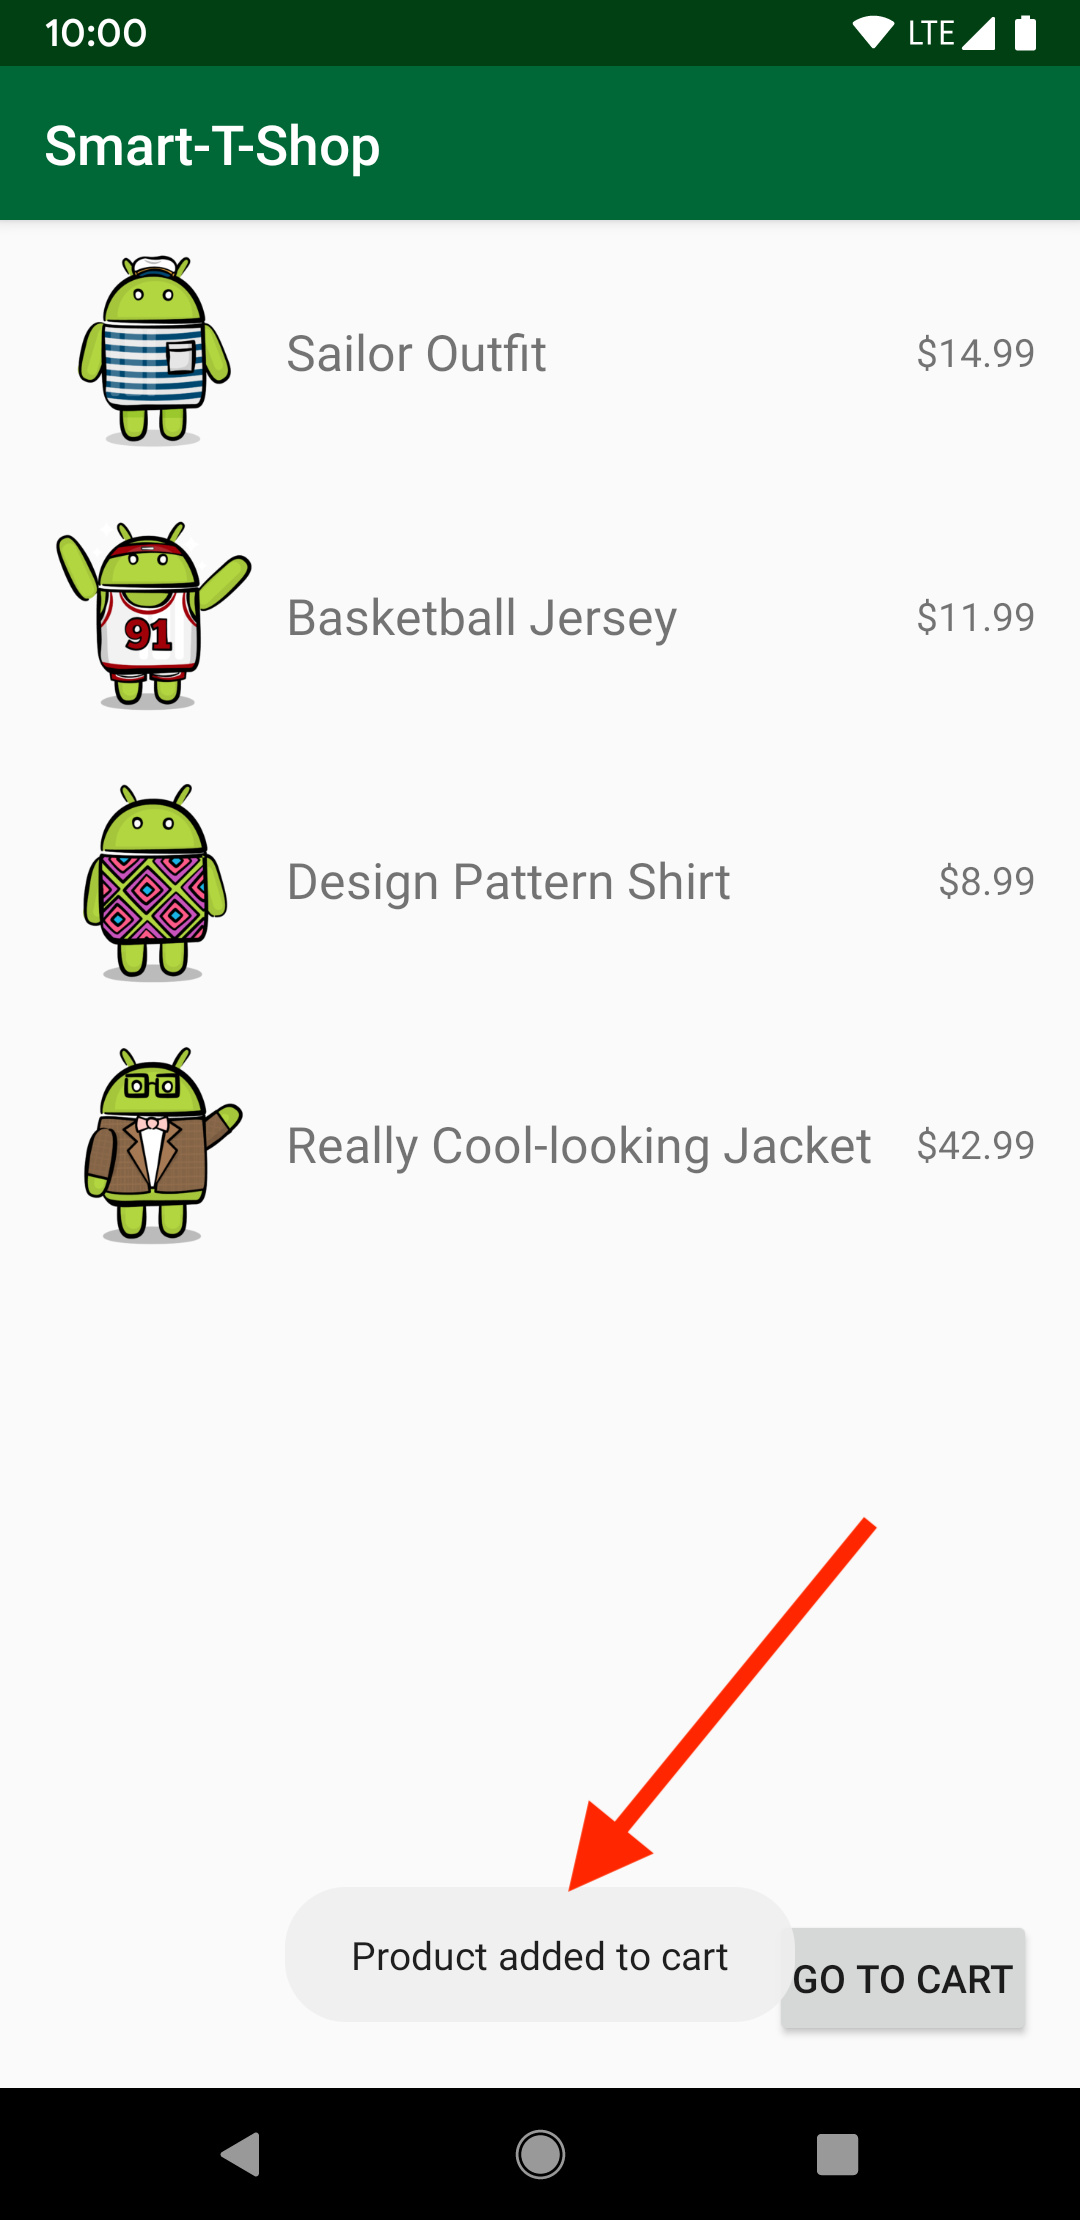
Now, build and run. Click a product and you’ll see a Toast confirming you’ve added it to the cart:
Next, you’ll learn how to define companion objects. You’ll use a companion object to help you launch a new activity to display the ShoppingCart
contents.
Working With Companion Objects
To create an Intent
to launch ShoppingCartActivity
with, you’ll define a companion object.
Companion objects are similar to standalone singleton objects like ShoppingCart
but with one key difference: The companion object belongs to its containing class.
This will be important when you learn how to access the companion objects in the next section. For now, you’ll focus on defining the companion object.
Defining the Companion Object
To define the companion object, open ShoppingCartActivity
and find the // TODO
just before the last closing bracket. Replace // TODO
with the following:
companion object {
fun newIntent(context: Context): Intent {
return Intent(context, ShoppingCartActivity::class.java)
}
}
If Android Studio prompts you to do so, import android.content.Context
and android.content.Intent
for Context
and Intent
, respectively.
Congratulations, you’ve defined a companion object!
Like the singleton you defined earlier, the companion object also contains a public function — in this case, newIntent()
. The companion object is also a single instance shared throughout your project.
Unlike in ShoppingCart
, the companion object belongs to its containing class. So to access the companion object, you need to reference it by the name of its containing class, not its direct name like you do with a singleton object. You’ll learn how to do this in the next section.
Accessing the Companion Object to Start the Activity
At this point, you’ve laid the groundwork for shopping. You’ve defined a companion object that provides an Intent
to open the shopping activity when a user clicks Go to Cart. But you have yet to start the ShoppingCartActivity
.
To start it, simply do the following:
- Open
MainActivity
and findgoToCart()
. - Replace
// TODO
with the following code:
val intent = ShoppingCartActivity.newIntent(this)
startActivity(intent)
Note that you’re referencing the companion object by using the name of its containing class: ShoppingCartActivity
. You’re also using the Intent
, which the companion object created, to start the activity.
Now, build and run. Then, click Go to Cart and you’ll see that the app will show a new, empty screen:
But where are all those products you had in your cart? Don’t worry. You’ll work on showing that screen next.
Displaying Products in the Shopping Cart
Next, you’ll build a shopping cart screen with three components:
- A TextView with the total price of the selected products.
- A list with products the user added to the cart.
- A Clear Cart button that will, you guessed it, clear the shopping cart.
First, you’ll use a Java class to calculate the cart’s total price. In the process, you’ll learn how the interoperability between Kotlin singletons and Java works.
Accessing Kotlin Singletons with Java to Calculate Price
Start by creating a new Java class to perform those calculations using the following steps:
- In Android Studio, go to File ▸ New ▸ Java Class.
- Name the class ShoppingCartCalculator and select Class.
- Press Enter, then OK
Android Studio will create a ShoppingCartCalculator
Java class file. Next, add the following function before the closing bracket:
Integer calculateTotalFromShoppingCart() {
List<Product> products = ShoppingCart.INSTANCE.getProducts();
int totalPriceCents = 0;
for (Product product : products) {
totalPriceCents += product.getPriceCents();
}
return totalPriceCents;
}
The function above uses ShoppingCart.INSTANCE
to access the singleton instance and then calculates the total by adding the cost of all the products in the cart. This is different than using the singleton in Kotlin where you don’t need to use INSTANCE
.
While the function above works, you can also clean it up a little by using @JvmStatic
, like so:
- Open
ShoppingCart
. - Find
var products
. - Add
@JvmStatic
to the line above theproducts
declaration.After you’ve added the annotation, the
products
declaration should look like this:@JvmStatic var products: List = emptyList() private set
Now, you can remove the INSTANCE
when referencing the products. To do this, delete INSTANCE
from ShoppingCartCalculator.java. The function should now look like this:
Integer calculateTotalFromShoppingCart() {
// Removed INSTANCE below. Rest is identical:
List products = ShoppingCart.getProducts();
int totalPriceCents = 0;
for (Product product : products) {
totalPriceCents += product.getPriceCents();
}
return totalPriceCents;
}
In Java, using @JvmStatic
effectively transforms the singleton instance property into a static field in the ShoppingCart
class.
In other words, in Java, what used to be inside an object called ShoppingCart.INSTANCE
is now a top-level static field in ShoppingCart
. You can use the trick you learned earlier in this tutorial to inspect the equivalent Java code for ShoppingCart
to see how this works in action:
public final class ShoppingCart {
@NotNull
private static List products;
@NotNull
public static final ShoppingCart INSTANCE;
// ...
}
Showing Products in the Shopping Cart
You’ll need to connect everything to show the products plus the total price in the shopping cart. To do this, you:
- Open
ShoppingCartActivity
and findsetupProducts()
. - Replace the entire body of this function with the following code:
// 1.
products = ShoppingCart.products
// 2.
val calculator = ShoppingCartCalculator()
val totalPriceCents =
calculator.calculateTotalFromShoppingCart()
// 3.
viewBinding.textTotalCartValue.text =
getString(R.string.text_total_price,
totalPriceCents.asPriceString)
Here’s what the code above does:
- Reads the products from
ShoppingCart
. Singletons are single instances throughout your app. Therefore, the code will contain all the products the user added to the shopping cart. - Creates an instance of the Java class you defined earlier,
ShoppingCartCalculator
, and uses it to calculate the total cost of all the items in the shopping cart. The Java method reads the Kotlin singleton internally and returns the total price. The same singleton object is read by both the Java code in the calculator and above in the Kotlin code. - Updates the TextView that displays the total price, converting it into a currency format using the Kotlin extension defined in StringUtils.kt.
Now, build and run. Test that it’s working by adding some products to the cart, then clicking Go to Cart. You’ll see a screen that shows the shopping cart with the products plus the total price:
You just learned how to get Java to access the data from a Kotlin singleton. Next, you’ll learn how to clear the products in the cart using the Clear Cart button.
Defining Object Listeners
When the user clears the shopping cart, ShoppingCartActivity
should update to display an empty cart instead of one with products. But, singletons don’t automatically notify their listeners about changes, so you’ll need to implement this behavior to enable a user to clear their cart.
Notifying Listeners of Cart Changes
To notify listeners about cart changes, open ShoppingCart and add the following code before the last closing bracket:
interface OnCartChangedListener {
fun onCartChanged()
}
Here, you’re defining an interface that ShoppingCart
will use to notify listeners that its data has changed.
Next, add the following code between var products
and addProduct()
in ShoppingCart
:
private var onCartChangedListener: WeakReference<OnCartChangedListener>? = null
fun setOnCartChangedListener(listener: OnCartChangedListener) {
this.onCartChangedListener = WeakReference(listener)
}
If Android Studio prompts you to import, import java.lang.ref.WeakReference
for WeakReference
.
In the code above, you defined a weak reference to a listener. This makes the ShoppingCart
notify that listener whenever data changes.
The weak reference prevents the singleton from strongly holding on to an activity, which could cause a memory leak. More about that later!
Now that you have a listener, you have to notify it! While still in ShoppingCart
, add the following function:
private fun notifyCartChanged() {
onCartChangedListener?.get()?.onCartChanged()
}
This adds a private function to your singleton. It notifies your listener that the product list changed. Because only the singleton can update the list, only the singleton should be able to trigger this notification. Private functions like this will not be visible from outside the singleton, so they’re perfect for internal logic.
And now, add a call to this function at the end of both addProduct()
and clear()
. When you’re done tt should look like this:
fun addProduct(product: Product) {
products = products + listOf(product)
notifyCartChanged() // New
}
fun clear() {
products = emptyList()
notifyCartChanged() // New
}
Now, whenever the user adds a product to the cart or clears their cart, ShoppingCart
will notify its listener.
Listening to Cart Changes: Anonymous Objects
Here, you’ll use yet another form of the object
keyword! This time, you’ll define an anonymous object that implements the interface you defined earlier.
To do this, go back to ShoppingCartActivity
and add the following property between var products
and onCreate()
:
private var onCartChangedListener =
object : ShoppingCart.OnCartChangedListener {
override fun onCartChanged() {
setupProducts()
setupRecyclerView()
}
}
Since this interface has a function called onCartChanged()
, you implemented it right in your object declaration!
You defined this anonymous object as a property of your ShoppingCartActivity. This means that the overridden onCartChanged()
can access any functions and properties in the activity.
With that in mind, you call a couple of functions, setupProducts()
and setupRecyclerView()
, from the activity when the cart changes. These functions will trigger a re-rendering of RecyclerView
and the total price.
Now, you need to tell the singleton to use the property you just created as its listener. Find // Your code
inside onCreate()
and replace it with:
ShoppingCart.setOnCartChangedListener(onCartChangedListener)
This tells your singleton to call onCartChangedListener
when the cart changes.
Next, find setupClearCartButton()
and replace // TODO
with:
viewBinding.clearCartButton.setOnClickListener {
ShoppingCart.clear()
}
The code above calls clear()
in the singleton when the user taps the Clear Cart button.
When the user clears their shopping cart, the singleton notifies its listener. Since the listener has been set to the anonymous object in ShoppingCartActivity, that’s what gets notified.
Now, build and run your app. Add some products to the shopping cart, click Go to Cart and Clear Cart. This will clear the cart and update the view:
And there you have it: the final form of your shopping cart experience. :]
Next, you’ll learn some important best practices to consider when working with Kotlin objects.
Best Practices for Singletons and Companion Objects
Before you finish the tutorial, take a moment to review some best practices.
- Avoid overusing singletons: It’s tempting to use singletons as a solution for all your data sharing needs. While handy at first, overusing singletons will cause maintainability issues because many parts of your code will suddenly depend on a singleton. You’ll find that making one change will affect several unrelated parts of your project. Use singletons sparingly to save yourself this headache.
- Singletons can cause trouble with memory usage: Avoid having too much data living in singletons. Remember, they’re global, and garbage collection will never automatically deallocate data held strongly by a singleton.
- Singletons can cause memory leaks: When you use a singleton to reference an instance used externally, leaks can happen. This applies especially to Android-related classes like activities, fragments, adapters and more. If your singleton keeps a strong reference to any of these, the garbage collector won’t deallocate them and they’ll stay in memory indefinitely. To avoid this issue, restructure your code so singletons either don’t hold instances of those classes, or use weak references.
Where to Go From Here?
Download the final project using the Download Materials button at the top or bottom of this tutorial.
In this tutorial, you learned important uses of the object
keyword that you can apply in your next Android app.
To learn more uses of object
not described here, read the official Kotlin documentation.
And remember, singletons are not a persistence solution! They only live for as long as your app is in memory. To learn about data storage solutions, check out our other tutorials and video courses:
- DataStore Tutorial
- Data Persistence With Room Tutorial
- Saving Data on Android Video Course
- Android DataStore Video Course
For more information about Android and memory leaks, read our Memory Leaks in Android Tutorial.
We hope you enjoyed this tutorial. If you have any questions or comments, please join the forum discussion below!
Comments