Text Recognition with ML Kit
See how to use the new ML Kit library from Google to use machine learning and computer vision to perform text recognition in an image. By Victoria Gonda.
At Google I/O 2018, Google announced a new library, ML Kit, for developers to easily leverage machine learning on mobile. With it, you can now add some common machine learning functionality to your app without necessarily being a machine learning expert!
In this tutorial, you’ll learn how to setup and use Google’s ML Kit in your Android apps by creating an app to open a Twitter profile from a picture of that profile’s Twitter handle. By the end you will learn:
- What ML Kit is, and what it has to offer
- How to set up ML Kit with your Android app and Firebase
- How to run text recognition on-device
- How to run text recognition in the cloud
- How to use the results from running text recognition with ML Kit
Note: This tutorial assumes you have basic knowledge of Kotlin and Android. If you’re new to Android, check out our Android tutorials. If you know Android, but are unfamiliar with Kotlin, take a look at Kotlin For Android: An Introduction.
Before we get started, let’s first take a look at what ML Kit is.
What is ML Kit?
Machine learning gives computers the ability to “learn” through a process which trains a model with a set of inputs that produce known outputs. By feeding a machine learning algorithm a bunch of data, the resulting model is able to make predictions, such as whether or not a cute cat is in a photo. When you don’t have the help of awesome libraries, the machine learning training process takes lots of math and specialized knowledge.
Google provided TensorFlow and TensorFlow Lite for mobile so that developers could create their own machine learning models and use them in their apps. This helped a tremendous amount in making machine learning more approachable; however, it still feels daunting to many developers. Using TensorFlow still requires some knowledge of machine learning, and often the ability to train your own model.
In comes ML Kit! There are many common cases to use machine learning in mobile apps, and they often include some kind of image processing. Google has already been using machine learning for some of these things, and has made their work available to us through an easy to use API. They built ML Kit on top of TensorFlow Lite, the Cloud Vision API, and the Neural Networks API so that we developers can take advantage of models for:
- Text recognition
- Face detection
- Barcode scanning
- Image labeling
- Landmark recognition
Google has plans to include more APIs in the future, too! Having these options, you’re able to implement intelligent features into your app without needing to understand machine learning, or training your own models.
In this tutorial, you’re going to focus on text recognition. With ML Kit, you can provide an image, and then receive a response with the text found in the image, along with the text’s location in the image. Text recognition is one of the ML Kit APIs that can run both locally on your device and also in the cloud, so we will look at both. Some of the other APIs are only supported on one or the other.
Time to get started! :]
Getting Started
Have you ever taken a photo of someone’s Twitter handle so you could find them later? The sample app you will be working on, TwitterSnap, allows you to select a photo from your device, and run text recognition on it.
You will first work to run the text recognition locally on the device, and then follow that up with running in the cloud. After any recognition completes, a box will show up around the detected Twitter handles. You can then click these handles to open up that profile in a browser, or the Twitter app if you have it installed.
Start by downloading the starter project. You can find the link at the top or bottom of this tutorial. Then open the project in Android Studio 3.1.2 or greater by going to File > New > Import Project, and selecting the build.gradle file in the root of the project.
There’s one main file you will be working with in this tutorial, and that’s MainActivityPresenter.kt. It’s pretty empty right now with a couple helper methods. This file is for you to fill in! You’ll also need to add some things to build.gradle and app/build.grade, so make sure you can find these too.
Once the starter project finishes loading and building, run the application on a device or emulator.
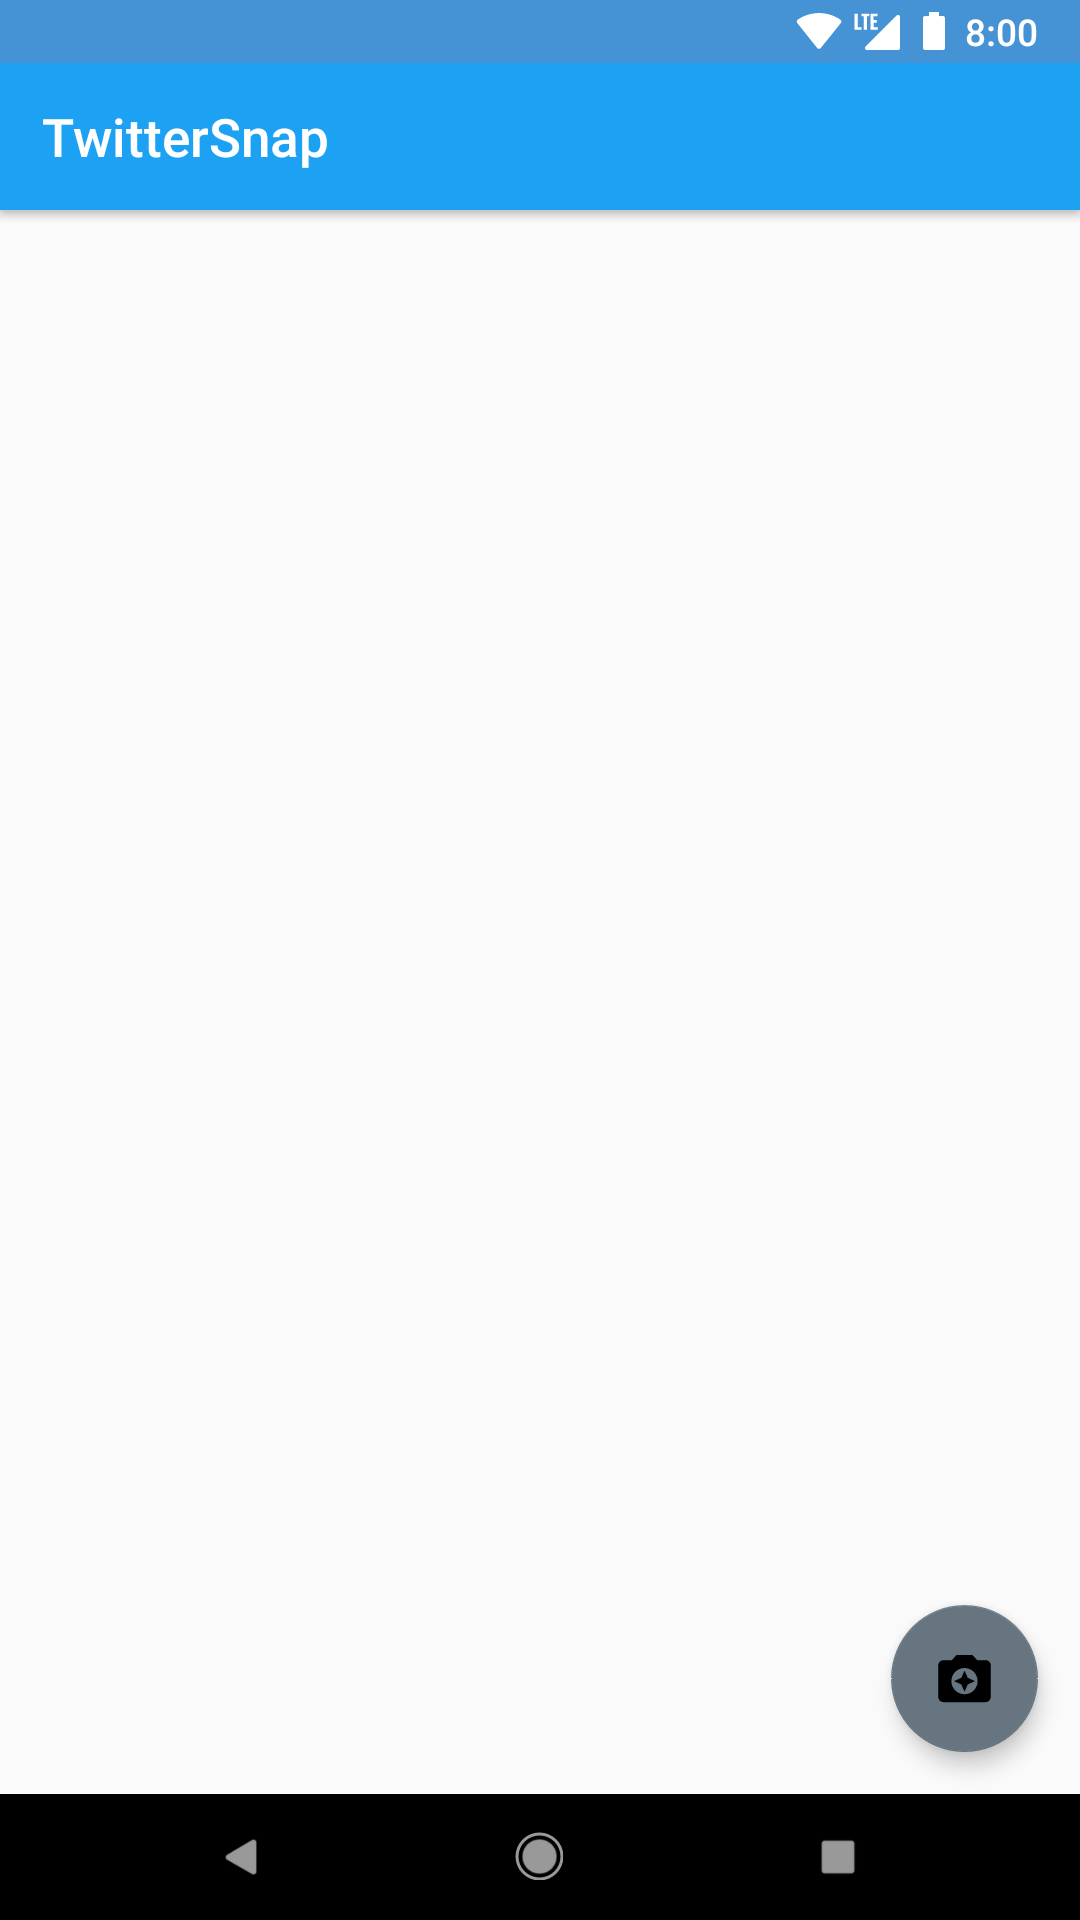
You can select an image by clicking the camera icon FloatingActionButton in the bottom corner of the screen. If you don’t have an image on hand that has a Twitter handle, feel free to download the one below. You can also go to Twitter and take a screenshot.

Once you have the image selected, you can see it in view, but not much else happens. It’s time for you to implement the ML Kit functionality to make this app fun! :]

Setting up Firebase
ML Kit uses Firebase, so we need to set up a new app on the Firebase console before we move forward. To create the app, you need a unique app ID. In the app/build.gradle file, you’ll find a variable named uniqueAppId.
def uniqueAppId = "<YOUR_ID_HERE>"
Replace that string with something unique to you. You can make it your name, or something funny like “tinypurplealligators”. Make sure it’s all lowercase, with no spaces or special characters. And don’t forget what you picked! You’ll need it again soon.
Try running the app to make sure it’s okay. You’ll end up with two installs on your device, one with the old app ID, and one with the new one. If this bothers you, feel free to uninstall the old one, or uninstall both since future steps will reinstall this one.
Moving on the the Firebase Console
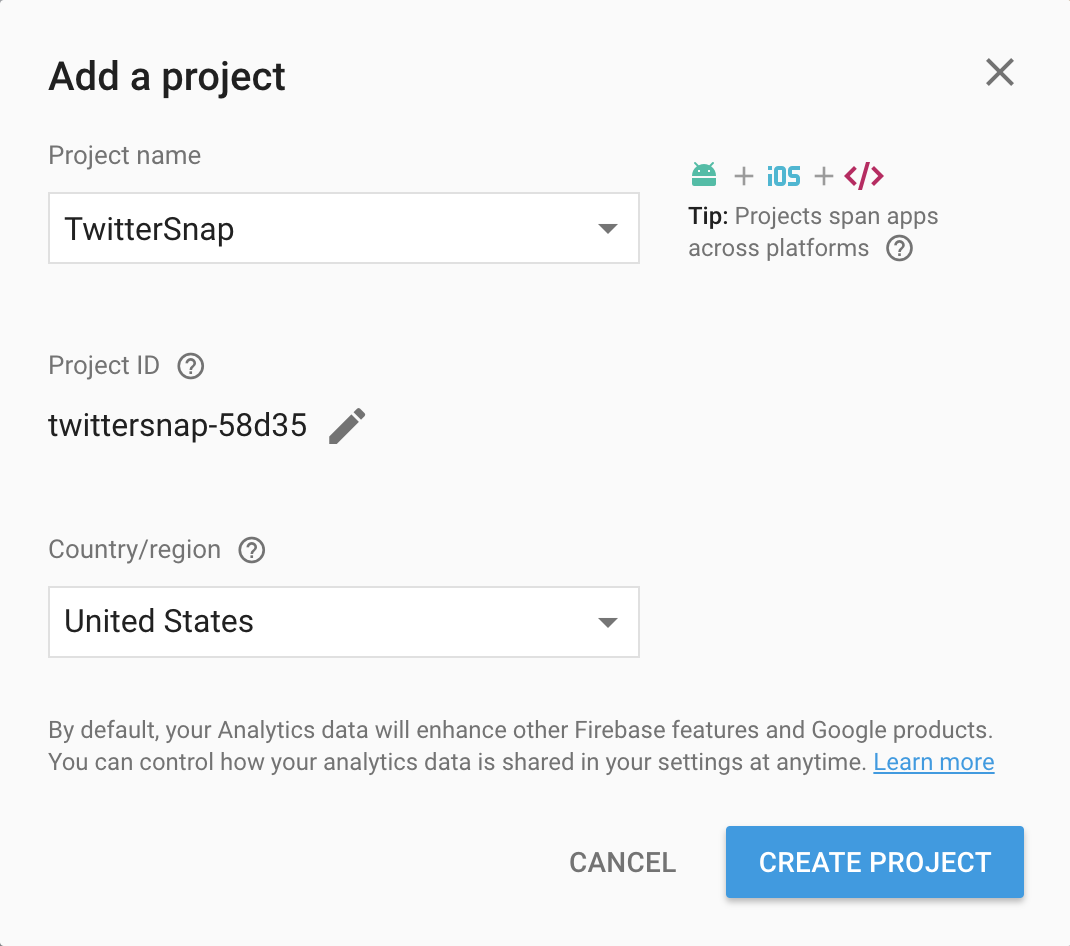
Open the console, and make sure you’re signed in with a Google account. From there, you need to create a new project. Click on the “Add project” card.

In the screen that pops up, you have to provide a project name. Input TwitterSnap for the name of this project. While you’re there, choose your current country from the dropdown, and accept the terms and conditions.
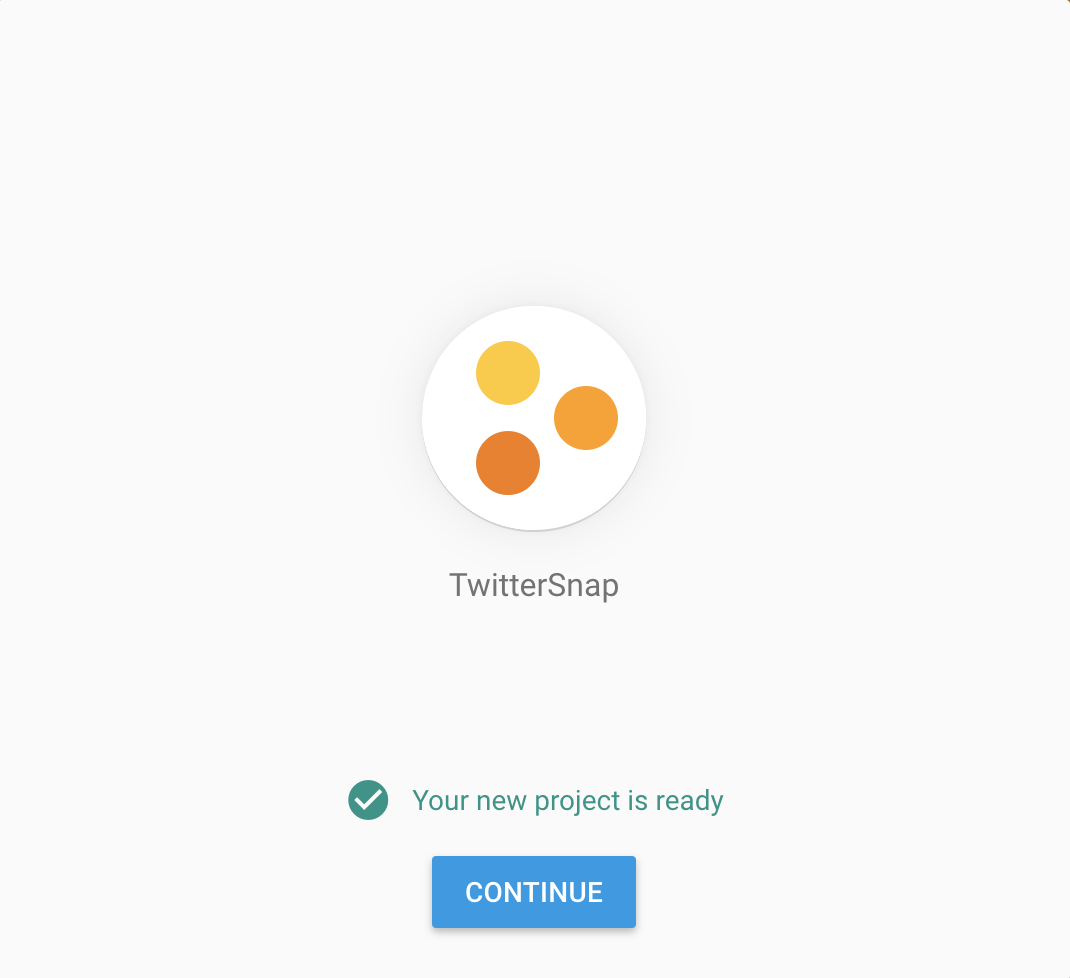
You should then see the project ready confirmation screen, on which you should hit Continue.
Now that you have the project set up, you need to add it to your Android app. Select Add Firebase to your Android app.

On the next screen, you need to provide the package name. This will use the app ID you changed in the app/build.gradle file. Enter com.raywenderlich.android.twittersnap.YOUR_ID_HERE
being sure to replace YOUR_ID_HERE with the unique id you provided earlier. Then click the Register App button.

After this, you’ll be able to download a google-services.json file. Download it and place this file in your app/ directory.

Finally, you need to add the required dependencies to your build.gradle files. In the top level build.gradle, add the google services classpath in the dependencies block:
classpath 'com.google.gms:google-services:3.3.1'
The Firebase console may suggest a newer version number, but go ahead and stick with the numbers given here so that you’ll be consistent with the rest of the tutorial.
Next, add the Firebase Core and Firebase ML vision dependencies to app/build.gradle in the dependencies block.
implementation 'com.google.firebase:firebase-core:15.0.2'
implementation 'com.google.firebase:firebase-ml-vision:15.0.0'
Add this line to the bottom of app/build.gradle to apply the Google Services plugin:
apply plugin: 'com.google.gms.google-services'
Sync the project Gradle files, then build and run the app to make sure it’s all working. Nothing will change in the app, but you should see the app activated in the Firebase console if you finish the instructions for adding the Firebase to the app. You’ll then also see your app on the Firebase console Overview screen.
