New Course: Server Side Swift with Kitura
Learn how to use a Kitura HTTP API, a mobile application using KituraKit, and a web frontend using KituraStencil to make an application called EmojiJournal. By David Okun.
If you’re ready to level up your skills to become a full stack developer, we’re releasing a brand new course for you today: Server Side Swift with Kitura!
Kitura is a REST API framework written in Swift by IBM. If you ever wanted to extend your skills past developing for mobile devices, but didn’t have time to learn a new language, this is your chance!
In this 31-video course, you’ll learn how to write a server in Swift, link a mobile app with it, and how to make a website in Swift using your server.
Take a look at what’s inside:
Part 1: Hello, Kitura

- Introduction: We’ll cover what you’ll learn in this course, and how you’ll walk away with a truly full-stack application.
- EmojiJournal – The Walkthrough: We’ll walk through the finished product and what it should look like, outlining each component of the application and what you’ll use to make it.
- Getting Started: We’ll set up your development environment and make sure you have everything you need to know to write all the code you’ll need for this course.
- HTTP Crash Course: I’ll walk you through the basics of HTTP and how it will act as a data transport layer for the basis of this course.
- Running Your API In Docker: Let’s set up Docker on your machine so that you can easily test your Kitura API on Linux and prepare it for deployment.
- Preparing To Deploy – IBM Cloud: I’ll show you how to set up your API for deployment with Cloud Foundry via IBM Cloud, and how to set up your machine to easily push new versions every time you make a change.
- Deploying To IBM Cloud: I’ll walk you through what to expect when you "push the button" to put your API in the Cloud, and how to test it when it’s live on the internet!
- Introduction To Kitura CLI: I’ll also walk you through the Kitura CLI, which allows you to generate boilerplate Kitura servers from the command line.
- Conclusion: Let’s recap everything we’ve covered and how it positions you to focus on one component at a time as we go through the rest of the course!
Part 2: Completing Your Backend
- Introduction To Kitura 2.0: We’ll cover the basics introduced in Kitura 1.0, and then go into some of the finer points of what was added to the Kitura framework in version 2.0, including what a router is and how codable routes work.
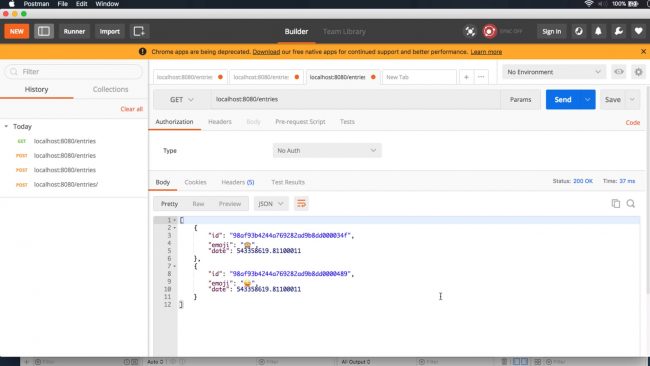
- Making Codable Routes: Let’s make a basic GET route using Kitura, and then let’s enhance and streamline that route using the Codable protocol with Kitura’s best built in feature – Codable Routing.
- Challenge: Create A DELETE Route: Now that you’ve made two routes in Kitura, you’ll make your third one to improve on its functionality.
- Introduction To CouchDB: I’ll show you how CouchDB works, and how you’ll make use of it to store journal entries that you enter with EmojiJournal.
- Connecting To CouchDB: I’ll walk you through setting up CouchDB on your local machine, and how to connect your Kitura server to it.
- Challenge: Using CouchDB In The Cloud: After I show you how to set up an instance of CouchDB in IBM Cloud, I’ll challenge you to connect to it once you have all the information you need to do so.
- Writing Your Persistence Functions: I’ll walk you through writing a series of persistence functions in your Kitura application, so that you have an easy way to keep track of how your app uses CouchDB.
- Challenge: Linking Your Router To CouchDB: After you write your persistence functions, you’ll hook up your codable routes to your database, finally putting all the pieces together.
- Conclusion: Take a second to smell the roses, and look at what you built! I’ll run you through a test drive of your Kitura application.
Part 3: Linking Your iOS Client To Kitura
- Introduction To KituraKit: Time to work within iOS again! I’ll show you how KituraKit makes client-side connections to Kitura nice and straightforward, and how you can use it to drastically reduce the amount of code you write for networking on your client.
- Demo The iOS Starter: Let’s walk through what the iOS app does right now, and let’s highlight the pieces you need to get into and make work!
- Integrating KituraKit Using Cocoapods: I’ll help you set up KituraKit with Cocoapods on your iOS application, so that nothing stands in the way of you writing your networking code!
- Creating Your KituraKit Client: First, you’ll walk through writing a client class for your KituraKit client, so that you have easy functions to make use of when you are connecting your iOS app to your server.
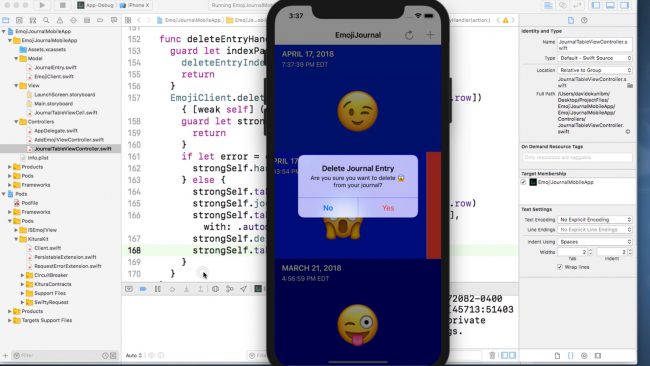
- Challenge: Finishing Your Client: Now that you’ve made your client class, I’ll help you hook up a couple of the functions to the UI, and let you finish putting the puzzle together yourself once you have everything you need.
- Conclusion: This is the moment you knew you could be a full-stack developer – let’s test out your mobile application, and see how well it works with your shiny new Kitura server!
Part 4: Templating A HTML Front-End With Stencil
- Introduction To Web Clients: I’ll show you the importance of having web functionality for your application, and why it’s important to make a client thats accessible to everyone. Then, I’ll show you how Kitura can help you accomplish that goal.
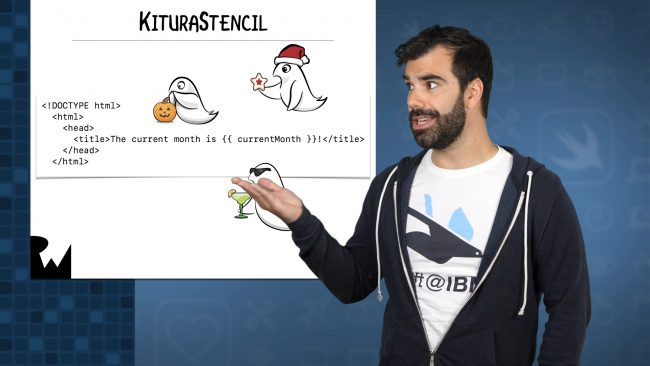
- Introduction To KituraStencil: Let’s take a look at how a templating engine called Stencil can help you make any website you want, and how you can pass information from your Swift API into your HTML page with KituraStencil.
- Creating A Landing Page: Let’s start by serving up a static HTML page using your existing Kitura router that you’ve already created, and take some time to explain how you can serve a context with it.
- Showing Your Web UI: Expand on your previous route by adding some context to your template page, and take a look at how that gets populated throughout your HTML – you’ll have a web UI working by the end of this video!
- Adding A New Entry Via The Web: Now that you can see the entries you’ve populated, let’s make it possible to use the web UI to add another entry to your EmojiJournal.
- Challenge: Deleting Entries Via The Web: The final hurrah – you’ve got everything you need to know to fit the last puzzle piece into your web UI, and now I’ll challenge you to add it in and delete those EmojiJournal entries you want to remove.
- Conclusion: You did it! Let’s see how you can use either of your clients at any given time to use EmojiJournal, and what you might be interested in trying out next time around!