IBM Watson Services for Core ML Tutorial
In this tutorial, you’ll set up an IBM Watson account, then train a custom visual recognition Watson service model, and set up an iOS app to use the exported Core ML model. By Audrey Tam.
Have you been exploring the exciting possibilities of adding machine learning (ML) to your apps with Apple’s Core ML and Vision frameworks? Maybe you’ve used your own data to extend one of Apple’s Turi Create models. Give a big welcome to the newest player on the field: IBM Watson Services, now with Core ML!
Note: Core ML models are initially available only for visual recognition, but hopefully the other services will become Core ML-enabled, too.
In this tutorial, you’ll set up an IBM Watson account, train a custom visual recognition Watson service model, and set up an iOS app to use the exported Core ML model.
Watson Services
You’ll be using Watson Studio in this tutorial. It provides an easy, no-code environment for training ML models with your data.
The list of Watson services covers a range of data, knowledge, vision, speech, language and empathy ML models. You’ll get a closer look at these, once you’re logged into Watson Studio.
The really exciting possibility is building continuous learning into your app, indicated by this diagram from Apple’s IBM Watson Services for Core ML page:

This is getting closer to what Siri and FaceID do: continuous learning from user data, in your apps!
Is this really groundbreaking? Right now, if a Core ML model changes after the user installs your app, your app can download and compile a new model. The app needs some kind of notification, to know there’s an update to the model. A bigger question is: why would the model change? Maybe by using a better training algorithm, but real improvements usually come from more data. Even better, if actual users supply the new data.
Even if you managed to collect user data, the workflow to retrain your model would be far from seamless. This is what could tip the balance in favor of Watson Services: the promise of easy — or at least, easier — integration of data collection, retraining and deployment. I’ll tell you more about this later.
Turi vs. Watson
Which should you use?
- Turi and Watson both let you extend ML models for vision and language, but Watson exports Core ML only for visual recognition models.
- Turi has an activity classifier, Watson doesn’t. Watson has Discovery, which sounds much more sophisticated than anything Turi has.
- You need to write and run Python to use Turi to train models. Watson just needs your data to train the model.
Um Er … User Privacy?
The big deal about Core ML is that models run on the iOS device, enabling offline use and protecting the user’s data. The user’s data never leaves the device.
But when the user provides feedback on the accuracy of a Watson model’s predictions, your app is sending the user’s photos to IBM’s servers! Well, IBM has a state-of-the-art privacy-on-the-cloud policy. And no doubt Apple will add a new privacy key requirement, to let users opt into supplying their data to your model.
Getting Started
Carthage
Eventually, you’ll need the Carthage dependency manager to build the Watson Swift SDK, which contains all the Watson Services frameworks.
Install Carthage by downloading the latest Carthage.pkg from Carthage releases, and running it.
Or, if you prefer to use Homebrew to install Carthage, follow the instructions in Carthage readme.
IBM’s Sample Apps
From here, the roadmap can become a little confusing. I’ll provide direct links, but also tell you where the links are, on the multitude of pages, to help you find your way around when you go back later.
Start on Apple’s page: IBM Watson Services for Core ML. Scroll down to Getting Started, and Command-click the middle link Start on GitHub, under Begin with Watson Starters. Command-click opens GitHub in a new tab: you want to keep the Apple page open, to make it easier to get back to the GitHub page, to make it easier to get back to the Watson Studio login page — trust me ;]!
Download the zip file, and open the workspace QuickstartWorkspace.xcworkspace. This workspace contains two apps: Core ML Vision Simple and Core ML Vision Custom. The Simple app uses Core ML models to classify common DIY tools or plants. The Custom app uses a Core ML model downloaded from Watson Services. That’s the model you’re going to build in this tutorial!
Scroll down to the README section Running Core ML Vision Custom: the first step in Setting up is to login to Watson Studio. Go ahead and click the link.
Signing Up & Logging In

After you’ve gotten into Watson once, you can skip down to that bottom right link, and just sign in. Assuming this is your first time, you’ll need to create an account.
Note: If you already have an IBM Cloud account, go ahead with the sign up for IBM Watson step.
OK, type in an email address, check the checkbox, and click Next. You’ll see a form:

Fill in the fields. To avoid frustration, know that the password requirements are:
Password must contain 8-31 characters with at least one upper-case, one lower-case, one number, and one special character ( – _ . @ )
The eyeball-with-key icon on the right reveals the password, so you can edit it to include the necessary oddities.
Check or uncheck the checkbox, then click Create Account. You’ll get a page telling you to check your mailbox, so do that, open the email, and confirm your address.
Don’t follow any links from the confirmation page! They tend to lead you away from where you want to be. Get back to that login page for Watson Studio, and click the link to sign up for IBM Watson.

IBMid??? Relax, your IBM Cloud login will get you in! Enter the email address you used, and click Continue. On the next page, enter your password, and Sign in:

Interesting. I was in Vancouver when I created this account, not in the US South. But each of the Watson Services is available in only certain regions, and US South gives you access to all of them. So keep that _us-south appendage, or add it, if it isn’t there.
_us-south appendage, you might be using an old IBM account. Try creating a new account, with a different email address. If that doesn’t work, please let us know in the forum below.
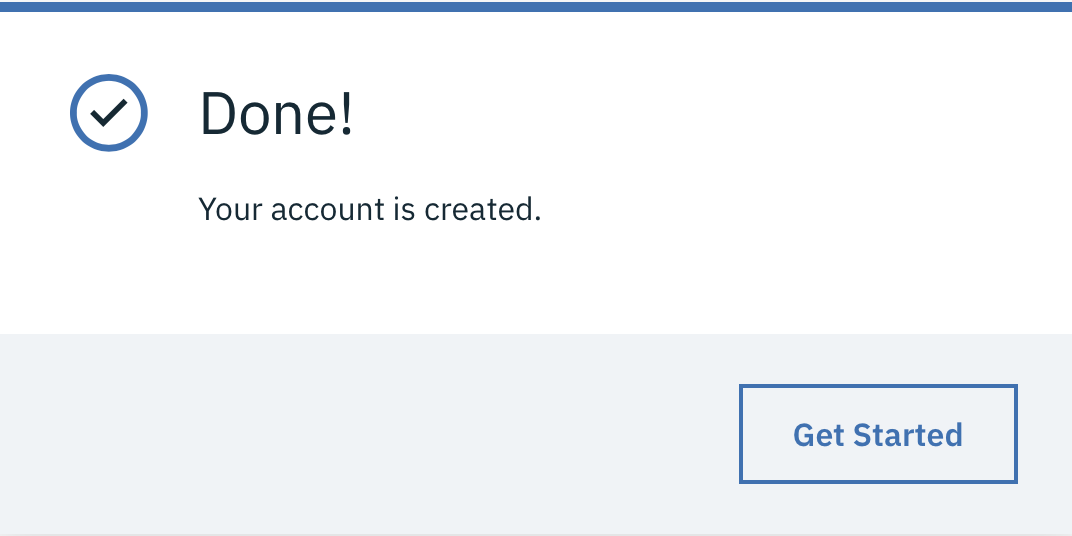
Click Continue, and wait a short time, while a few different messages appear, and then you’re Done!
Clicking Get Started runs through more messages, and spins a while on this one:

And then you’re in!

Remember: in future, you can go straight to the bottom right link, and just sign in to Watson.
Look at the breadcrumbs: you’ve logged into Services / Watson Services / watson_vision_combined-dsx. This is because you clicked the login link on the GitHub page, and that specifies target=watson_vision_combined. You’ll explore Watson Services later, but for now, you’ll be building a custom object classification model on top of Watson’s object classifier. IBM’s sample uses four types of cables, but you can use your own training images. I’ll give detailed instructions when we reach that step.
Note: This is an important and useful page, but it’s easy to lose track of it, as you explore the Watson site. To get back to it, click the IBM Watson home button in the upper left corner, then scroll down to Watson Services to find its link.