Video Streaming Tutorial for iOS: Getting Started
Learn how to build a video streaming app using AVKit and AVFoundation frameworks. By Saeed Taheri.
You’ve been working on iOS apps for a while now and you think you’re pretty slick. Think you’ve done it all, eh?
Yeah, you can probably do some basic networking. Maybe even pull in some JSON and put together a decent table view with cells that have text and images.
That’s an impressive list of accomplishments to be sure, but…
Can you do this?
That’s right, it’s time to take your app to the next level and learn how to add video streaming! :]
You’ll build a new app for all those travel vloggers out there. Some people want to make artsy films about their travels, and some people want to enjoy these experiences from the comfort of their own beds.
You’re here to make both of those dreams come true. In the process, you’ll learn the basics of the AVKit and AVFoundation frameworks.
In this tutorial, you’ll learn how to:
- Add local video.
- Add streaming video.
- Enable playback controls.
- Implement looping.
- Implement picture-in-picture.
Getting Started
Download the starter project by clicking Download Materials at the top or bottom of this tutorial. Then, open TravelVlogs.xcodeproj from the starter folder and go to VideoFeedView.swift.
The starter project is a vlogger app that you’ll add functionality and features to with AVKit and AVFoundation. Users can select a video, then control its playback options.
Understanding AVKit
A useful bit of development wisdom: Always favor the highest level of abstraction available to you. Then, you can drop down to lower levels when your needs change. In line with this advice, you’ll start your journey at the highest level video framework.
AVKit sits on top of AVFoundation and provides all necessary UI for interacting with a video.

Build and run the project, and you’ll see an app that’s already set up with a table full of potential videos for your viewing pleasure.
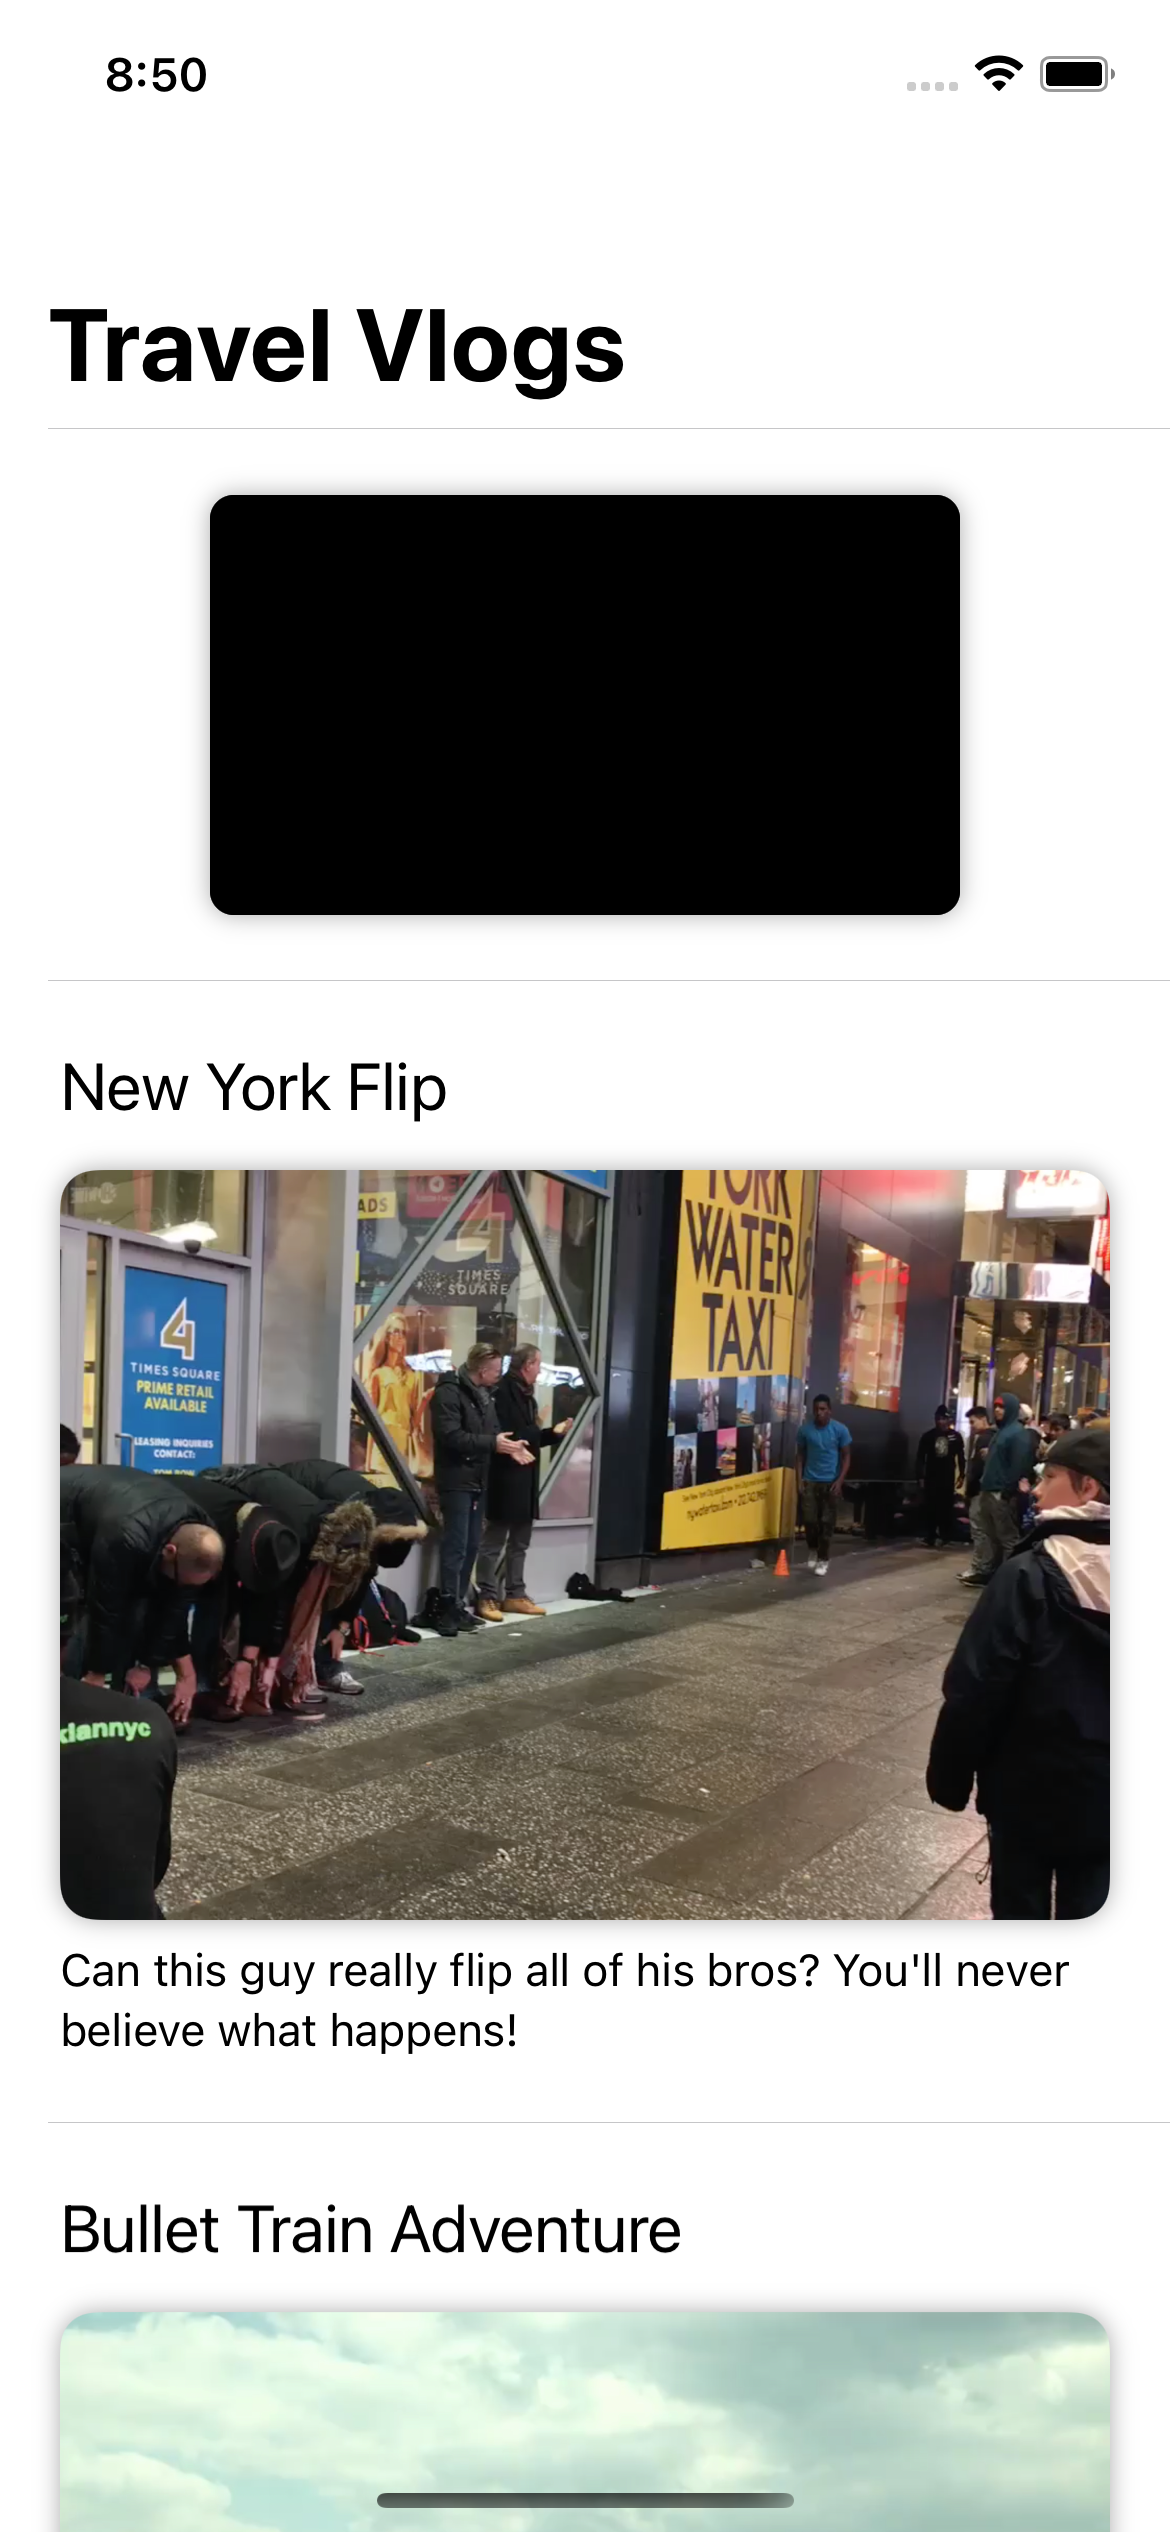
Your goal is to show a video player whenever a user taps one of the cells.
Adding Local Playback
There are two types of videos you can play. The first one you’ll look at is the type that’s currently sitting in the phone’s storage. Later, you’ll learn how to play videos streaming from a server.
To get started, navigate to VideoFeedView.swift and add the following import right below the SwiftUI import:
import AVKit
Look below this, and you’ll see that you already have a list and an array of Videos. This is how the app fills the existing list with data. The videos themselves are coming from a JSON file embedded in the app bundle. You can look in Video.swift to see how they’re fetched if you’re curious.
To account for the user’s selection, add a state property to VideoFeedView.swift:
@State private var selectedVideo: Video?
Next, find the button inside List and add the following code under the Open Video Player comment:
selectedVideo = video
Then, add the fullScreenCover(item:onDismiss:content:) view modifier to NavigationView:
.fullScreenCover(item: $selectedVideo) {
  // On Dismiss Closure
} content: { item in
  makeFullScreenVideoPlayer(for: item)
}
This binds the selectedVideo property you defined earlier to full-screen cover. Whenever you set it to a non-nil value, the content of the full-screen cover shows up.
Swift is looking for the new makeFullScreenVideoPlayer(for:), so add the following to set everything straight:
@ViewBuilder
private func makeFullScreenVideoPlayer(for video: Video) -> some View {
  // 1
  if let url = video.videoURL {
    // 2
    let avPlayer = AVPlayer(url: url)
    // 3
    VideoPlayer(player: avPlayer)
      // 4
      .edgesIgnoringSafeArea(.all)
      .onAppear {
        // 5
        avPlayer.play()
      }
  } else {
    ErrorView()
  }
}
AVPlayer is the heart of playing videos on iOS.
A player object can start and stop your videos, change their playback rate and even turn the volume up and down. Think of a player as a controller object that’s able to manage playback of one media asset at a time.
- All
Videoobjects have avideoURLproperty representing the path to the video file. - Here, you take
urland create anAVPlayerobject. -
VideoPlayeris a handy SwiftUI view that needs aplayerobject to be useful. You can use it to play videos. - By default, SwiftUI views respect the device’s safe areas. Since it looks better to present a video player extended beyond the status bar and home indicator, you add this modifier.
- Once the video player appears on screen, you call
play()to start the video.
And that’s all there is to it! Build and run to see how it looks.

You can see that the video player shows a set of basic controls. This includes a play button, a mute button and 15-second skip buttons to go forward and backward.
Adding Remote Playback
That was pretty easy, right? How about adding video playback from a remote URL? That must be a lot harder!
Go to VideoFeedView.swift and find where videos is set. Instead of loading local videos, load all the videos by replacing that line with the following:
private let videos = Video.fetchLocalVideos() + Video.fetchRemoteVideos()
And… that’s it! Go to Video.swift. Here you can see that fetchRemoteVideos() is simply loading another JSON file. If you look at the videoURL computed property that you used earlier, you’ll see that it first looks for remoteVideoURL. If it doesn’t find any, you’ll get localVideoURL.
Build and run, then scroll to the bottom of the feed to find the キツネ村 (kitsune-mura) or Fox Village video.

This is the beauty of VideoPlayer; all you need is a URL and you’re good to go!
In fact, go to RemoteVideos.json and find this line:
"remote_video_url": "https://wolverine.raywenderlich.com/content/ios/tutorials/video_streaming/foxVillage.mp4"
Then, replace it with this one:
"remote_video_url": "https://wolverine.raywenderlich.com/content/ios/tutorials/video_streaming/foxVillage.m3u8"
Build and run, and you’ll see that the Fox Village video still works.

The only difference is that the second URL represents an HTTP live stream (HLS). HLS works by splitting a video into 10-second chunks. These are then served to the client one chunk at a time. If you have a slow internet connection, you’ll see that the video starts playing much more quickly than when you used the MP4 version.