Continuous Integration With GitHub, Fastlane & Jenkins
In this tutorial, you’ll learn how to use GitHub, Travis, Jenkins and fastlane to make Continuous Integration part of your daily workflow. By Audrey Tam.
You write unit tests for your code, but do you run all your tests whenever you add new code and tests? Or at least, just before you push a commit to your repository? As your app grows, the number of unit tests grows too — running all of them can take a long time and break your concentration. So are you ready to take the next step? Continuous integration!
Using continuous integration (CI) in your development process is game-changing. Every commit is checked by testing, and you immediately know when something has gone wrong. The tests run on another server, so you can continue working on developing new features, without distractions.
There are many ways to set up CI. This tutorial starts you off using Travis CI to run tests on each GitHub commit and email the results to you. Then, you’ll add fastlane to add a little more automation.
Travis CI might satisfy all your CI needs. If not, continue working through this tutorial to get started with Jenkins — a battle tested system that is free, reasonably easy to install and set up, and totally configurable. It works great with GitHub and fastlane.
Getting Started
Get started by downloading the materials for this tutorial — you can find the link at the top or bottom of this tutorial. Build and run the app in the Numero-Starter folder. This is based on the sample app from Test Driven Development Tutorial for iOS: Getting Started, and you’ll be adding some of the tests and code described in that tutorial.
In a browser, login to your GitHub account, or create a GitHub account, if you don’t already have one.
The Numero project already has a git repository and a .gitignore file tailored for Swift and macOS. Use your favorite method to push it to your GitHub account.
Doing CI With Travis CI
If you have repositories hosted at GitHub, Travis CI is the easiest way to get started with continuous integration. The service is free for public repositories.
Setting Up Travis
Setting up your Travis account is amazingly simple. Just go to Travis-ci.com, and Sign in with GitHub.

Because you’re already logged in at GitHub, you don’t even need to enter your GitHub username — Travis just knows!
Click Authorize travis-ci.

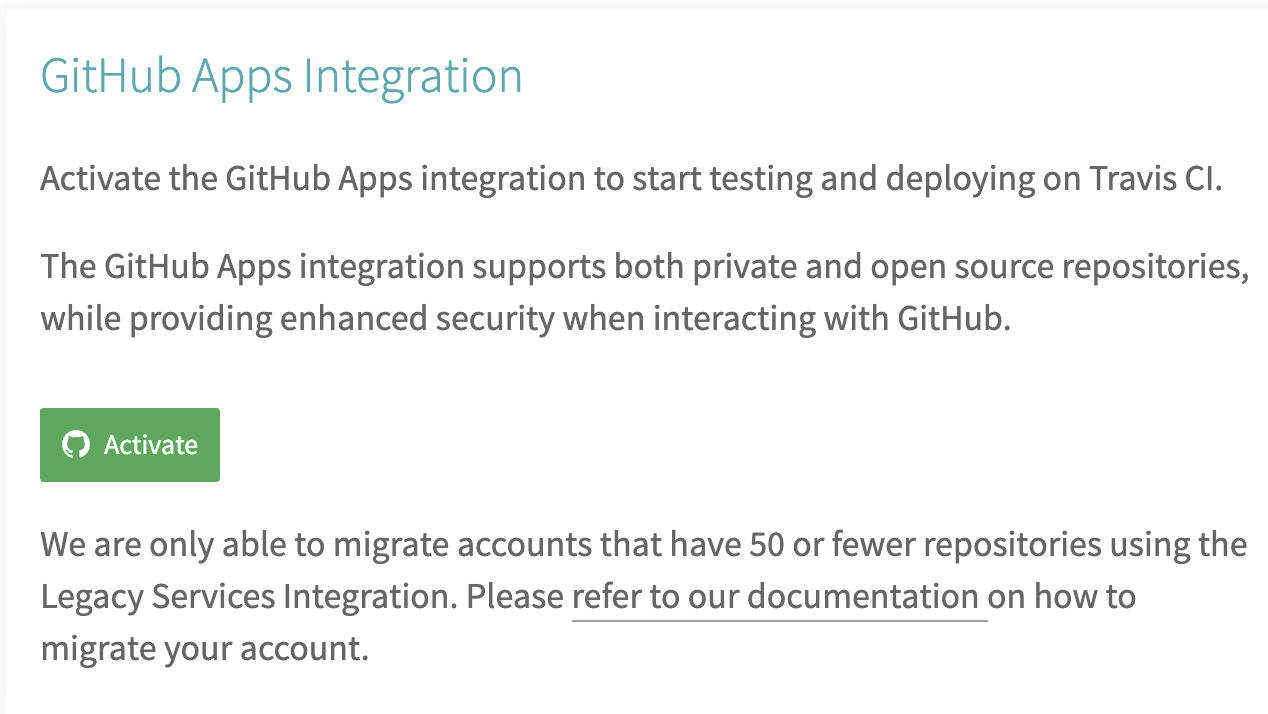
Travis creates your profile, complete with your GitHub profile image and your public GitHub repositories. Click the big green Activate button to install Travis-CI in your GitHub account. You may have to refresh your browser when it completes to see your repositories.
Click Numero to display its repository page:

No builds for this repository — you’ll take care of that right away!
Your First Travis Build
To set Travis CI in motion, you need to add two things to Numero — a unit test, so Travis has something to do, and a .travis.yml file, so Travis knows how to do it. Then you’ll push your local repo to GitHub, and Travis CI will auto-magically pull it, build it, and run the test!
Test-Driven Development
This tutorial uses the sample app and instructions from our Test Driven Development Tutorial for iOS: Getting Started. It’s a convenient resource for quick unit tests and code fixes, which you need for trying out CI tools. And it’s a sneaky way to introduce you to this popular software development methodology, in case you haven’t yet gotten around to trying it.
Our TDD tutorial lists the benefits, which include excellent code coverage and highly robust code, then takes you through the red-green-refactor cycle. For each use case, you perform these steps:
- Red: Write a failing test.
- Green: Write just enough code to make the test pass.
- Refactor: Clean up and optimize your code.
In Xcode, open ConverterTests.swift and add the following code:
import XCTest
@testable import Numero

class ConverterTests: XCTestCase {
  var converter: Converter!

  override func setUp() {
    super.setUp()
    converter = Converter()
  }

  override func tearDown() {
    converter = nil
    super.tearDown()
  }

  func testConversionForOne() {
    let result = converter.convert(1)
    XCTAssertEqual(result, "I", "Conversion for 1 is incorrect")
  }
}
You create the system-under-test — converter — in setup() and remove it in tearDown(). Then, you write the first unit test to see if converter.convert(1) returns “I”.
Now check the Numero scheme’s Test settings to ensure ConverterTests is selected:

This ensures that Travis CI will run the tests when it runs Numero.
OK, that’s the first task done. Now on to the second task.
Creating .travis.yml
Create your .travis.yml file — in Terminal, cd to the Numero project’s root directory, then enter the following commands to create and open an empty file in TextEdit:
touch .travis.yml
open -a TextEdit .travis.yml
This is a hidden file, so it’s easier to use Unix commands to create and open it. Check that you’re working with a text file, not Rich Text.
Add these lines to the file:
osx_image: xcode10.2
language: swift
os: osx
xcode_project: Numero.xcodeproj
xcode_scheme: Numero
xcode_destination: platform=iOS Simulator,OS=12.2,name=iPhone 8
The first three lines tell Travis CI to use Xcode 10.2, Swift and macOS to build and run your project. The default macOS version for this Xcode is 10.14. Check the Travis CI macOS Build Environment: macOS Version page for updates.
The last three lines specify the .xcodeproj file to run, the name of the scheme, and where you want Travis CI to run the project — in this case, you’re asking for the iOS simulator, running iOS 12.2 on an iPhone 8. You’ll find other Xcode and iOS versions and simulator devices at Travis CI macOS Build Environment: Xcode version.
OK, you’re all set! Save .travis.yml, then commit and push your changes to GitHub. On your Travis CI Numero repository page, click Build History. Soon you’ll see your first build start:

Now click #1 started and scroll down to view the Job log. It’s very long, so I’ll just show parts of it.
Travis CI is written in Ruby, so the Ruby Version Manager (rvm) uses the default Ruby version.
$ rvm use default
Using /Users/travis/.rvm/gems/ruby-2.4.5
$ ruby --version
ruby 2.4.5p335 (2018-10-18 revision 65137) [x86_64-darwin17]
Then Travis CI runs xcodebuild, and you see it compiling, linking and processing the files in Numero, including ConverterTests.swift. Then it links NumeroTests and copies iPhoneSimulator.platform:
$ set -o pipefail && xcodebuild -project Numero.xcodeproj -scheme Numero -destination platform\=iOS\ Simulator,OS\=12.1,name\=iPhone\ 8 build test | xcpretty
▸ Compiling GameDoneViewController.swift
▸ Compiling Shuffle.swift
▸ Compiling ViewController.swift
▸ Compiling Game.swift
▸ Compiling Converter.swift
▸ Compiling AppDelegate.swift
▸ Linking Numero
...
▸ Processing Info.plist
▸ Compiling ConverterTests.swift
▸ Linking NumeroTests
▸ Copying /Applications/Xcode-10.1.app/Contents/Developer/Platforms/iPhoneSimulator.platform/Developer/usr/lib/libXCTestBundleInject.dylib
You’ll see Travis CI writing the log to DerivedData:
Writing diagnostic log for test session to:
/Users/travis/Library/Developer/Xcode/DerivedData/Numero-...
Then Travis CI begins “test session NumeroTests”:
Beginning test session NumeroTests-B7DA7C58-1134-45E5-AD03-87B9C1FFA667 at 2019-02-16 22:14:12.074 with Xcode 10B61 on target <DVTiPhoneSimulator: 0x7fd75cbf3cc0> {
  SimDevice: iPhone 8 (ADFB69A9-BD7C-45E7-BEBA-6E438C39952C, iOS 12.2, Shutdown)
} (12.1 (16B91))
All tests
Test Suite NumeroTests.xctest started
ConverterTests
    ✗ testConversionForOne, XCTAssertEqual failed: ("") is not equal to ("I") - Conversion for 1 is incorrect
NumeroTests.ConverterTests
  testConversionForOne, XCTAssertEqual failed: ("") is not equal to ("I") - Conversion for 1 is incorrect
  /Users/travis/build/mataharimau/Numero/NumeroTests/ConverterTests.swift:27
  ```
    let result = converter.convert(1)
    XCTAssertEqual(result, "I", "Conversion for 1 is incorrect")
  }
  ```
Executed 1 test, with 1 failure (0 unexpected) in 0.017 (0.019) seconds
</code>
As I promised, the test fails, and the log reports this:
Failing tests:
   ConverterTests.testConversionForOne()
** TEST FAILED **
Now check your email account for the notification:

And there you have the essence of continuous integration, and it couldn’t be easier! Or could it?