Advanced Collection Views in OS X Tutorial
Become an OS X collection view boss! In this tutorial, you’ll learn how to implement drag and drop with collection views, fine-tune selection and highlighting, implement sticky section headers, and more. By Gabriel Miro.
3.4 (5) · 1 Review

If you want to learn about the advanced capabilities of NSCollectionView, you’ve come to the right place. This is the second part of a tutorial that covered the basics, and in this Advanced Collection Views in OS X Tutorial, you step deeper into the encompassing world of collection views.
In this OS X tutorial, you’ll learn how:
- To add, remove, move and reorder items
- To implement drag and drop with collection views
- To fine-tune selection and highlighting
- To use animation in collection views
- To implement sticky section headers
Prerequisites
You need basic knowledge of NSCollectionView, and you’ll need to know your way around the project from the Collection Views tutorial.
Getting Started
SlidesPro is the app you’re going to build, and it picks up where the previous tutorial left off.
Download the SlidesPro starter project here.
Build and run.

Add New Images to the Collection View
In this section, you’ll walk through the steps needed to add new items to the collection.
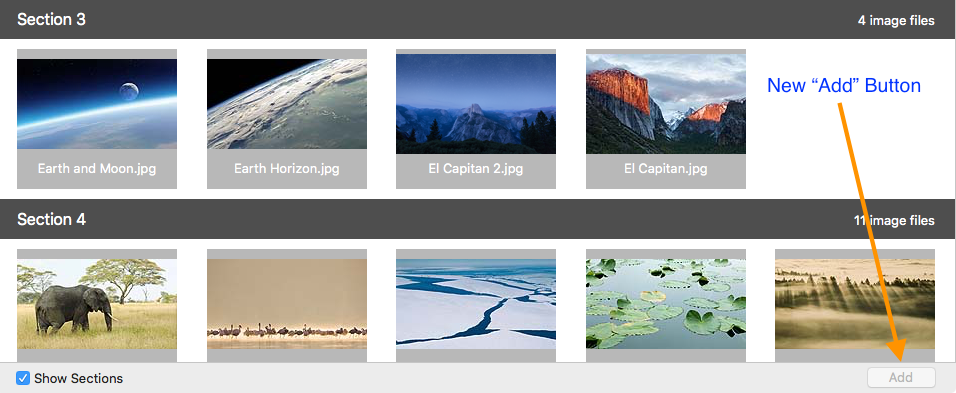
The Add Button
You’re not going to be able to add anything to that collection view until you make a way to do it. Good thing you’re a developer! What’s needed here is a button that displays a standard open panel from which you can choose images.
Open Main.storyboard and drag a Push Button into the bottom of the collection view. In the Attributes Inspector, set its Title to Add, and uncheck Enabled.

Select the Editor \ Resolve Auto Layout Issues \ Add Missing Constraints menu item to set the button’s Auto Layout constraints.
Build and run and check if you’ve got a button.
Specify Where to Insert New Items
SlidesPro should be set up so that when you select an item, the new item is inserted starting at the index path of whatever image you’ve selected. Then this item and the rest of the section are pushed below the new items.
Accordingly, the add button can only be enabled when an item is selected.
In ViewController, add an IBOutlet for the button:
@IBOutlet weak var addSlideButton: NSButton!
Next, open Main.storyboard and connect the outlet to the button.
You’ll need to track selection changes that will ultimately enable and disable the button inside of highlightItems(_: atIndexPaths:), a ViewController method. When items are selected or deselected it’s called by the two NSCollectionViewDelegate methods.
To do this, you just need to append one line to highlightItems(_: atIndexPaths:):
  func highlightItems(selected: Bool, atIndexPaths: Set<NSIndexPath>) {
    .......
    .......
    addSlideButton.enabled = collectionView.selectionIndexPaths.count == 1
  }
With this line you enable the button only when one item is selected.
Build and run. Verify that the button is enabled only when an item is selected.

Insert the New Items
Adding new items to a collection view is a two-stage process. First, you add the items to the model then notify the collection view about the changes.
To update your model, you’ll need to append the following to the ImageDirectoryLoader class:
  func insertImage(image: ImageFile, atIndexPath: NSIndexPath) {
    let imageIndexInImageFiles = sectionsAttributesArray[atIndexPath.section].sectionOffset + atIndexPath.item
    imageFiles.insert(image, atIndex: imageIndexInImageFiles)
    let sectionToUpdate = atIndexPath.section
    sectionsAttributesArray[sectionToUpdate].sectionLength += 1
    sectionLengthArray[sectionToUpdate] += 1
    if sectionToUpdate < numberOfSections-1 {
      for i in sectionToUpdate+1...numberOfSections-1 {
        sectionsAttributesArray[i].sectionOffset += 1
      }
    }
  }
This method inserts the new image to your data model and updates everything so that your model stays in a consistent state.
Add the following methods to ViewController. The first method is called from the IBAction method that's triggered by clicking the add button, and then it's followed by the action method:
   private func insertAtIndexPathFromURLs(urls: [NSURL], atIndexPath: NSIndexPath) {
    var indexPaths: Set<NSIndexPath> = []
    let section = atIndexPath.section
    var currentItem = atIndexPath.item

    // 1
    for url in urls {
      // 2
      let imageFile = ImageFile(url: url)
      let currentIndexPath = NSIndexPath(forItem: currentItem, inSection: section)
      imageDirectoryLoader.insertImage(imageFile, atIndexPath: currentIndexPath)
      indexPaths.insert(currentIndexPath)
      currentItem += 1
    }

    // 3
    collectionView.insertItemsAtIndexPaths(indexPaths)
  }

  @IBAction func addSlide(sender: NSButton) {
    // 4
    let insertAtIndexPath = collectionView.selectionIndexPaths.first!
    //5
    let openPanel = NSOpenPanel()
    openPanel.canChooseDirectories = false
    openPanel.canChooseFiles = true
    openPanel.allowsMultipleSelection = true;
    openPanel.allowedFileTypes = ["public.image"]
    openPanel.beginSheetModalForWindow(self.view.window!) { (response) -> Void in
      guard response == NSFileHandlingPanelOKButton else {return}
      self.insertAtIndexPathFromURLs(openPanel.URLs, atIndexPath: insertAtIndexPath)
    }
  }
- This iterates over the URLs chosen in the Open panel.
- For each URL, an
ImageFileinstance is created and added to the model. - This notifies the collection view.
- The
NSIndexPathof the selected item defines where the insertion starts. - This creates an
NSOpenPaneland configures it to only allow the selection of image files and shows it.
Open Main.storyboard and connect the addSlide(_:) IBAction to the button.
Build and run.
Select the last image in Section 1 -- on my system it's the Desert.jpg slide.
Click the Add button. In the Open panel navigate to the My Private Zoo folder inside the project’s root directory and select all files.

Click Open. The app will insert the new images in Section 1, starting at item 2, where Desert.jpg was before the insertion.

Remove Items from the Collection View
To remove items in SlidesPro you'll need a remove button, and it should sit next to the add button. The most logical implementation is that it should remove all selected items, hence, this button should be enabled only when one or more items are selected.
And then there's this detail: multi-selection must be enabled to allow you to work with more than one image at a time.
This section will walk you through adding the button and enabling multi-select.
Enable Multi-Selection
Open Main.storyboard and select the Collection View. In the Attributes Inspector, check Allows Multiple Selection.

Build and run and verify that multi-selection works.
To expand or reduce a collection’s selection, press and hold the shift or command key while you click on various items. Multi-selections can reach across sections.
The Remove Button
Open Main.storyboard, and then drag a Push Button from the Object Library and place it to the left of the Add button.
In the Attributes Inspector, set its Title to Remove, and uncheck Enabled.
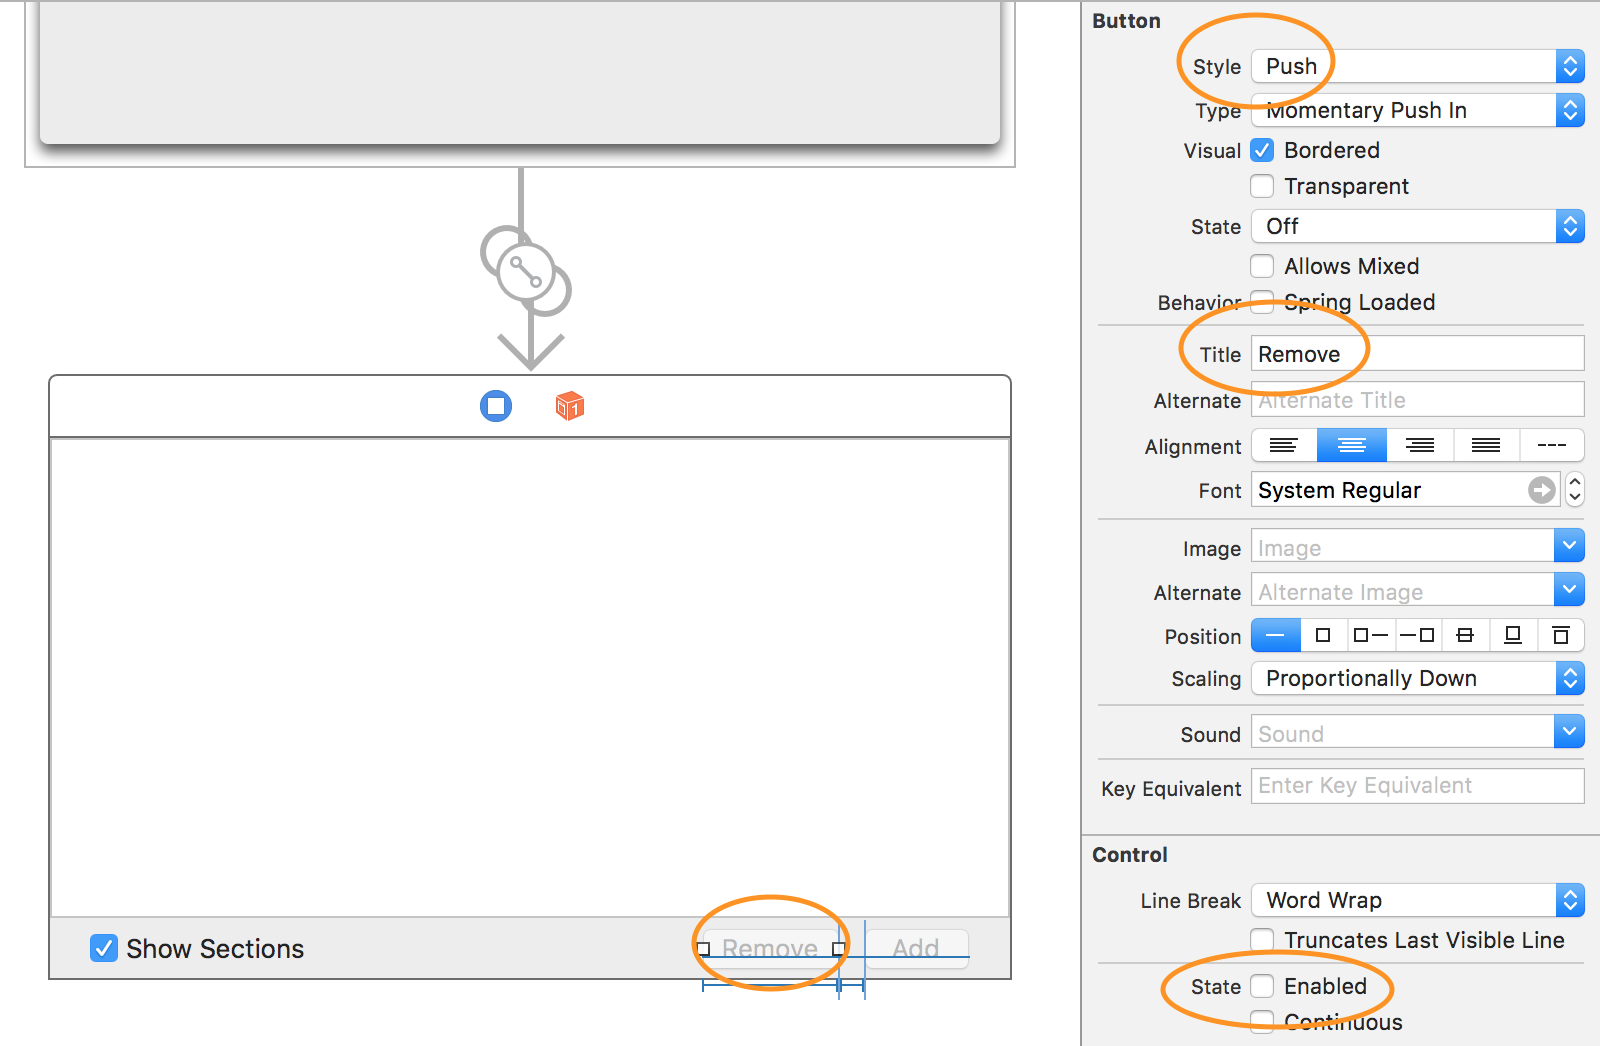
Set the button’s Auto Layout constraints by selecting the Editor \ Resolve Auto Layout Issues \ Add Missing Constraints menu item.
Build and run.

Add an IBOutlet in ViewController:
@IBOutlet weak var removeSlideButton: NSButton!
Next, open Main.storyboard and connect the outlet to the button.
In ViewController, at the end of highlightItems(_: atIndexPaths:), add the line to enable/disable the remove button.
  func highlightItems(selected: Bool, atIndexPaths: Set<NSIndexPath>) {
    .......
    .......
    removeSlideButton.enabled = !collectionView.selectionIndexPaths.isEmpty
  }
Build and run, then select an item. Both the add and remove buttons should become enabled. Add more items to the selection; the add button should become disabled while the remove button stays enabled.