How to Make Great App Store Screenshots
Learn how to make your app store screenshots stand out! By .
What do apps like Cut the Rope 2, 7 Minute Workout Challenge, and Scribblenauts Remix all have in common?
Click the above links to see for yourself. Notice that each has a particularly interesting app store screenshot to lure and entice customers.
Instead of just doing a screen capture of the simulator and calling it a day, the developers added graphics, showed the app running on a device. It has the effect of making you want to download it, right now!
You may be thinking to yourself, “But I don’t want to pay a designer to create fancy screenshots.” or even worse, “I don’t have the graphics skills to make sexy screenshots like that.”
Well, there’s good news. Thanks to a plethora of tools available, creating interesting app-sale-driving screenshots has never been easier or affordable.
Let’s look at a screenshot from Ryan Nystrom’s Weather App:

Pretty nice looking app, right? Clean design, very professional, useful, everything you could want in a nice weather app. A screenshot like this could entice someone to download the app, but what if it was shown at an eye-catching angle with some descriptive text and background image?
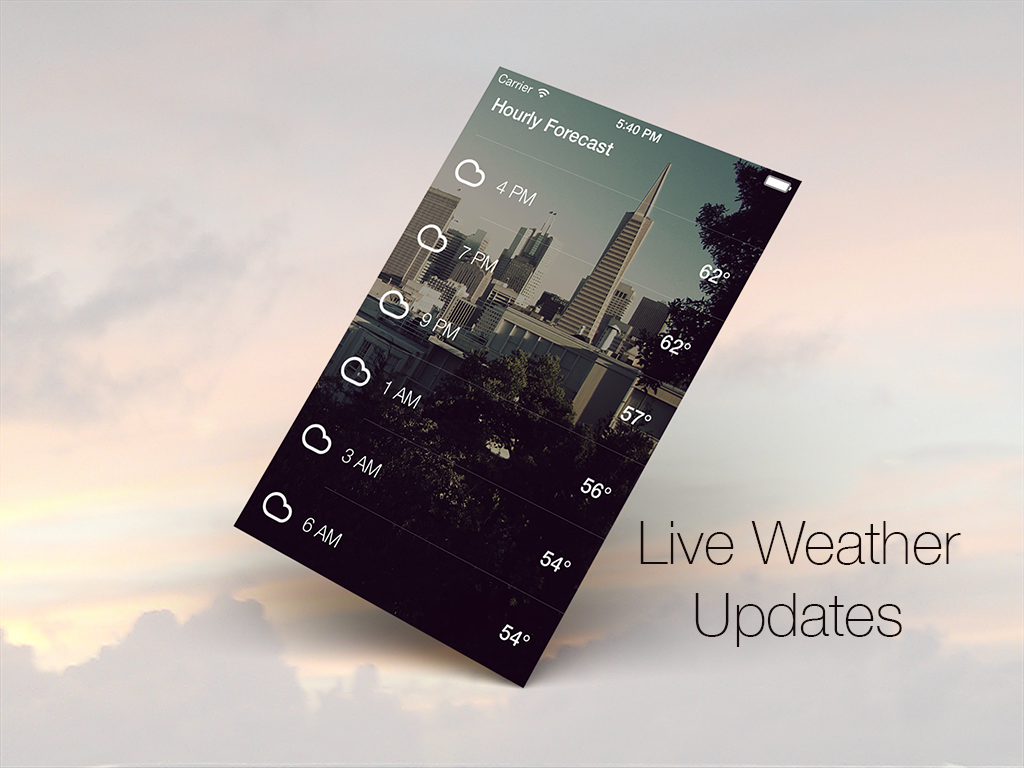
Now that looks like a truly impressive app! Just a few small additions transform a plain screen capture into something more grandiose.
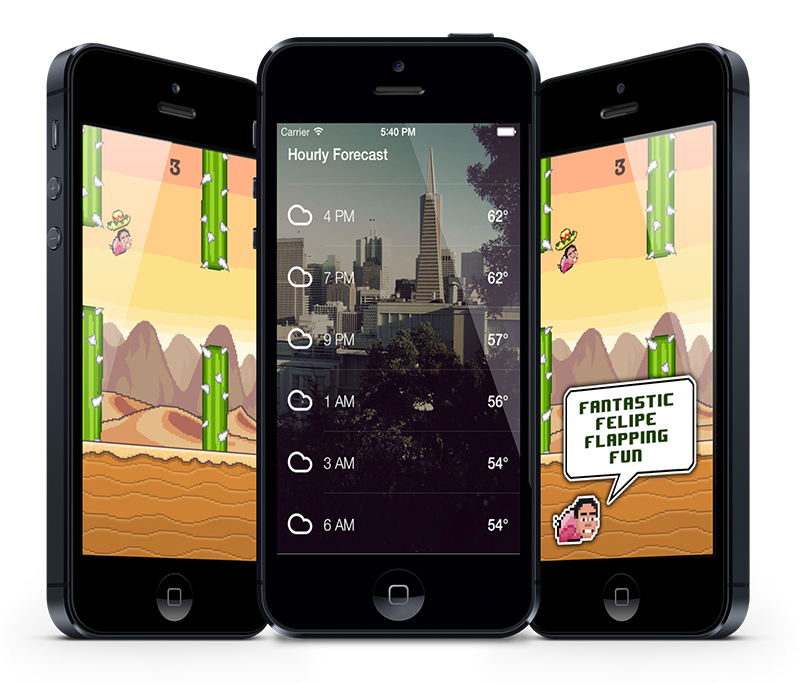
What if you took a basic screenshot of Flappy Felipe:

And spiced it up with an artwork overlay?

This makes the game feel playful, and the Felipe bird acts as a mascot that represents what the app has to offer.
Today, you’ll learn how to create screenshots like these without having to pay a graphic designer and without having to go to art school yourself. It’s a lot easier than you might think.
Getting Started
Here are four tools that you can use to create nice screenshots and promotional images with minimal investment and difficulty:
- Screenshot Maker Pro (iOS – Free to Try)
- Promotee (OSX – $4.99 USD)
- PlaceIt (Website – Free/Paid)
- Adobe Photoshop CC (OSX/PC – Free Trial/$9.99-$19.99 per month).
The first three are pretty much drag-and-drop, but lack flexibility. Photoshop is the most flexible, but also the most time-consuming.
In this article, we’ll take a quick tour of the first three options, then we’ll have a step-by-step tutorial on how to recreate the beautiful screenshots shown above in Photoshop.
Screenshot Maker Pro
Screenshot Maker Pro is a free iOS app that lets you place screenshots into pictures of iOS devices. You can save up to two screenshots per day, or you can purchase the unlimited saving option for $2.99.
The main benefit of Screenshot Maker Pro is that it’s user-friendly. In addition, there are several options for devices on which you can choose to show your screenshots. You can choose from iOS, Android, Windows, Blackberry and even Mac OSX devices to display your screenshots.

The interface is as simple as choosing the image you want to show on a device and then choosing the options such as type of device, reflection, shadow, etc. Within mere seconds, you can create images like these for Flappy Felipe and Ryan’s Weather App:

Did you notice how showing the apps running on a device at an angle adds a bit of flare and makes them more interesting?
Unfortunately, Screenshot Maker Pro does not allow you to add overlays or text onto your screenshots. You would have to do this in software such as Photoshop or another application.
Also, the screenshots it creates are not sized for any particular app store, so you’ll need another app to size them accordingly. However, it is a useful program to know when you want to create a quick screenshot for a myriad of devices.
Promotee
Promotee is an OSX app that is very similar to Screenshot Maker Pro.
Its drag-and-drop interface lets you place images into pictures of different devices. Unlike Screenshot Maker Pro, it doesn’t give you options for Windows and Blackberry devices.
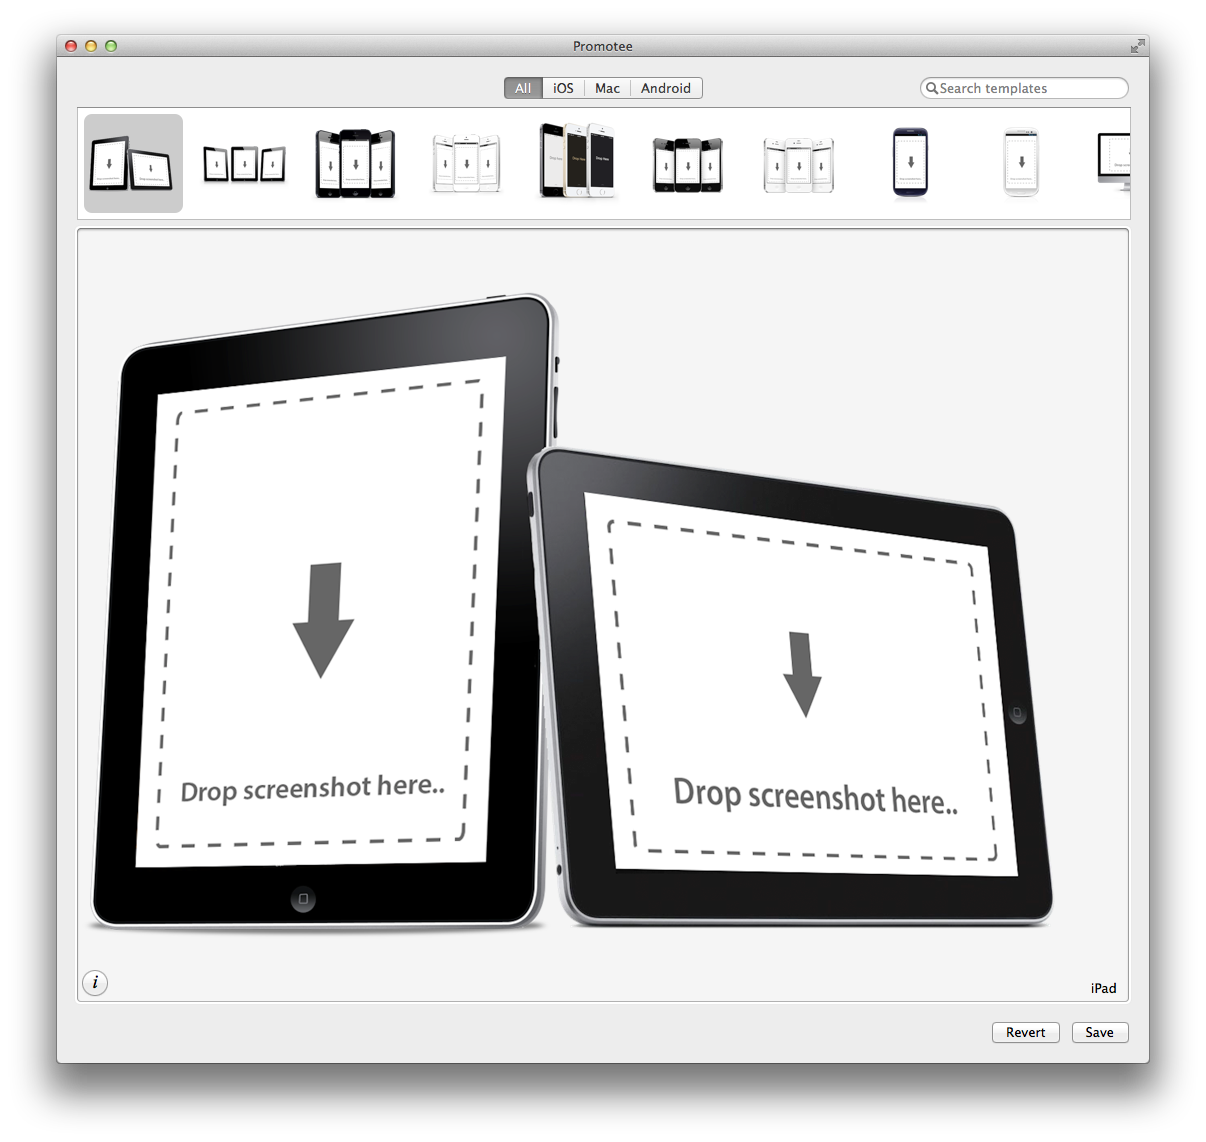
To use Promotee, just drag your image into the device you want and click the Save button.
It’s extremely easy to use, but lacks customization options. Similar to Screenshot Maker Pro, it will not export images that are sized to fit any app stores. You’ll need to resize them manually with different software.
If you’re looking for something that is quick and easy to use, Promotee may be the tool for you. If you’re looking to tinker with customization options, then you may want to look elsewhere.
PlaceIt
PlaceIt is a website that allows you to drag-and-drop your images onto devices, just like Screenshot Maker Pro and Promotee. However, PlaceIt really shines for other reasons, namely, the sheer number of devices and scenarios available.

The nice thing about PlaceIt is not only does it put your screenshot inside a device, but it also shows the device in different contexts, like on a table or in someone’s hand. You can even create animated images to show the user how to operate the app.
Pricing ranges from free to $100 per photo, or you can subscribe for $12 to $250+ a month. The price you’ll pay depends on how big you want to go.

Note: If you use any of the images you create on PlaceIt, you are subject to the terms of use found on the company’s website. This includes free downloads, which must adhere to their Free License Agreement.
If you want a variety of still and animated images, PlaceIt is definitely worth checking out. As far as pricing goes, the structure accommodates almost every budget. Best of all, the images look great.
PlaceIt does not offer native support for overlays, text or correct sizing for app stores, much like Screenshot Maker and Promotee. If you’re looking for those options, you’ll need additional tools.
Adobe Photoshop
Adobe Photoshop is going to give you the most features and versatility for your money when it comes to creating screenshots and other images. Wait a second…where are you going?

Photoshop is not as complicated as it seems. Also, with Adobe’s new subscription model, you don’t have to make a large initial investment in software, so there’s little risk of buyer’s remorse.
For the rest of this article, we’re switching to tutorial-style, and I’ll show you how to get up close and personal with Adobe Photoshop.
Get ready to have a little fun with Flappy Felipe and Ryan’s weather app!