Augmented Reality iOS Tutorial: Marker Tracking
Learn how to use marker tracking to display a 3D image at a given point in this augmented reality iOS tutorial! By Jean-Pierre Distler.
Augmented reality is a cool and popular technique where you view the world through a device (like your iPhone camera, or Google Glass), and the device overlays extra information on top of the real-world view.
I’m sure you’ve seen location based augmented reality apps where you point the camera around a city and see popups displaying where the nearest cafe is. And of course, you’re probably familiar with the robotic overlays in Robocop!
In this augmented reality iOS tutorial, you will create an app that uses a technique called marker tracking. The idea is your app will process the video frames from your device, looking for a marker – usually an image or a QR-Code. Once the app finds this marker, it will display your own 3D content at that position.
To do this, you will use a computer vision library called String, and a bit of OpenGL ES to display a 3D cube. You can then build upon this to display any 3D content you would like – your imagination is the only limit!
Important prerequisite #1: This tutorial requires some basic familiarity with OpenGL development. In particular, this tutorial uses GLKit. If you’re unfamiliar with OpenGL ES and GLKit, you should read this introduction first.
Important prerequisite #2: This first tutorial requires a test device running iOS 7 or earlier, because you need a camera to track the marker.
Getting Started
Tracking a marker requires rather complex code. Implementing this from scratch requires a solid background in computer vision because you have to find a small image inside a frame you captured with your camera, and you must do that on every captures frame. Making this efficient is complicated!
For example, suppose that you are tasked to find this familiar logo:

Doesn’t sound too hard, right? But say you have to identify that logo inside of a busy image like this:

Before you think youâre about to get a crash-course in computer vision, relax. There are several companies with great experience in computer vision that have created SDKs to handle all the difficult tracking stuff for you. One of these is the String SDK.
String is available for both iOS and Unity and the paid version can track up to 10 markers at a time. What makes String so great is that unlike other SDKs, it doesnât require the use of C++, freeing you to stick to Objective-C. You can find an example app in the App Store.
Ready to get started? Youâll begin this project from scratch so that you can see all needed steps to get String up and running.
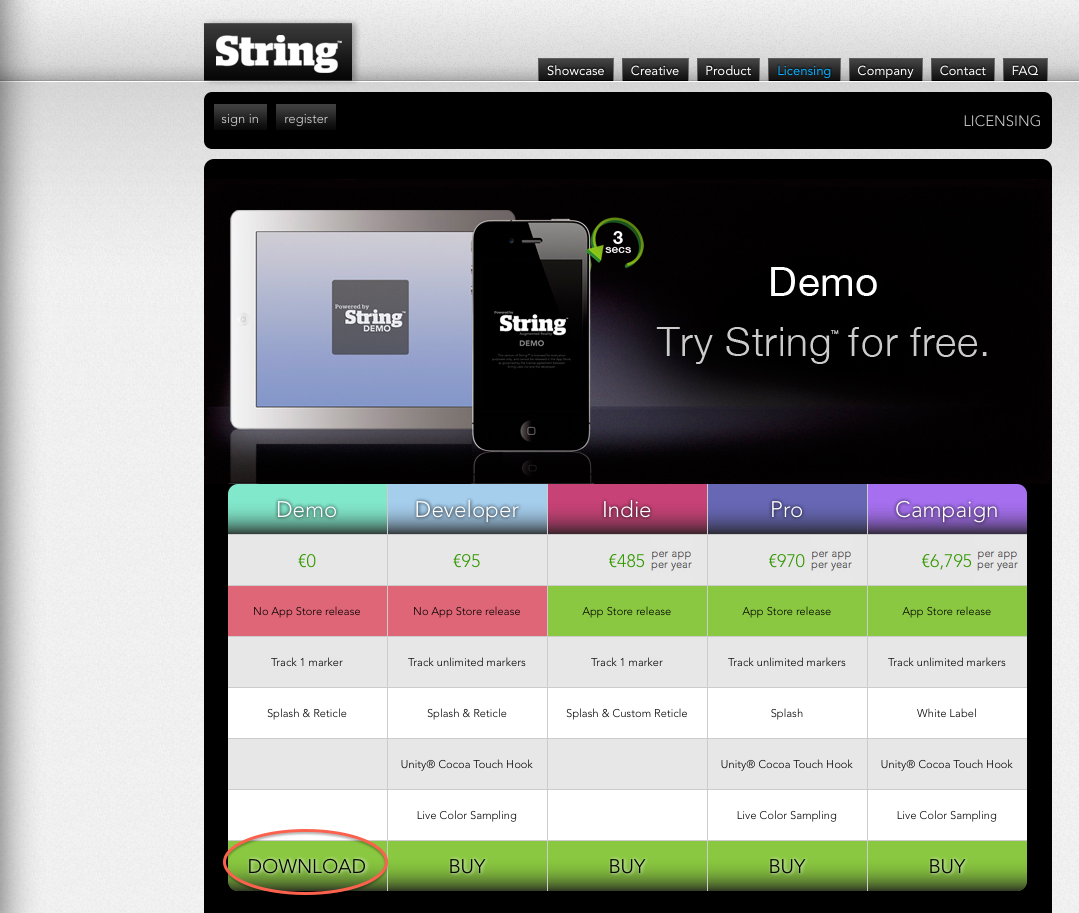
String provides a free demo library that can track up to one marker, but apps you create with it cannot be released to the App Store. This demo library will be fine for the purposes of this tutorial, however. Go to the String SDK licensing page and click on the Download button to get the demo.
You’ll need to fill out some basic information and confirm your email address before you can download the SDK.

Note: If you downloaded version 1.x keep reading this . Version 1.x is not iOS7 compatible and you need version 2 which is currently in beta phase and cannot be download directly from the site but it is planned to release the final version later in 2013. To get the current beta version you have to visit this page and drop them a note that you need the current beta.
The download contains some folders. The OGL Tutorial folder contains a sample Xcode Project and the Docs folder contains some PDF files that explain the basic use of String. You can forget about these folders for the moment.

Setting Up the String SDK
For this part you will need an iOS device with a camera, and you must be a member of the iOS Developer Program to run this tutorial on your device.
Open up Xcode and select Create a new Xcode project. In the iOS Application section (1), select the OpenGL Game template (2).

Name the project String Example and click Next. You can leave the default options for ARC and Storyboards selected.

Select your project and make sure that the StringExample target is selected. In the Summary tab, scroll down to Linked Frameworks and Libraries.

Add the following frameworks to your project by clicking on the plus (+) sign:
- QuartzCore
- AVFoundation
- CoreMedia
- CoreVideo
Next, go to the downloaded String SDK folder, open the Libraries folder and drag libStringOGLDemo.a into your project within Xcode (place it anywhere you like within the project navigator). Make sure that Copy items into destination group’s folder is checked.

Now go back to the Linked Frameworks and Libraries section and make sure that the String SDK library is linked with your project. Xcode should have enabled linking against the library, but sometimes it goes wonky. If it’s not in the list, just click the plus and select libStringOGLDemo.a from the list.

Next, from the same downloaded String SDK folder, drag the files StringOGL.h and TrackerOutput.h from the Headers folder into your project. Make sure that your project is selected in the Add to targets box.
Thatâs all you have to do for the basic setup. Build and run to make sure the project builds properly.
There is one last step before you can dive into coding. Download this zip file, extract the contents and add the file named Marker.png to your project. This is the key to marker based augmented reality. What happens is each frame of video is scanned to look for a specific “marker”. You need to tell String what to look for though. This is the image that String will look for in the captured video frames.
Make augmented reality, a reality!
It’s time to use String to bring something to your display. Open ViewController.m and add the following import right after the line #import "ViewController.h":
#import "StringOGL.h"
This imports the String SDK. Now add the following instance variables and property to the @interface part:
- int _numMarkers
- struct MarkerInfoMatrixBased _markerInfoArray[1]
- GLKMatrix4 _projectionMatrix
- @property (nonatomic, strong) StringOGL *stringOGL
Your interface should now look like this
@interface ViewController () {
    GLKMatrix4 _modelViewProjectionMatrix;
    GLKMatrix3 _normalMatrix;
    float _rotation;

    GLuint _vertexArray;
    GLuint _vertexBuffer;

    struct MarkerInfoMatrixBased _markerInfoArray[1];
    GLKMatrix4 _projectionMatrix;
    //1
    int _numMarkers;
    struct MarkerInfoMatrixBased _markerInfoArray[1];
    GLKMatrix4 _projectionMatrix;
}
@property (strong, nonatomic) EAGLContext *context;
@property (strong, nonatomic) GLKBaseEffect *effect;
//2
@property (nonatomic, strong) StringOGL *stringOGL;

- (void)setupGL;
- (void)tearDownGL;

@end
Lets see what these variables are good for.
- _numMarkers stores the number of detected markers. With the demo version of String this can only be 0 or 1.
- _markerInfoArray[1] stores information about the detected markers, like their position and rotation on the screen. Again you use a size of 1, because this version of String can only track one marker. Normally the size would be the count of all markers you want to track.
- _projectionMatrix is used for drawing.
- stringOGL holds a reference to String for later use.
Next, find viewDidLoad and add the following lines at the end:
    self.stringOGL = [[StringOGL alloc] initWithLeftHanded:NO];
    [self.stringOGL setNearPlane:0.1f farPlane:100.0f];
    [self.stringOGL loadMarkerImageFromMainBundle:@"Marker.png"];
Let’s have a look at what’s happening here:
Note that String will automatically take care of reading input form the device’s camera, processing the frames (to look for markers and call your custom code to draw any 3D geometry you might want to add), and displaying the results.
- This creates String and sets the coordinate system to be right handed. This parameter describes whether the coordinate system youâre using is left-handed or not. In this case, you’re using a right-handed coordinate system, because that’s the OpenGL default. So
NOis passed as it’s not left-handed. For more information on this, see here. - Next you set the near and far clipping-plane. This describes the area inside you can see objects in your OpenGL world. Every object that is outside this area will not be drawn to the screen.
- Finally, you load the marker image. This is the image String is looking for in the camera input.
Build and run and you should get a lot of linker errors telling you about vtables and operators. The problem is that String is written in C++ and needs the C++ standard library to work. If you look in the Apple LLVM 5.0 – Language – C++ section of your build settings you can see that everything looks right. So whats the problem?

Even if String uses C++ internally, you don’t use it in your project right now and so the needed C++ library is not linked to your project. To get rid of this errors you need to use C++ in your project, but don’t panic you don’t have to write any line of C++ code. The only thing you have to do is to create a new file [cmd] + [n] and select C and C++ (1) C++ Class (2).

Save it as Dummy.cpp and Build your project again. That looks much better now, but at the moment there is nothing to see from the camera output. It just looks like the default output from the template.
